Advertisement
4. The device is on. Screw it back together.
5. Statuses, colours and behaviour of the diode (if the device is properly
connected):
Device is working correctly (power and memory) - single GREEN flash
Device is working incorrectly (power and memory) - single RED flash
Connecting to LoRaWAN - flashing BLUE
LoRaWAN frame sent - single WHITE flash
Confirmation from server after receiving the frame - single WHITE flash
Frame failed to confirm within specified timeout - single RED flash
LoRaWAN Disconnected - flashing BLUE
Connecting to BLE - flashing BLUE
Version 2 - November 2021
RGBW diode
(glow)
4
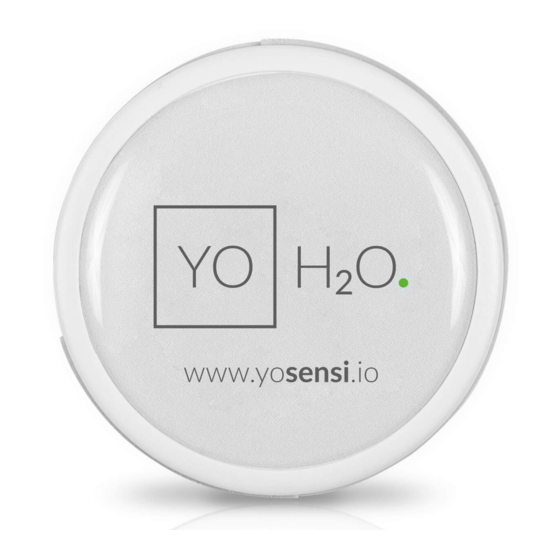
H2O
Quick Installation Guide
1. Unscrew the device: remove 4 screws from the enclosure.
Gently disassemble the device so as not to bend the flood probes.
1
Advertisement
Table of Contents

Summary of Contents for LoRa Alliance YO H2O
- Page 1 4. The device is on. Screw it back together. Quick Installation Guide 5. Statuses, colours and behaviour of the diode (if the device is properly connected): Device is working correctly (power and memory) - single GREEN flash 1. Unscrew the device: remove 4 screws from the enclosure. Gently disassemble the device so as not to bend the flood probes.
- Page 2 Tip 1: Adjust the flood probes as shown in the image below: 2. Place CR2450 3 V battery in the device according to the polarity. Tip 2: Match the PCB (marked component) to the top enclosure to the according to the diagram: 3.
Need help?
Do you have a question about the YO H2O and is the answer not in the manual?
Questions and answers