Table of Contents
Advertisement
Quick Links
Advertisement
Table of Contents

Summary of Contents for Hiwin PNED Series
- Page 1 PMED-H1-1 VER1.0(A-0) PMED-H1-1 VER1.0(A-0)
-
Page 2: Table Of Contents
PMED-H1-1-Series User’s Manual Table of Contents 1. Functions 2. Specifications 3. Panel Description 4. Normal Mode Description 5. Function Mode Description 6. Auto-Center (1/2) Function 7. Count Direction Setting (DIR) 8. Input Signal Setting (ADC) 9. Decimal Point Setting (DOT) 10. -
Page 3: Functions
(3) Zero and auto-center (1/2) function (4) Set count direction (increase/decrease) (5) Switch between digital and analog signals * Analog signal is only used for the HIWIN Positioning Measurement System (6) Decimal point setting mm: 0.001, 0.01, 0.1, 1 inch: 0.000001, 0.00001, 0.0001, 0.001... -
Page 4: Panel Description
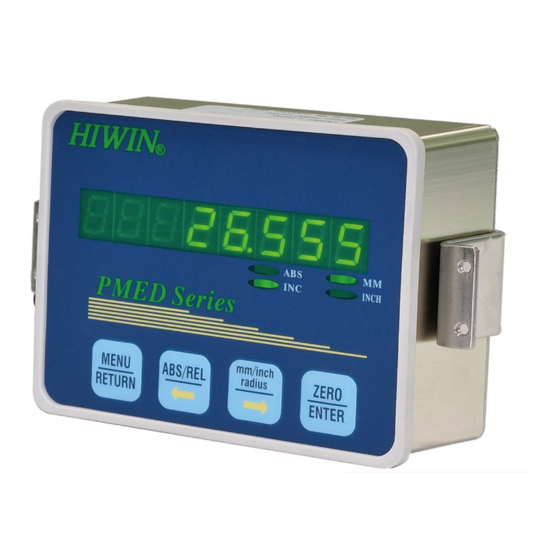
3. Panel Description: ABS: ABS Mode INC: REL Mode MM: Unit: mm INCH: Unit: inch 4. Normal Mode Description: Button representation: Menu Switch between ABS/REL mode Switch between units (mm/inch) Set zero mark PMED-H1-1 VER1.0(A-0) -
Page 5: Function Mode Description
5. Function Mode Description: When the display is set on normal mode, press the MENU button to enter into the function mode Button representation: Return back to normal mode/back one page Switch between functions F1-1-2>F2-DIR>F3-ADC>F4-DOT>F5-DPI>F6-PCALL> F7-PSET>F8-IO.USE>F9-IO.SET> F1-1-2 Switch between functions F1-1-2>... -
Page 6: Auto-Center (1/2) Function
6. Auto-Center (1/2) Function: Function: To set the auto-center (1/2) value when needed Caution: Can only be used when the display unit is set on INC mode Step 1. If not in INC mode, press to switch into INC mode Step 2. -
Page 7: Count Direction Setting (Dir)
7. Count Direction Setting (DIR): Function: To set the direction (increase or decrease) Note: Can be used with the display unit set on ABS mode or INC mode Step 1. Press once, and then press until it displays F2-DIR Step 2. Press to enter setting, then press to choose the counting direction... -
Page 8: Input Signal Setting (Adc)
8. Input Signal Setting (ADC): Function: Choose the input signal (analog or digital) Note: Can be used with the display unit set on ABS mode or INC mode Step 1. Press once, then press until it displays F3-ADC Step 2. Press to enter setting, then press to choose DIG (digital signal) or... -
Page 9: Decimal Point Setting (Dot)
9. Decimal Point Setting (DOT): Function: To set the decimal point according to the user’s requirement 1. For mm, choices are 0.001, 0.01, 0.1, 1 2. For inch, choices are 0.000001, 0.00001, 0.0001, 0.001 Note: Can be used with the display unit set on ABS mode or INC mode Step 1. - Page 10 Step 3. Press to enter setting, then press to choose the placement of the decimal point Press to confirm PMED-H1-1 VER1.0(A-0)
-
Page 11: Resolution Setting (Dpi)
10. Resolution Setting (DPI): Function: To set the resolution according to user’s requirement Choices are 1 m, 2 m, 5 m, 10 m Note: Can be used with the display unit set on ABS mode or INC mode Step 1. Press once, and then press until it displays F5-DPI... -
Page 12: Pre-Call (Pcall)
11. Pre-Call (PCALL): Function: This function can recall the preset parameter Caution: Can only be used when the display unit is set on INC mode Step 1. If not in INC mode, press to switch into INC mode Step 2. Press once, and then press until it displays F6-PCALL... - Page 13 Step 3. Press to enter setting, and then press to choose which set of number presets you require Press to confirm PMED-H1-1 VER1.0(A-0)
-
Page 14: Preset Setting (Pset)
12. Preset Setting (PSET): Function: Preset number setup The preset function offers 8 sets Caution: Can only be used when the display unit is set on INC mode Step 1. If not in INC mode, press to switch into INC mode Step 2. - Page 15 Step 3. Press to enter setting, and then press to choose which set of number presets you require Step 4. Press to enter setting, and then press to change the blinking digit Press to change the value, and press to change to the next digit Press to confirm PMED-H1-1 VER1.0(A-0)
-
Page 16: Relay Enable/Disable Setting (Io.use)
13. Relay Enable/Disable Setting (IO.USE): Function: Relay enable/disable setting Caution: Can only be used when the display unit is set on INC mode Step 1. If not in INC mode, press to switch into INC mode Step 2. Press once, then press until it displays F8-IO.USE PMED-H1-1 VER1.0(A-0) - Page 17 Step 3. Press to enter setting, and then press to choose which set of relay settings you require Step 4. Press to enter setting, and then press setup the relay enable or disable function PMED-H1-1 VER1.0(A-0)
-
Page 18: Relay Output Position Setting (Io.set)
14. Relay Output Position Setting (IO.SET): Function: Relay output position setup Relay output: 4 sets Caution: Can only be used when the display unit is set on INC mode Step 1. If not in INC mode, press to switch into INC mode Step 2. - Page 19 Step 3. Press to enter setting, then press choose the position setting (CH-0~CH-3) Step 4. Press to enter setting Press to change the blinking number, and then press change the value Press to change to the next number When completely finished setting the numbers, press to confirm PMED-H1-1 VER1.0(A-0)
-
Page 20: Software Version
15. Software Version: Function: The systems software version When powered on, the panel will display the current software version for about 3 seconds 16. Description of Input Signal: D-sub VGA 15 Pin Female Signal Signal Signal A+(Analog) A-(Analog) A+(Digital) B+(Analog) B+(Digital) A-(Digital) B-(Analog) -
Page 21: Description Of Rs-232 Signal
17. Description of RS-232 Signal: D-sub 9 Pin male Signal Signal PMED-H1-1 VER1.0(A-0) -
Page 22: Description Of Output Signal
18. Description of Output Signal: I/O 1 I/O 2 Designation Designation Relay 0(CH-0) Relay 2(CH-2) Relay 1(CH-1) Relay 3(CH-3) PMED-H1-1 VER1.0(A-0) -
Page 23: Dimensions
19. Dimensions: PMED-H1-1 VER1.0(A-0) -
Page 24: Parameter Defaults
20. Parameter Defaults: Function Description Default F2-DIR Counting Direction POS(positive) F3-ADC Input Signal ANA(analog signal) mm: 0.001 F4-DOT Decimal Point inch: 0.000001 F5-DPI Resolution F6-PCALL Pre-Call PSET 0 F7-PSET Preset PSET 0~PSET 7=0 F8-IO.USE Relay Enable/Disable CH-0~CH-3: OFF F9-IO.SET Relay Output CH-0~CH-3=0 PMED-H1-1 VER1.0(A-0) - Page 25 Name Name Name Display Display Display Name Name Name Display Display Display Name Name Name Display Display Display Name Name Name Display Display Display Name Name Name Display Display Display Name Name Name Display Display Display PMED-H1-1 VER1.0(A-0)
- Page 26 21. Appendix: Panel display (number and letter (function) representation): Name Name Name Display Display Display Name Name Name Display Display Display Name Name Name Display Display Display Name Name Name Display Display Display Name Name Name Display Display Display Name Name Name Display...
- Page 27 (2). Technical description: (a). Absolute mode: Distance Has the same origin, the position of the origin can not be changed (b). Relative mode: Distance The position of the origin can be changed based on your demand PMED-H1-1 VER1.0(A-0)
Need help?
Do you have a question about the PNED Series and is the answer not in the manual?
Questions and answers