Advertisement
Quick Links
Advertisement

Related Manuals for DeVision Technologies DVA-C240-P

Summary of Contents for DeVision Technologies DVA-C240-P
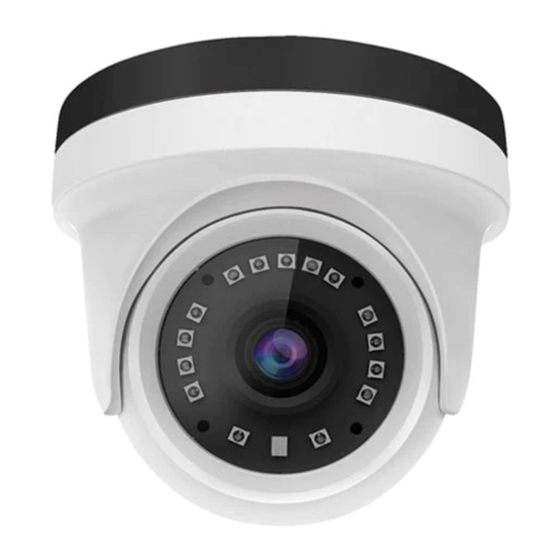
- Page 1 HD Analog Camera Quick Start Guide...
- Page 2 Statement Privacy Notice Surveillance laws vary by jurisdiction. Check all relevant laws in your jurisdiction before using this product for surveillance purposes to ensure that your use of this product conforms. Please refer to the product specification for camera parameters and functions. Regulatory Information FCC Information FCC compliance: This equipment has been tested and found to comply with the limits for a...
- Page 3 Cautions Follow these Warnings Follow these precautions to prevent safeguards to prevent potential injury or serious injury or death. material damage Warnings WARNING: Installation and servicing should be performed only by qualified and experienced technicians to conform to all local codes and to maintain your warranty. WARNING: This device is configured for 12V DC operation only.
- Page 4 Overview Installation Before you start: 1. Please make sure that the camera is in good condition and all of the assembly parts are included. 2. Make sure that all related equipment is powered-off during the installation. 3. Check that the camera specification agrees with the installation environment. 4.
- Page 5 4. Push the support case upward to the mounting base to secure the eyeball camera 5. Compare video image on the display. Adjust the camera horizontal and vertical direction by spinning the eyeball till you find the perfect angle of areas that need to be monitored and complete the installation.
- Page 6 Outdoor 1. Drill the screws holes and the cable hole (if needed) in the ceiling or wall according to the supplied mounting template. 2. Route the cables properly through the cable hole. 3. Connect the corresponding cables. 4. Secure the camera to the ceiling or wall with the supplied screws. 5.
- Page 7 PTZ Menu Menu Operation Right Click Menu Use the navigation buttons and OK button in the Menu Operation to control the operation. OSD Menu Structure...
- Page 8 1. EXPOSURE • EXPOSURE: AUTO,1/60, 1/100, 1/120, 1/500, 1/1k, 1/2k, 1/4k, 1/10k, 1/100k are selectable. NRT: NRT is OFF by default. • • AE REFERENCE You can set the AE REFERENCE from 0 to 100. DWDR • You can set the DWDR value from 0 to 100. ANTI FLICKER: You can set the ANTI FLICKER as ON or OFF.
Need help?
Do you have a question about the DVA-C240-P and is the answer not in the manual?
Questions and answers