Advertisement
Quick Links
v20210913
Important notes before installing:
- Installing this product to your vehicle may require an adaptor. SAAS make a large range of
adaptors and installation parts, please check with your SAAS dealer for available adaptors.
- SAAS Streetline series gauges are designed for 12 volt systems ONLY!
- All installation work should be done by a qualified professional to avoid damage to this product.
- SAAS RECOMMENDS all products be tested prior to installation. This will save time and speed up
the troubleshooting process if you encounter any issues.
- BEFORE installing, please check our website (shopsaas.com) for the latest fitting instructions.
If the top left corner (v) number is different to website, please use instructions from website.
Wire colour
Red
Yellow
Black
Green
Mounting studs for U bracket.
Fitting U bracket: Fit supplied
stud spacers to threads before
using the supplied U bracket.
Rear of gauge
Connector pinout
Note: Colour change button
is on the front of gauge.
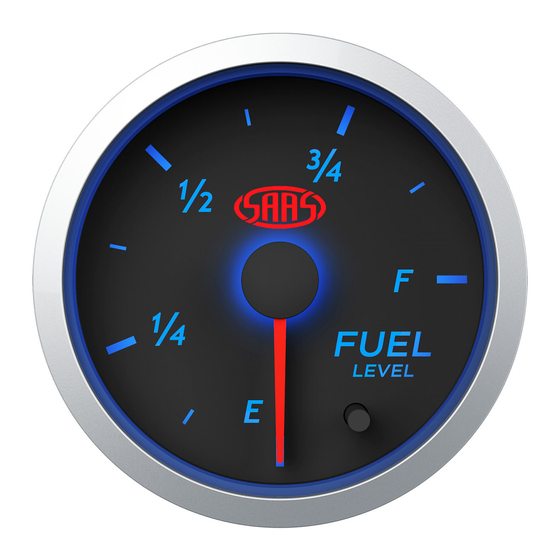
S E R I E S
FUEL LEVEL
Installation Instructions
Wire Function
Ignition 12V+
Illumination 12V+ (
NOT adjustable
Ground 12V-
Fuel level input signal
Wiring Diagram
Typical Layout
Wiring Guide:
Wire Connection Location
Ignition harness / fuse box
) Park light circuit (do NOT connect to a dimmer)
Vehicle body
Fuel sender
Batch #
Sender preset button
(Use to set sender Ω range)
Fuel level signal 12V-
Ground 12V-
Illumination 12V+
Ignition 12V+
Part No: SG21290
2 inch-52mm
Advertisement

Related Manuals for SAAS StreetLine Series


Summary of Contents for SAAS StreetLine Series
- Page 1 Important notes before installing: - Installing this product to your vehicle may require an adaptor. SAAS make a large range of adaptors and installation parts, please check with your SAAS dealer for available adaptors. - SAAS Streetline series gauges are designed for 12 volt systems ONLY! - All installation work should be done by a qualified professional to avoid damage to this product.
- Page 2 - Press and release button again to move the needle to your preferred preset. - Once you have selected a preset, wait 5 seconds for the gauge to exit setup mode. - Gauge is now programmed. Ω SAAS Sender (sold separately) Dial Dial...
- Page 3 52mm Troubleshooting: Please note: If you are having problems with the installation of this product, please do not contact your retailer or SAAS until you have read ALL the troubleshooting notes below. Possible Cause -bad connection on gauge -check preset chart for correct application...
- Page 4 Provision of this warranty shall not apply to any SAAS Automotive product that has been used for a purpose for which it is not designed, or which has been altered in any way that would be detrimental to the performance or life of the product, or misapplication, misuse, negligence or accident.