
Subscribe to Our Youtube Channel
Related Manuals for Boxfish Grabber


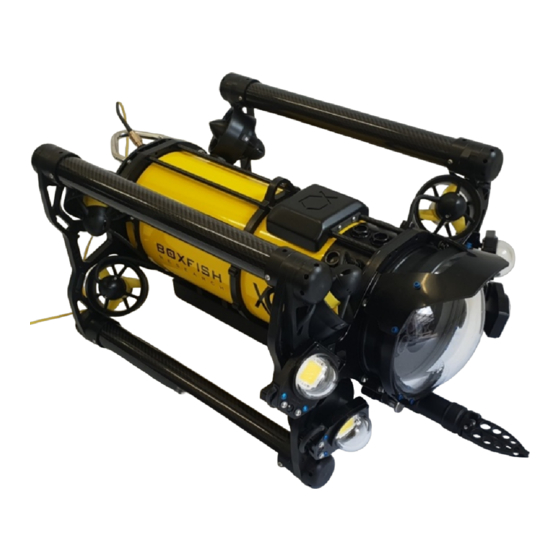
Summary of Contents for Boxfish Grabber
- Page 1 Boxfish Grabber – Blueprint Lab Grabber Manual. Blueprint Lab Grabber for Boxfish ROV All rights reserved. Information and specifications may change at any time without notice.
- Page 2 Boxfish Grabber – Blueprint Lab All rights reserved. Information and specifications may change at any time without notice.
-
Page 3: Table Of Contents
How grabber and mount will arrive after shipping .......... 4 Other items required for grabber accessory ............. 4 How to mount the grabber accessory onto the ROV ..........6 How to control the grabber using the Control Station .......... 8 After a dive ........................... -
Page 4: About This Document
Boxfish ROV, and how to open/close the grabber arms using buttons on the Control Station. If you wish to dive with the ROV without the grabber, you must unplug the grabber cable from the ROV. Instructions for removing the cable are also included in this document. -
Page 5: Grabber Components
‘GRAB’ on the side of the ROV. The end that attaches to the grabber will be covered by a red cap (IMPORTANT – note that this cap is not watertight. If you wish to dive without the grabber attached you must... - Page 6 Silicone grease (supplied in your ROV accessory box): You will need this only if you plan to use your ROV without the grabber attached. It is for lubricating o-rings when removing/inserting penetrator plugs into the ‘GRAB’...
-
Page 7: How To Mount The Grabber Accessory Onto The Rov
Boxfish Grabber – Blueprint Lab 3 How to mount the grabber accessory onto the ROV Note: When installing the grabber, you will find it easier to turn the ROV upside down or onto its side for better access to the mounting point. - Page 8 ROV should be aligned with the holes on the grabber attachment. 10. Use the thumbscrews to hold the grabber mounting plate to the mounting point on the ROV. (Note that the ROV is still upside-down in this picture).
-
Page 9: How To Control The Grabber Using The Control Station
Boxfish Grabber – Blueprint Lab 4 How to control the grabber using the Control Station To use the grabber, power on the ROV and Control Station. You will use the five areas on the Control Station shown below. 1. Sensor Power switch. Turn the Sensor Power switch (1) to the ON position to send power to the grabber. -
Page 10: After A Dive
After disconnecting and drying the grabber, lightly use silicone spray on the female end of the grabber cable AND the male pins on the grabber connector. This will prevent water from sitting in the connections and possibly damaging the connection points. -
Page 11: Appendix: How To Use The Rov Without A Grabber
6 Appendix: How to use the ROV without a grabber IMPORTANT! If you wish to use the ROV without the grabber, you must remove its cable as the end that connects to the grabber is not watertight. 6.1 How to remove grabber cable 6.1.1 Items needed... -
Page 12: How To Reattach The Grabber Cable
3. Unscrew and pull out the port plug from the ‘GRAB’ port 4. Apply a thin coating of silicone grease to the O-rings on the grabber cable. All rights reserved. Information and specifications may change at any time without notice. - Page 13 3. Route the cable back through the grabber mounting plate. and then through the grabber mount. The exact path for the cable is not important, as long as the cable is not at risk of fouling the thruster.
- Page 14 Boxfish Grabber – Blueprint Lab All rights reserved. Information and specifications may change at any time without notice.
- Page 15 Boxfish Grabber – Blueprint Lab All rights reserved. Information and specifications may change at any time without notice.
Need help?
Do you have a question about the Grabber and is the answer not in the manual?
Questions and answers