
Related Manuals for Qooarker W919

Summary of Contents for Qooarker W919
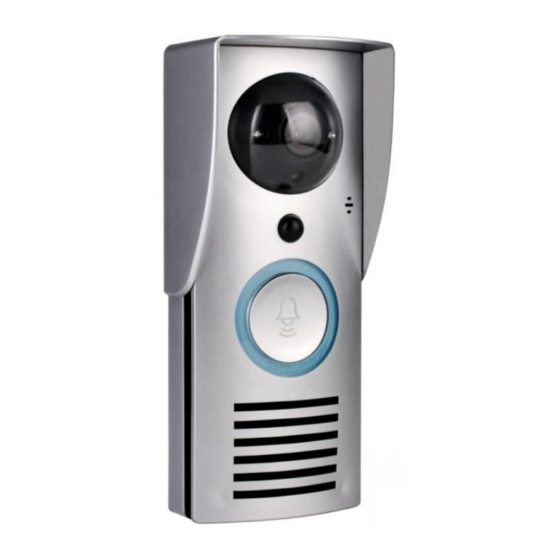
- Page 1 WiFi Wireless Remote Visible Door Bell Using Direction Dear users, thanks for your choosing this product. Before using this product, please read the instructions carefully and keep this guide for further reference...
- Page 2 Note: pictures of the product are based on the material object. We will update the specification regularly according to the increase or upgrade of the product’s functions. The contents will be printed in the new version of this specification without further notice. Product introduction Hisilicon designs with compressed format, and provides high- definition(1 million), standard definition(D1) as well as VGA for...
-
Page 3: Packing Details
Includes Power WiFi Screw cable cable Model DC12V Built √ √ W919 adapter inside Direction of installing the device on wall Choose a good power supply way based on specific house construction diagram. Position option:... - Page 4 Heigh: about 1.5m Position: choose a good place where the WiFi cover fully. Use two back screw holes’distance as standard, drill two holes on wall, then hang the door bell on wall. Take out the top front stopper and screws one pcs screw into the hole, then put the stopper back to the original position.
- Page 5 Android For IOS user, download "yoosee" in APP store For Android user, download "yoosee" in google play store Device connecting Please ensure the WiFi signal can cover the device position. Confirm power and internet connecting>open APP>create account password>log in APP>enter APP Reset the device before connection (Long press the reset button, the device will indicate a successful reset, then a successful reset is complete)...
- Page 6 1.Register a new account (1)Open APP, Clik “Register” (2)Choose register way, mobile phone registion is suggested, and follow register steps to finish all steps. (3)Signin,and enter APP. 2. Smart connecting...
- Page 7 Nickname (your nickname) passcode(the factory default:123) Note: The first people who adds device through the intelligent online will be accepted as the default administrator user (a device has only one administrator), if the administrator did not delete the device, other users who else add device through intelligent online will be prompted that the device has been bound by another;...
- Page 8 (1)Get the ID number and visitor password: admin user access device settings interface, click the device information, you can see the device ID and visitor password 2)Add Bell: while the equipment is online, non administrator users can click on the upper right corner of the "+" button in the software interface equipment list, then according to the prompt, click the "add networked equipment"...
- Page 9 While the equipment is online, in the software interface of equipment list, click on the upper right corner of the "+" button, then according to the prompt, click the "add network equipment", input device ID number (obtained by the first step), nickname (to input), password (obtained by the first step), finally click "OK"...
- Page 10 (4) (5) Note: 1. make sure the device is plugged in and energized 2. make sure that your phone and device are connected to the same router and you can use wired online to add devices Vistors call 1. Vistors press “ Call” key 2.
- Page 11 How to unlock it...
- Page 12 Safety Note: Only administrators can access the device settings interface. 1. Alarm management 1. Click “Setting” 2. Click “Alarm Setting” 3. Ensure that alarm receiving service is accessible and confirm receiving 2. Guard Setting & Guard Delete Setting: Guard delete setting:...
- Page 13 Origianl mode: guard delete setting, Lock sign: “ ON” mode, in this mode, you cant receive the alarm message from door bell. Guard setting: Lock sign: “OFF” mode, in this mode, you can receive the alarm from door bell. 3. Network Settings 1.
- Page 14 Parameter Parameter Hi3518E Resolution 1280*720 Pixel Megapixel Audio DTMF(Dual Tone Multi-Frequency) Detection Motion Angle 92° Agreement support ONVIF ,TCP/IP,UDP,SMTP,DHCP,UPnP,P2P Q & A Q: When somebody call, there only vibrate sound from mobile phone, no ringtones. A: Click “ More” in the setting list, choose system setting, reset the ringtones and alarm.
Need help?
Do you have a question about the W919 and is the answer not in the manual?
Questions and answers