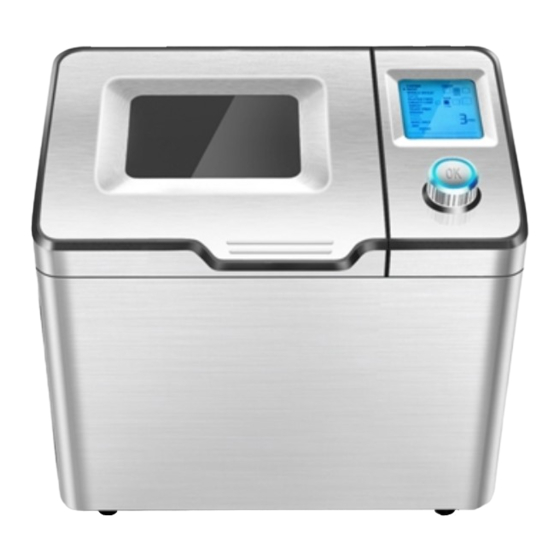
Summary of Contents for HOMCOM BM1353B-GS
- Page 1 INcsb015_UK 800-076V70 MODEL: BM1353B-GS BREAD MAKER IMPORTANT, RETAIN FOR FUTURE REFERENCE: READ CAREFULLY ASSEMBLY INSTRUCTION...
-
Page 2: Table Of Contents
Contents Important safety instructions ......................3 Before first use ..........................4 Know your Bread Maker ........................5 Control panel buttons, displays & functions ..................6 Menu ..............................7 Environment ............................. 8 Auto add ingredient function ......................9 First time use ............................ 9 Using your Bread Maker ........................ -
Page 3: Important Safety Instructions
Important safety instructions The use of any electrical appliance requires the following of basic common sense safety rules. Primarily there is danger of personal injury and secondly the danger of damage to property and the appliance. Location • Always locate your appliance away from the edge of a worktop. •... -
Page 4: Before First Use
10) Never switch on the appliance without properly placed bread pan filled with ingredients. 11) Never beat the bread pan on the top or edge to remove the pan as this may damage the bread pan. 12) Metal foils or other materials must not be inserted into the bread maker as this can give rise to the risk of a fire or short circuit. -
Page 5: Know Your Bread Maker
Know your Bread Maker (Product may be subject to change without prior notice) ~ 5 ~... -
Page 6: Control Panel Buttons, Displays & Functions
Control panel buttons, displays & functions (The view screen is subject to change without prior notice.) If add ingredient Set/display working time. Loaf size: 500g/750g/900g Set/display delay time. Warm Upper arrow is rise 1. Lower arrow is rise 2. Baking Inner circle is knead 1. -
Page 7: Menu
To stop the program, touch the “START/STOP” button for approx. 3 seconds until a beep confirms that the program has been switched off. PAUSE function After a programme has started, you can press START/STOP button once to interrupt at any time. -
Page 8: Environment
LOAF There are three loaf sizes of 500g , 750g and 900g for selection. Please note the total operation time may vary with the different loaf size. Exceptionally, it is inactive for the programs of CAKE, JAM, DOUGH and SANDWICH Note: select your desired loaf size by rotating Setting knob DELAY FUNCTION If want to use delay function, the maximum delay time is 13 hours, rotate the Setting knob to... -
Page 9: Auto Add Ingredient Function
2) If the display shows “LLL” after pressing the START/STOP button (except the BAKE programme), this means the temperature inside is too low (accompanied by 5 beep sounds), stop sound by pressing the START/STOP button, open the lid and let the machine rest for 10 to 20 minutes to return to room temperature. - Page 10 Note: the maximum quantities of the flour are 600g and yeast is 7g. Yeast or soda Drying redients Water or liquid 5) With your finger make a small indentation on one side of the flour. Add yeast into the indentation, ensure it does not come into contact with the liquid ingredients or salt. 6) Close the lid gently and plug the power cord into a wall outlet.
-
Page 11: Special Introduction
18) When not in use or a programme has finished, unplug the power cord. CAUTION: Before slicing the loaf, use the hook to remove the kneading blade hidden on the bottom of loaf. The loaf is hot, never use hand to remove the kneading blade. -
Page 12: Introduction Of Bread Ingredients
carefully with a damp cotton cloth. Please note that the bread pan, kneading blade and ingredient box are dishwasher safe components. 4) Lid and window: clean the lid inside and outside with a slightly damp cloth. 5) Housing: gently wipe the outer surface of housing with a wet cloth. Do not use any abrasive cleaner to clean as this would degrade the high polish of the surface. -
Page 13: Ingredients Measurement
Yeast must be stored in the refrigerator, as the fungus in it will be killed at high temperature, before using, check the production date and storage life of your yeast. Store it back to the refrigerator as soon as possible after each use. Usually, the failure of bread rising is caused by the bad yeast. - Page 14 cooking oil or other ingredients, clean the measuring cup thoroughly without any other ingredients. 2. Dry measurements Dry ingredients must be measured by gently spooning the ingredients into the measuring cup and then once filled, levelling off with a knife. Scooping or tapping a measuring cup with more than is required could affect the balance of the recipe.
-
Page 15: Troubleshooting
Troubleshooting Q&A on Bread maker Problem Cause Solution Smoke comes out of The ingredients stick to Pull out the plug and clean the the baking the baking compartment or outside of the baking pan or the compartment or of the on the outside of the baking compartment. - Page 16 Error with the end results Problem Cause Solution (refer to list below) The bread rises too too much yeast, too much flour, not enough salt fast or several of these causes The bread does not No yeast at all or too little rise at all or not old or stale yeast enough...
- Page 17 Error with the end results continued Open or coarse too much water structure or too many no salt holes great humidity, water too hot too much liquid Mushroom-like, bread volume too big for the pan unbaked surface too much flour, especially for white bread too much yeast or not enough salt too much sugar sweet ingredients besides the sugar...
-
Page 18: Disposal
Disposal Environment friendly disposal You can help protect the environment! Please remember to respect the local regulations: hand in the non- working electrical equipment to an appropriate waste disposal centre. ~ 18 ~...


Need help?
Do you have a question about the BM1353B-GS and is the answer not in the manual?
Questions and answers