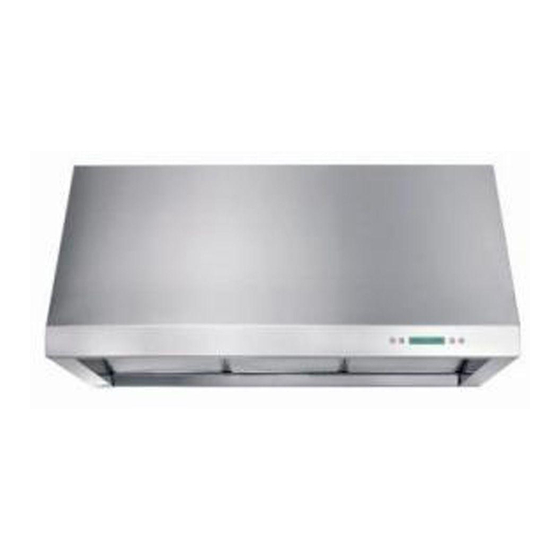
arietta PRO001MX 30 Installation Instruction Manual
Hide thumbs
Also See for PRO001MX 30:
- Use and care instructions manual (47 pages) ,
- Installation instruction manual (2 pages)
Advertisement
Available languages
Available languages
Advertisement
Table of Contents

Summary of Contents for arietta PRO001MX 30
- Page 1 Recirculating KIT PRO Hoods Applicable models: PRO001MX 30 PRO001MX 36 LI295A...
- Page 2 WARNING: • Read and Save These Instructions. • Approved for Residential Appliances only. • PLEASE READ ENTIRE INSTRUCTIONS BEFORE PROCEEDING. • INSTALLER: Please leave these Instructions with this unit for the owner. • OWNER: Please retain these instructions for future reference. •...
- Page 3 Air passage cut-out on hood Figure 2. Hood Preparation • The hood transition must not be installed, since no ductwork is necessary, if it is installed, remove the transitions. • Attach two pins B on top of the hood. See Figure 2. Make sure a Gap exists between the hood and the hood surface.
- Page 4 Proceed to install hood as described in the Installation manual. 9-1/16” 1-1/2” Center Screw for Line cabinet bottom installation Figure 3. Marks in the cabinet CHARCOAL FILTER INSTALLATION • Position the charcoal filter over the grease filter and insert the 4 springs (to prevent the movement). •...
- Page 5 PRECAUCIÓN: • Lea y guarde estas instrucciones. • Aprobado para electrodoméstico residencial únicamente. • Por favor lea completamente estas instrucciones antes de proceder. • Instalador: Por favor deje estas instrucciones al propietario. • Propietario: Por favor mantenga estas instrucciones para futuras referencias. •...
- Page 6 Figura 2. Apertura en la campana para el pasaje de aire. Preparación de la campana • La transición metálica no debe ser instalada, ya que no habrá la necesidad de utilizar conductos, si se encuentra instalada remuévala. • Asegure dos pivotes B en la parte superior de la campana. Como se muestra en la figura 2. Asegúrese de que exista un espacio entre la campana y la superficie.
- Page 7 7) Remueva una de las 2 tapas de la caja de conexión, e instale el conducto de cableado de ½”, junto con la rosca para conductos eléctricos a la caja de conexión. 8) Apriete los tornillos desde el interior de la campana a través del punto D (vea figura 2 como referencia, el número depende del tamaño de la campana).


Need help?
Do you have a question about the PRO001MX 30 and is the answer not in the manual?
Questions and answers