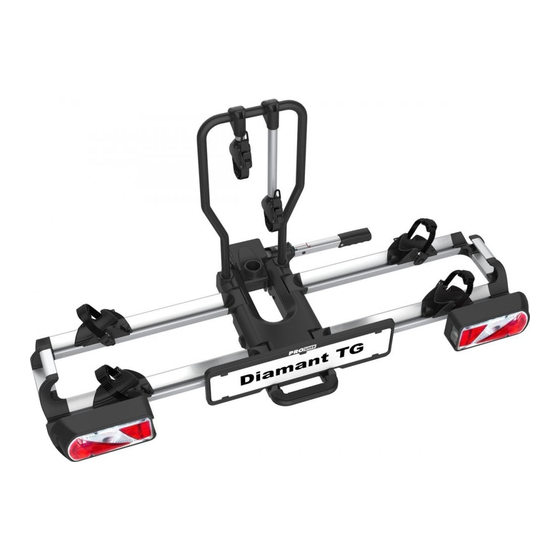
Summary of Contents for PROUSER DIAMANT TG
- Page 1 NL: Montagehandleiding DE: Montageanleitung UK: Assembly instruction FR: Notice d’assemblage Oprijgoot/Auffahr Schiene Bike ramp/Rail de chargement DIAMANT TG & DIAMANT I...
- Page 3 DE MONTAGE Allereerst moet de Pro-User Diamant TG fietsendrager voorbereid worden voor het gebruik van de oprijgoot (niet van toepassing voor Diamant I). Plaats de vier oogjes in de uiteinden van de 4 wielgoten (foto’s 1-3) en borg ze met het kleine inbusboutje (foto 4).
- Page 4 Fahrradträger auffahren, ohne die Fahrräder anheben zu müssen. DIE MONTAGE Zunächst muss der Pro-User Diamant TG Fahrradträger für den Einsatz der Auffahrschiene vorbereitet werden (gilt nicht für Diamant I). Setzen Sie die vier Ösen in die Enden der Schienen (Foto 1-3) und sichern Sie diese jeweils mit der kleinen Inbusschraube (Foto 4).
- Page 5 No more lifting, just ride your bicycle (Max. 30kg) on the bike carrier. ASSEMBLY First prepare the Pro-User Diamant TG bike carrier for the use of the ride-on- ramp (not applicable for Diamant I). Place the four eyelets in the ends of the ramp (photo 1-3) and secure them with the small socket screw (photo 4).
- Page 6 à ne pas devoir le soulever. LE MONTAGE Tout d’abord le Pro-User Diamant TG doit être préparé avant on peut utiliser la gouttière d’accès (non applicable pour Diamant I). Placez les quatre accessoires aux extrémités (photo 1-3) du rail de chargement et sécurisé...
- Page 8 © Tradekar 91750/21A Tradekar Benelux BV Ohmweg 1 +31 (0)345-470990 4104 BM CULEMBORG info@tradekar.com The Netherlands www.pro-user.eu...


Need help?
Do you have a question about the DIAMANT TG and is the answer not in the manual?
Questions and answers