Table of Contents
Advertisement
Quick Links
Advertisement
Table of Contents

Related Manuals for MUNBYN IDS001


Summary of Contents for MUNBYN IDS001
- Page 1 IDS001 Document Scanner User Manual 1.00...
-
Page 2: Version History
Version History Date Changes Version 2021-12-30 Jackie Jian 1.00 Initial Version Page2of21 IDS001 Document Scanner User Manual Version 1.00... -
Page 3: Table Of Contents
Format the SD Card..................... 11 3.3. White Balance Calibration...................12 4.0. OCR Software Operation Guide................14 4.1. Install the OCR Software..................... 14 4.2. Convert Images or PDF Documents into Editable Documents........16 5.0. Product Specification....................20 Page3of21 IDS001 Document Scanner User Manual Version 1.00... -
Page 4: Product Introduction
④ ⑤ ⑥ ⑦ Figure 1-1 What's in the Box ① Scanner ② Storage Bag ③ USB Cable ④ Calibration Paper ⑤ 16G SD Card (Inserted) ⑥ User Manual ⑦ Cleaning Cloth Page4of21 IDS001 Document Scanner User Manual Version 1.00... -
Page 5: Product Overview
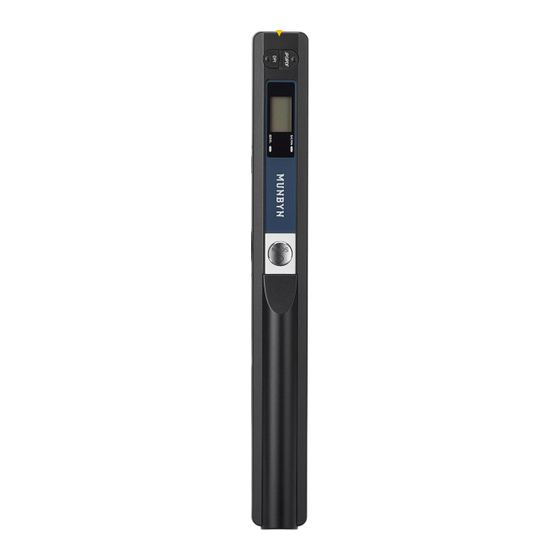
Working LCD Screen 2 AA Batteries Installation Indicator Light Error Indicator Scan/Power DPI Key Light Figure 1-2 IDS001 Front Diagram SD Card Slot Time Setting Hole Type-C USB Port Formatting SD Card Hole Figure 1-3 IDS001 Side Diagram Page5of21 IDS001 Document Scanner User Manual... -
Page 6: Function Keys
2. Battery Display 3. JPG/PDF: Document format saved after scanning 4. 26: The number of scanned documents in SD card 5. Resolution: HI (High: 900 DPI) / MI (Middle:600 DPI) / LO (Low:300 DPI) Page6of21 IDS001 Document Scanner User Manual Version 1.00... -
Page 7: Operating Instructions
Please prepare 2 AA batteries and install them into the scanner, the direction of the batteries installation as shown in the figures below. Figure 2-1 Battery Installation Figure 2-2 Battery Installation Make sure the 16G SD card is inserted into the SD card slot. Page7of21 IDS001 Document Scanner User Manual Version 1.00... -
Page 8: How To Start Scanning
Select the DPI you want: HI (High: 900 DPI) / M I(Middle:600 DPI) / LO (Low:300 DPI) Figure 2-4 Select DPI Select the document format you want: JPG / PDF Figure 2-5 Select JPG/PDF Page8of21 IDS001 Document Scanner User Manual Version 1.00... - Page 9 Figure 2-8 View Scanned Files Notes: 1) About size: The maximum size of the scanned target is 8.27 inches. If the target is over this limit, it is recommended that you perform segmented scanning reasonably. Page9of21 IDS001 Document Scanner User Manual Version 1.00...
- Page 10 We recommend you watch the tutorial video firstly and practice scanning several times so that you can master the device easier. Scanning and Files Transfer Tutorial Video Link: https://munbyn.biz/001s Page10of21 IDS001 Document Scanner User Manual Version 1.00...
-
Page 11: Menu Setting
When “F” is displayed on the LCD screen, press the “SCAN” button to confirm, then the number shown on the LCD screen will return to 0, which means the SD card formatted successfully. Page11of21 IDS001 Document Scanner User Manual Version 1.00... -
Page 12: White Balance Calibration
Press the “SCAN” button for 2s to turn on the scanner. While holding down the "JPG/PDF" button, press the "SCAN" button to enter the calibration mode. (The red and green lights will on at the same time) Figure 3-5 White Calibration Page12of21 IDS001 Document Scanner User Manual Version 1.00... - Page 13 Note: If the “ERR” red light is flashing and cannot be scanned. It may be that you did not follow the above operation or missed a step when you calibrate the white balance. Please follow the above operation to calibrate again. White Balance Calibration Tutorial video: https://munbyn.biz/001c Page13of21 IDS001 Document Scanner User Manual Version 1.00...
-
Page 14: Ocr Software Operation Guide
Select “I accept the terms of the license agreement” and then click “Next”, as shown in the figure below. Figure 4-2 Installation Interface Click the “Browse...” to select the install location of this software, then click “Next”, as shown in the figure below. Page14of21 IDS001 Document Scanner User Manual Version 1.00... - Page 15 2 minutes to complete the installation. After clicking the “Finish”, the OCR software is ready to use, as shown in the figures below. Please don’t select the “Download and install updates without warnings” option. Figure 4-4 Installation Interface Figure 4-5 Installation Interface Page15of21 IDS001 Document Scanner User Manual Version 1.00...
-
Page 16: Convert Images Or Pdf Documents Into Editable Documents
Click the “Open” in the banner of software to enter the “open image” interface, then select an image or a PDF document and click “Open” to open the document, after opening the document, it can be edited in the software, as shown in the figures below. Page16of21 IDS001 Document Scanner User Manual Version 1.00... - Page 17 Figure 4-8 Open File Interface Figure 4-9 Editing Interface Click the “File”, then click the “Save Document As” and select the target document format to convert and save, as shown in the figure below. Page17of21 IDS001 Document Scanner User Manual Version 1.00...
- Page 18 Select a folder to save your convert files, then click the “Save”. After the files are saved successfully, the converted files can be found in the folder, as shown in the figures below. Figure 4-11 Save File Interface Page18of21 IDS001 Document Scanner User Manual Version 1.00...
- Page 19 Figure 4-12 View the Converted Document Page19of21 IDS001 Document Scanner User Manual Version 1.00...
-
Page 20: Product Specification
Auto power off 3 minutes USB port USB 2.0 high speed Power Supply Battery (2pcs AA battery) External Memory 16G Micro SD card Support system Windows, MacOS and Linux Weight 145g Dimension 10×0.84×0.7 inches Page20of21 IDS001 Document Scanner User Manual Version 1.00... - Page 21 Scan the QR code for Facebook online chat Contact us MUNBYN provides 18 months warranty and lifetime free service. If you encounter any issues with the product, please contact the MUNBYN team to promptly receive troubleshooting tips or a replacement. Email: support@munbyn.com...
Need help?
Do you have a question about the IDS001 and is the answer not in the manual?
Questions and answers