Advertisement
Thank you for purchasing our smoke alarm. Please take a few minutes
to read the User's Manual thoroughly and familiarise yourself and your
family with its operation. Please keep the User Manual for the entire
lifetime of the product.
Certified to
EN 14604:2005/AC:2008
Complies with
NZ Building Code April 2003
Residential Tenancies Amendment Act 2016
1
Advertisement
Table of Contents

Related Manuals for ARMA MV208S

Summary of Contents for ARMA MV208S
- Page 1 Thank you for purchasing our smoke alarm. Please take a few minutes to read the User’s Manual thoroughly and familiarise yourself and your family with its operation. Please keep the User Manual for the entire lifetime of the product. Certified to EN 14604:2005/AC:2008 Complies with NZ Building Code April 2003...
-
Page 2: Product Specifications
Product Specifications Operation current : <6uA(standby), <100mA(alarm) Alarm volume : >85 dB (A) at 3 meters Alarm sensitivity : 0.100 - 0.160 dB/m Operating temperature : 0°C to 40°C Operating humidity : < 93 % Low battery & fault warning : Yes •... -
Page 3: Important Safety Information
Description The unit is a photoelectric smoke alarm. Photoelectric technology is more sensitive at detecting slow smoldering fires which generally produce thick smoke along with a little heat and may smoulder for hours before bursting into flames. The smoke alarm does not contain any radioactive material, and is harmless to the environment. - Page 4 household members. A smoke alarm will not promptly detect an emerging fire except in the area or room in which it is installed. 6. Smoke alarm may not alert every household member every time. The alarm horn is loud in order to alert individuals to a potential danger.
-
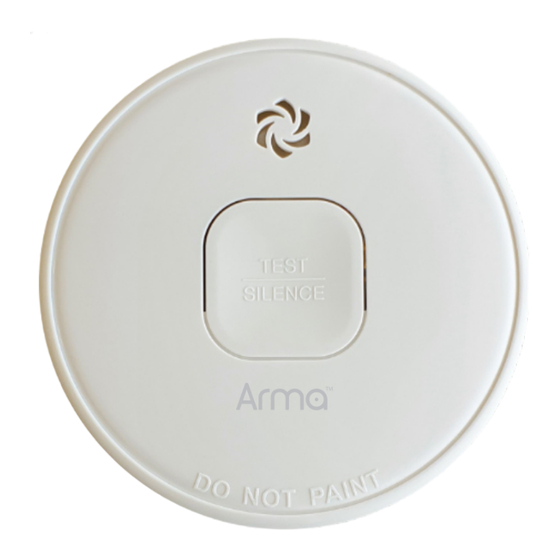
Page 5: Operation
Indication of Different Status Standby Status: Red LED flashes once every 40 seconds indicating the smoke alarm is operating properly. Alarm & Test Status: When the test button is pressed or when the smoke alarm senses particles of combustion and goes into alarm (constant pulsed sound), the red LED will flash once per second.The flashing LED and pulsating alarm will continue until the air is cleared or the test button is released. - Page 6 generated, the smoke alarm is not activated properly and should not be used! Please return the smoke alarm to your supplier for replacement. Test After activation, it is good practice to test the alarm. Wait several minutes then test the unit to ensure proper operation by pressing and holding in the test button for several seconds.
- Page 7 The smoke alarm will automatically reset after approximately 10 minutes. If particles of combustion still exist after this period, the smoke alarm will alarm again. The Silence (Hush) Mode can be repeated until the air has been cleared. Combustion particles from cooking may set off the alarm if the alarm is located close to the cooking area.
-
Page 8: Troubleshooting
Troubleshooting Problem Solution Smoke alarm does not sound when Power source is depleted. Replace the testing. smoke alarm. The alarm chirps with red LED flashing Power source is depleted. Replace the once every 40 seconds. smoke alarm. The alarm chirps every 40 seconds Clean smoke alarm. -
Page 9: Installation
Installation Smoke alarms should be installed in every room (except the bathroom, laundry, kitchen, attic and garage) and every other area of the home, making sure people in the home will be able to hear and respond to the alarm. For minimum protection you should fit an alarm in the hallway between the living areas and sleeping areas. - Page 10 3. Near return air or heating and cooling vents. Install at least 1m away from these areas. The air could blow smoke away from the detector, interrupting its alarm sensitivity. 4. In rooms where temperatures may fall below 10ºC or rise above 40ºC, or in humidity higher than 93%.
- Page 11 15cm(6in) Minimum 30cm(12in) Maximum Diagram 1 Diagram 2 Heat Alarm Diagram 3...
- Page 12 Installation Steps (Please refer to Diagram 4) • Optional - Remove the tamper-proof plug from the mounting plate (if necessary, use a screw driver for this). • Place the bracket on the desired location on the ceiling and mark the screw holes with a pencil.
- Page 13 holes of wall or ceiling plastic plugs brack Tamper-proof plug Two screws Fixing plug screws Alarm body Hole for tamper-proof plug Diagram 4...
-
Page 14: Maintenance And Cleaning
Maintenance and Cleaning In addition to weekly testing, the alarm requires periodic cleaning and vacuuming to remove dust, dirt and insects. Clean the alarm at least once a month. Vacuum both sides of smoke alarm with a mains powered vacuum cleaner with the soft brush attachment. -
Page 15: What To Do In Case Of Fire
1. Expose everyone to the sound of the smoke alarm and explain what the sound means. 2. Determine two exits from each room and an escape route to the outside from each exit. 3. Teach all household members to touch the doors before opening them. -
Page 16: Warranty Information
Faulty product should be returned to your retailer with a detailed explanation of the problem. Proof of purchase must be retained and presented to the retailer for the warranty to be honoured. Arma™ Fire Safety products are distributed by Newfield Group Ltd, Christchurch, NZ www.newfield.co.nz...
Need help?
Do you have a question about the MV208S and is the answer not in the manual?
Questions and answers