Advertisement
Quick Links
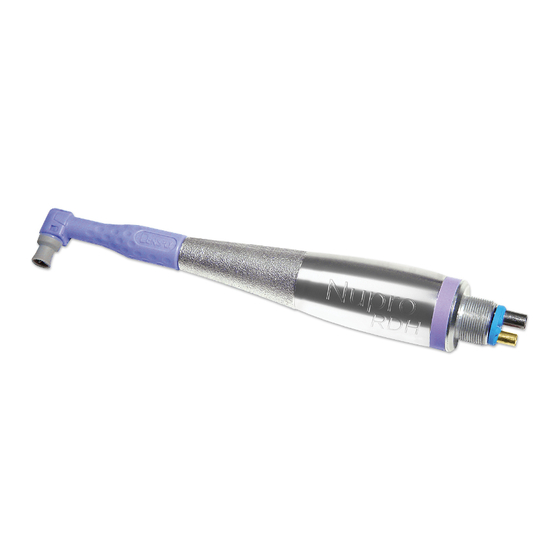
The Midwest RDH handpiece is fairly common and is used by hygienists to clean teeth.
The most common problems for this handpiece include a bad prophy head or a dirty
motor. Both of these problems can be easily solved. As always, try to determine the
problem before disassembling the nosecone.
Some signs to look for are:
• The Motor is locked up:
o Try removing the prophy head and running the motor. If the motor now
runs freely without the head, simply replace the prophy head (Part# SO-
720445). If not, disassemble and overhaul.
• There is little or no torque when the motor is running:
o You may have a cracked drive gear at the top of the nose section, or you
may have a dirty motor in need of overhaul.
• The nose section spins when the motor is running
o This is a sign of a faulty prophy head, simply replace the head.
The repair procedures for each of these problems is addressed below
STEP 1
To remove the nose portion from the motor portion, secure the nose
assembly approximately ¾ up the shaft. Use about a ¾" collet to hold the
nose. Then wrap the motor housing with a strip of rubber and gently wiggle
the housing while simultaneously pulling up. This will allow the two pieces
to work apart.
You can now see the retaining clip that was holding the two pieces together. Try to be
careful with this clip as it is hard to replace.
Midwest RDH Handpiece
Repair Procedure
STEP 2
Remove the two
pieces and set
them on your
work surface.
Advertisement

Related Manuals for Midwest RDH


Summary of Contents for Midwest RDH
- Page 1 Midwest RDH Handpiece Repair Procedure The Midwest RDH handpiece is fairly common and is used by hygienists to clean teeth. The most common problems for this handpiece include a bad prophy head or a dirty motor. Both of these problems can be easily solved. As always, try to determine the problem before disassembling the nosecone.
- Page 2 STEP 3 Now place the threads of the motor into a 9/16” collet (far left picture). Remove the motor housing by unthreading it in a counterclockwise direction. Place the outer housing on your work surface and then remove the motor canister from the base piece (near left picture).
- Page 3 Parts 1 thru 5 of the Exploded View 1 can be exposed by removing a c-clip from inside the top of the motor housing. If you do remove these items, it is best to clean them and apply some grease to the planetary gears before reassembly. STEP 5 Now we will disassemble the motor canister.
- Page 4 STEP 6 With the motor disassembled as pictured in the previous exploded view, examine the individual parts. Place the pieces in your ultrasonic cleaner and replace the blades and springs if necessary. STEP 7 Begin the reassembly process by placing the blades and springs into the rotor. Next, slide the rotor housing over the rotor and blades.
- Page 5 The above picture shows the disassembled nose section. The top gear is replaceable, but the main shaft is not, so be careful when handling the shaft. You can use your Midwest Nosecone Tool (00014) to gain access to the shaft.
- Page 6 Next, insert the handpiece threads into the collet and secure. Then, wrap the upper portion (Nose section) of the RDH with a strip of Gum Rubber (00032). Once tight, slowly jiggle the nose section while also pulling up. This should release the nose section from the main RDH Body.
- Page 7 STEP 3 To remove the small brass clip washer, take your exacto knife and carefully slip it out of its groove. Then, slowly slide it up and off the end of the chuck. STEP 4 Once the brass clip washer has been removed, you can slide the 60102 spindle bearing up and off of the chuck as well.
- Page 8 Assembly STEP 1 If you did replace the chuck, simply attach it to the drive fork with a 60219A pin. Next, slide a new 60102 bearing over the spindle and press it down to the bottom spindle flange. Then, carefully slide the brass clip washer down over the chuck until it clicks into the groove on the chuck, just above the bearing.
- Page 9 RDH body. STEP 7 Your Midwest RDH Should now be fully assembled and ready to test. Many times, the colored rubber band at the bottom of the motor will be missing or in poor condition. Replacing this band improves the look of the handpiece greatly and we recommend this addition with most RDH repairs.
Need help?
Do you have a question about the RDH and is the answer not in the manual?
Questions and answers