Table of Contents
Advertisement
Quick Links
IMPORTANT
Read Before Using
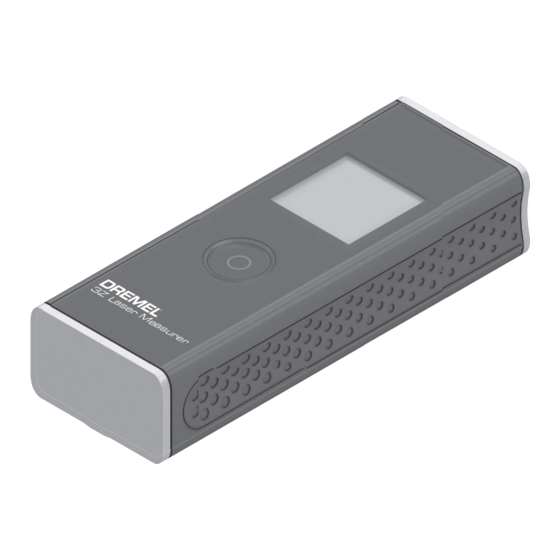
3Z Laser
Measurer
Pour obtenir des informations et les adresses de nos centres de service après-vente, appelez ce numéro gratuit
Llame gratis para obtener información para el consumidor y ubicaciones de servicio
1-800-4-DREMEL (1-800-437-3635) www.dremel.com
For English Version
See page 3
●
Lire avant usage
Operating / Safety Instructions
Consignes d'utilisation/de sécurité
Instrucciones de funcionamiento y seguridad
P.O. Box 081126 Racine, WI 53408-1126
Call Toll Free for Consumer Information and Service Locations
Version française
●
IMPORTANT
Voir page 22
IMPORTANTE
●
Leer antes de usar
Versión en español
●
Ver la página 43
Advertisement
Table of Contents

Related Manuals for Dremel 3Z Laser Measurer

Summary of Contents for Dremel 3Z Laser Measurer
- Page 1 Call Toll Free for Consumer Information and Service Locations Pour obtenir des informations et les adresses de nos centres de service après-vente, appelez ce numéro gratuit Llame gratis para obtener información para el consumidor y ubicaciones de servicio 1-800-4-DREMEL (1-800-437-3635) www.dremel.com For English Version Version française Versión en español...
-
Page 2: Safety Symbols
Safety Symbols The definitions below describe the level of severity for each signal word. Please read the manual and pay attention to these symbols. This is the safety alert symbol. It is used to alert you to potential personal injury hazards. Obey all safety messages that follow this symbol to avoid possible injury or death. -
Page 3: Electrical Safety
General Safety Rules “ON” increases the risk of someone DO NOT mix battery chemistries. inadvertently staring into the laser beam. Dispose of or recycle batteries per local DO NOT operate the laser measure in code. combustible areas such as in the presence DO NOT dispose of batteries in fire. - Page 4 Symbols Important: Some of the following symbols may be used on your tool. Please study them and learn their meaning. Proper interpretation of these symbols will allow you to operate the tool better and safer. Symbol Designation ⁄ Explanation Volts (voltage) Amperes (current) Hertz (frequency, cycles per second) Watt (power)
- Page 5 Symbols Important: Some of the following symbols may be used on your tool. Please study them and learn their meaning. Proper interpretation of these symbols will allow you to operate the tool better and safer. Symbol Designation / Explanation Alerts user to read manual Alerts user to wear eye protection This symbol designates that this tool is listed by Underwriters Laboratories.
- Page 6 Functional Description and Specifications Digital Laser Measure Fig. 1 Tape adapter (11) (12) (10) Wheel adapter (13) Measuring button Display elements Tape adapter Display Current measured 10 Tape value Battery compartment 11 Inner edge of cover Previous measured hook value Locking mechanism 12 Outer edge of of the battery...
-
Page 7: Functional Description And Specifications
Functional Description and Specifications Digital laser measure Article Number F013LM0100 Measuring range 0.5 - 65.0 ft (0,15 – 20,00 m) Measuring accuracy ± 1/8 inch (± 3 mm) Smallest display unit 1/16 inch Measuring time - typical 0,5 s - maximum 4,15 s Operating temperature 14 °F …... -
Page 8: Intended Use
Wheel adapter measuring tool is suitable for measuring The wheel adapter is intended for use in indoors. combination with the 3Z Laser Measurer for Tape adapter measuring distances between two points (e.g. lengths of material) in interior areas. The tape adapter is intended for use in combination with the 3Z Laser Measurer for measuring circumferences (e.g. -
Page 9: Measuring Process
Operation - Laser Measure leave Fig. 2 switched-on laser measure unattended and switch the laser measure off after use. Other persons could be blinded by the laser beam. Protect the laser measure against moisture and direct sun light. Do not subject the laser measure to extreme temperatures or variations in temperature. -
Page 10: Area Measurement
Operation - Laser Measure Fig. 5 Area Measurement – Press the measuring button (1) twice in quick succession to multiply the last two measurements together (see figure 5). The indicator (f) appears on the display and the area measurement is shown. - Page 11 Operation - Tape Adapter – Switch on the measuring tool (see Fig. 6 "Switching the laser measure on/off", page Only use the tape adapter on clean and dust-free surfaces to avoid measurement inaccuracies. Measuring length (see figures 6−7) After the measuring tool has been switched on, the tape extension is measured continuously.
- Page 12 Operation - Wheel Adapter – Switch on the measuring tool (see Fig. 8 "Switching the laser measure on/off", page 9). ' 6 ' ' Measuring Length (see figures 8−10) – Run the wheel (13) along the distance to be measured. After the measuring tool has been switched on, the wheel measures continuously.
-
Page 13: Maintenance And Cleaning
Errors – causes and corrective measures Cause Corrective measure Temperature warning (g) flashing, display shows "err", measurement not possible, measuring tool switches off automatically after five seconds Measuring tool is outside of the Wait until the measuring tool has reached operating temperature range of operating temperature. -
Page 14: Dremel® Limited Warranty
Dremel® Limited Warranty Your Dremel product is warranted against defective material or workmanship for a period of two years from date of purchase. In the event of a failure of a product to conform to this written warranty, please take the following action: 1.
Need help?
Do you have a question about the 3Z Laser Measurer and is the answer not in the manual?
Questions and answers