Table of Contents
Advertisement
Advertisement
Table of Contents

Subscribe to Our Youtube Channel
Related Manuals for QPIX PF1005

Summary of Contents for QPIX PF1005
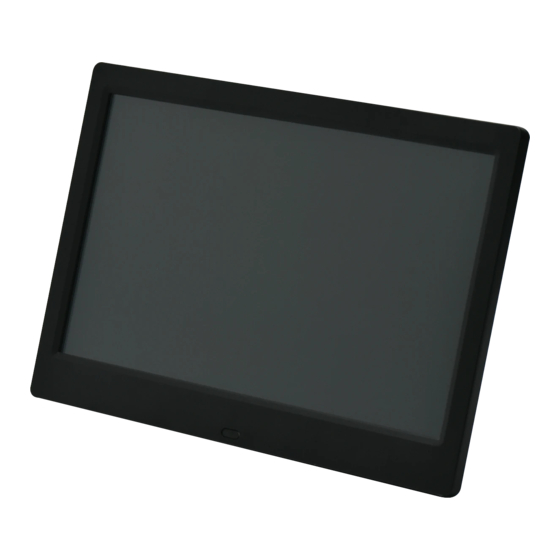
- Page 1 PF1005 Digital Photo Frame User Manual...
-
Page 2: Table Of Contents
VERVIEW IMPORTANT SAFETY INSTRUCTIONS ........7 GETTING STARTED ................ 8 ........8 ONNECTING TO OWER DPF ..........8 TART UP THE USING THE QPIX DIGITAL PHOTO FRAME ......9 ........... 9 ELECT NPUT OURCE ............9 ........10 IEW A... -
Page 3: Introduction
Introduction Thank you for selecting the QPIX Digital Photo Frame. Displaying your favorite picture is easy and fun. Features • 10.1" TFT LED panel with 1024 * 600 pixels resolution, 16:9 aspect ratio. • Supports most photo formats: JPG, JPEG, BMP, PNG and more. -
Page 4: Product Overview
Product Overview 1.3.1 Function Buttons at Back Side 1 Power On/Off 2 Previous File/Up 3 Volume Up/Left 4 Enter/ Play/Pause 5 Volume Down/Right 6 Next File/Down 7 Press to return the next level of current function, press and hold to enter the setup menu 1.3.2 Interface at Right Side 1 DC Port 2 Mini USB... - Page 5 1.3.3 Remote Control Icon Description Power On / Off Mute Photo and Music Play Mode CALENDAR Calendar PHOTO Photo Play Mode Music Play Mode MUSIC Video Play Mode MOVIE Down Left Right ENTER Enter Volume Up VOL + Volume Down VOL - Fast Forward Fast Backward...
- Page 6 The PDF has a built-in remote control sensor in the bottom middle of the frame. Maximum vertical and horizontal angle approximately 30 degrees Approximately 1.4 m or less Replacing the remote control battery 1. On the back of the remote control, pull out the battery holder. 2.
-
Page 7: Important Safety Instructions
Important Safety Instructions Always follow these basic safety precautions when using your Digital Photo Frame (DPF). This will reduce the risk of fire, electric shock and injury. Caution: To reduce the risk of fire or shock hazard, do not expose this product to rain or moisture. -
Page 8: Getting Started
Getting Started Connecting to Power 1. Insert and gently push up the back stand. 2. Remove the protecting film on the panel. 3. Place the DPF on a flat surface. 4. Press plug the AC power adapter into the photo frames DC power jack and an electrical wall outlet. -
Page 9: Using The Qpix Digital Photo Frame
Using the QPIX Digital Photo Frame Select Input Source There are two input sources: SD (SDHC/MMC) memory card or USB memory stick (up to 32 GB). 1. Insert the USB memory stick or SD (SDHC/MMC) memory card. 2. Press the EXIT button twice and use the button and the button to select the input source. -
Page 10: View A Photo/Slideshow
View a Photo/Slideshow In the photo mode, press the button and the button to select an individual photo by press the ENTER button. Wait for a while, your favorite slideshow will start automatically. IMPORTANT: Please ensure you save photo files in the compatible format for playing on your DPF. -
Page 11: Movie
IMPORTANT: Please ensure you save music files in the compatible format for playing on your DPF. Tips: Adjust music display mode and repeat mode via System Setup > Music Setup > Display Mode/Repeat Mode. Movie Press the MOVIE button to open the video player. Use the button to Play/Pause. -
Page 12: Clock / Alarm
Tips: Adjust photo transition via System Setup > Photo Setup > Transition Interval. Clock / Alarm Press the SETUP button and select the Date & Time menu. Press the ENTER button and select the Alarm Setup menu. Press the ENTER button and change it to ‘On’. Press the ENTER button and move to the Alarm Time menu. -
Page 13: Adjusting The Settings
Adjusting the Settings Using the control buttons Press the button to move up to previous menu or option. Press the button to move up to next menu or option. Press the ENTER button to change or confirm the change. Press the EXIT button to exit. - Page 14 Overview Item/Menu Sub-Menu Options Display Mode Full Screen, Scale, Original Size Background Music On, Off Repeat Mode Repeat All*, Sequence, Random Photo Setup Transition Interval Off, 5s, 10s, 30s, 1 min, 10min, 30min, 1 hour, 12 hours, 24 hours Transition Effect Normal and the other 8 kinds Adjust Date Clock Mode...
-
Page 15: Browser
Browser List all the files in the USB memory stick or SD (SDHC/MMC) memory card. Move the button or the button to see the details of the file. Picture and video will be shown in thumbnail. Press the ENTER button to play the highlighted file. Copy Files to Built-in Memory Card Files from USB memory stick can be copied to the built-in memory, 1. -
Page 16: Frequently Asked Questions (Faq)
3. Set the Auto Copy as “Off”. IMPORTANT: 1. Please ensure you have backed up all the old files in the built-in memory since they will be deleted. 2. The capacity of built-in memory is 8 GB. Not all the files in the USB stick memory will be copied over when the total size of the files in USB memory stick is bigger than 8 GB. - Page 17 The PDF is placed upside down. Please rotate the frame. Can I connect my DPF directly to my computer? You can connect the DPF directly to your computer via a mini USB cable (not supplied as standard accessory, please purchase from QPIX if necessary).
-
Page 18: Customer Support
Customer Support Many questions regarding the operation of your QPIX product can be answered by reading the instruction manual packaged with this product. If this product is deemed to be defective and is under warranty, you may return the product to the following address for repair or replacement. -
Page 19: Product Specifications
Replacement products and parts are warranted to be free from defect in materials or workmanship for 90 days, or for the remainder of the warranty period for the QPIX product which they are replacing or in which they are installed, whichever is longer. - Page 20 Printed in China...
Need help?
Do you have a question about the PF1005 and is the answer not in the manual?
Questions and answers