Table of Contents
Advertisement
Quick Links
Advertisement
Table of Contents

Related Manuals for technoswitch CR035WB

Summary of Contents for technoswitch CR035WB
- Page 1 WALL MOUNTED WEEKLY TOUCH PROGRAMMABLE THERMOSTAT - WIFI...
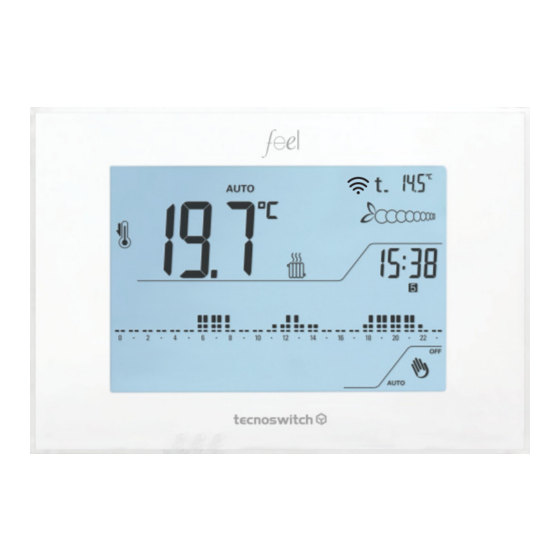
- Page 4 COMMAND AND INDICATIONS KEYS LEGEND Menu Increase Decrease Confirm Scrolls the next icon ON/OFF - Manual/Automatic DISPLAY LEGEND Temperature levels Days of week Current time (Clock) Energy consumption savings indicator Set temperature / Humidity Set temperature thresholds WiFi Cooling mode Heating mode Ambient Temperature Automatic Mode...
- Page 5 Frost protection Manual Mode Relative humidity Note: when the programmable thermostat is in Stand-by, press to start the backlight. Now it can be set.
-
Page 6: Table Of Contents
page INDEX 1. Installation 2. Factory Setting 3. On / Off 4. Set Day And Time 5. Daily Programming Of Temperatures 6. Lock Setting 7. Reset APP QUICK GUIDE 1. Configuration 2. On / Off 3. Automatic / Manual Mode 4. -
Page 7: Installation
INSTALLATION The device must be positioned about 1.5 meters above the floor, avoiding heat sources, windows and doors. It must be installed on the wall or on recessed boxes with 2 or 3 modules, in dry places. To install the programmable thermostat it is necessary: •... - Page 8 WIRING DIAGRAM Fig. 1B RELE’ PROBE Fig. 2B BOILER 230 Vac RELE’ PROBE PUMP VALVE MOTORIZED Open Closed 230 Vac...
-
Page 9: Factory Setting
FACTORY SETTING For faster use, the programmable thermostat is supplied with set programs: • Heating program. Temperature levels: (T1) = 14°C (T2)= 18°C (T3) = 22°C • Cooling Program. Temperature levels: (T1) = 24°C (T2) = 26°C (T3) = 28°C •... -
Page 10: Set Day And Time
SET DAY AND TIME Press the icons in sequence : the clock flashes confirm with to set hour/minutes confirming with , the day value (Monday) flashes press and select the desired day that will start to flash confirm with DAILY PROGRAMMING OF TEMPERATURES It can customize the temperature levels at 30 minute intervals. -
Page 11: Lock Setting
LOCK SETTING The programmable thermostat is provided with a 3 digit Lock Code. Press the icons in sequence : ) for 3 seconds up to position on PAS to set the first digit press to set to the other two digits confirm with To deactivate it, repeat the same steps. -
Page 12: Configuration
QUIK GUIDE APP CONFIGURATION Download the free APP “Crono feel” from the official stores Programmable Thermostat Configuration: To turn on the wi-fi module, press the icons in sequence : up to position on confirm with flashes confirm with Smartphone Configuration: •... -
Page 13: On / Off
ON / OFF Press to switch on / off the programmable thermostat. Fig.A -> (Fig.4) (Fig.5) AUTOMATIC / MANUAL MODE •Press to enable MANUAL MODE; To set the temperarure: • Press •Place your finger inside the yellow circle and scroll up or down to increase or decrease the temperature;... - Page 14 Confirm with (Fig.7); Press to enable AUTOMATIC MODE. (Fig.8). -> -> -> -> -> (Fig.8)
-
Page 15: Automatic / Manual Mode
PROGRAMMAZIONE SETTIMANALE •Follow to weekly programming Fig.9... - Page 16 Place your finger inside the yellow circle and scroll up or down to set the desired time range (Fig.10); -> -> -> -> • Press to set the desired temperature range at that time; (Fig.11) • After programming, confirm with (Fig.12) •...
-
Page 17: Delete Program
-> -> -> (Fig.13) (Fig.14) (Fig.11) (Fig.12) DELETE PROGRAM Enter the program to be deleted, press and confirm with -> -> ->... -
Page 18: Language Setting
LANGUAGE SETTING Follow to set language... - Page 19 Pursuant to Legislative Decree No. 49 of March 14, 2014 “ Implementation of Directive 2012/19/EU on waste electrical and electronic equipment (WEEE)” The “crossed out wheelie bin” WEEE symbol on the appliance show that the product, at the end of its useful life, must be collected separately from other waste. Therefore, the user must provide the equipment with the essential components at the recycling centre for electronic and electrotechnical devices, or return it to the dealer when you purchase an equivalent appliance in one-to-pne reason, or 1 to zero for equipment with a side lower than 25cm.
- Page 20 REV.11-20...
Need help?
Do you have a question about the CR035WB and is the answer not in the manual?
Questions and answers