Table of Contents
Advertisement
Quick Links
Advertisement
Table of Contents

Summary of Contents for NexxTech 8021910
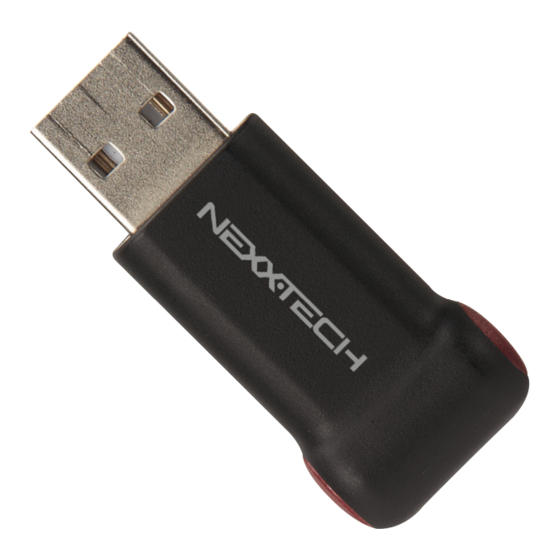
- Page 1 8021910 Data Link Dongle OWNER’S MANUAL...
-
Page 2: Table Of Contents
CONTENTS INTRODUCTION . . . . . . . . . . . . . . . . . . . . . . . . . . . . . . . . . . . . . . .3 Functions . -
Page 3: Introduction
INTRODUCTION: The Data Link Dongle allows you (via the internet) to share documents, slides and photos between two computers, such as a PC or laptop . You can also lock your screen while you are away . WIN 7/8/8 .1 supports smart P2P to connect two tablets or laptops directly without any intranet or internet . -
Page 4: After The Driver Is Installed
AFTER THE DRIVER IS INSTALLED: If you find that the two computers are not using the same network segment, you can unplug the dongle, check the Troubleshooting section B . on page 15 of this manual . 1 . You will see an icon on the screen . Please keep this dongle on computer B, it will start to auto detect computer A . - Page 5 3. Data Link is requesting you to permit the connection from the first computer. Click “Confirm” to permit the connection. Now, you can start to use Data Link functions . C. Peer-to-Peer (P2P): WiFi direct Mode For WIN 7/8/8 .1 Peer-to-Peer connects two computers’...
-
Page 6: Driver Installation
1 . Click the button “ ” on the left top of the screen on Computer A . When the icon becomes blue as shown “ ”, you can start to use hotspot sharing . The computer with “ ” will automatically become a virtual hotspot and you will see “KMHotSpot_XXXXX”... -
Page 7: Step 2
You will see the “User Account Control” window appear on the screen, click “Yes” to continue . When the process is finished, you will see an icon on the screen. Then, you will see the following window appear on the screen . STEP 2: Please remove the dongle from computer A . -
Page 8: Step 3
STEP 3: When the process is finished, you will see an icon on the screen. Please keep this dongle on computer B, it will start to auto detect computer A . Or you could click “ ” this icon to search for computer A . Once the application is launched, Data Link will start connecting with the first computer . -
Page 9: Management Table, Exit Or Uninstall The Driver
You can start to use Data Link functions . MANAGEMENT TABLE, EXIT OR UNINSTALL THE DRIVER Place your cursor on the “ ” icon located on your desktop and right click on your mouse . Then, you will see the management table as below: Exit from this software, you could “Exit”... -
Page 10: P2P: Wifi Direct Mode For Win 7/8/8 .1
P2P : WIFI DIRECT MODE FOR WIN 7/8/8.1 Peer-to-Peer connects two computers using WiFi directly for Windows 7/8/8 .1 . 2 . Click the button “ ” on the top left of the screen on Computer A . When the icon becomes blue as shown, “ ”, you can start to use hotspot sharing . -
Page 11: Functions
4. Data Link is requesting you to permit the connection from the first com- puter. Click “Confirm” to permit the connection. You are now able to use this function FUNCTIONS: KEYBOARD AND MOUSE CONTROL SWITCHING SETTINGS The following message shows the connection has been created; now you can switch the keyboard and mouse between these two computers . -
Page 12: Note
NOTE If you have followed the above steps and still cannot find the remote computer, please check if antivirus software has been installed on your computers, some antivirus softwares have a built-in firewall protection feature. You can simply turn it off, or try to add the exception service /rule (TCP 13345, 13350, 13355, 58688 and UDP 58688) in the firewall exception list. -
Page 13: Keyboard's Hotkeys
KEYBOARD’S HOTKEYS: 1. Click on the file that you want to copy, and press [Ctrl+C] to copy the file. 2 . Move the cursor to the other computer . 3. Move the cursor to the location that you want to place the file, and press [Ctrl+V] to paste the copied file to another computer. -
Page 14: Connection List
CONNECTION LIST SEARCH Select the computer that you want to connect to from the connection list . If you do not see any computers on the list to connect, please unplug this dongle and plug it in again . PC LOCK Use the Data Link Dongle as a USB Key to lock your computer while you are away . -
Page 15: System Requirements
Please set the time to lock your computer . Please choose “Lock Expired Time” and click “start” . Remove the Data Link Dongle and your computer will lock automatically . If you want to use the computer before the expiration time is over, simply plug the Data Link Dongle in again and the lock will be cancelled . -
Page 16: P2P Is Not Working - Win 7/8/8 .1
If two computers are not in the same local network segment (different network or using different Wi-Fi AP), you can “uninstall” this software (YouLink) from one of the computers . (Please refer to page 18 on how to uninstall the driver) After the software is removed, please make sure both computers are now connected to the same wireless AP or Ethernet area . -
Page 17: How To Uninstall The Driver
Click the button “ ” on the left top of the screen on computer A . When the icon becomes blue as shown, “ ”, you could start to use hotspot sharing . The computer with “ ” will automatically become virtual hotspot “KM- HotSpot_XXXXX”... -
Page 18: The Fcc Wants You To Know
Please click “Exit” . You can either “Exit” from this software or “Uninstall” the driver . When driver has been uninstalled, you will see an icon showing that “You have successfully uninstalled the driver” . THE FCC WANTS YOU TO KNOW This equipment has been tested and found to comply with the limits for a Class B digital device, pursuant to Part 15 of the FCC Rules . -
Page 19: Industry Canada Notice Rss210
INDUSTRY CANADA-ICES-003 CAUTION To comply with the limits for a Class B digital device, pursuant to Part 15 of the FCC Rules, this device must only be installed on computer equipment certified to comply with the Class B limits. CAN ICES-3(B). Please Recycle...
Need help?
Do you have a question about the 8021910 and is the answer not in the manual?
Questions and answers