Advertisement
Quick Links
First, fit the tray
Next, add the narrow panels – the long central ones
runners to each of the
first (make sure the holes for the fixings are to the
inside) and then the shelves (with the holes to the
side panels. Make sure
underside – ie closest to the trays runners)
you fit the left hand
ones and right hand
Put the metal handle in the hole next to the shallower
ones on the correct
shelf, and then line up and fix the second side panel.
sides (see below)
(you'll find the tray
runners and screws in
the box with the trays)
Left hand
runners
this side
Right
hand
runners
this side
Then add the top and bottom panels. The
bottom panel has 4 holes in each corner for
the casters. Finally fit the casters using the
M6 bolts,
Unlike traditional cam fixings, the fixings we use are designed
not to be seen when the unit is assembled. To fit them, simply
align the pair of fixings, and use an allen key in the adjacent
hole to join twist the lever from one into the other.
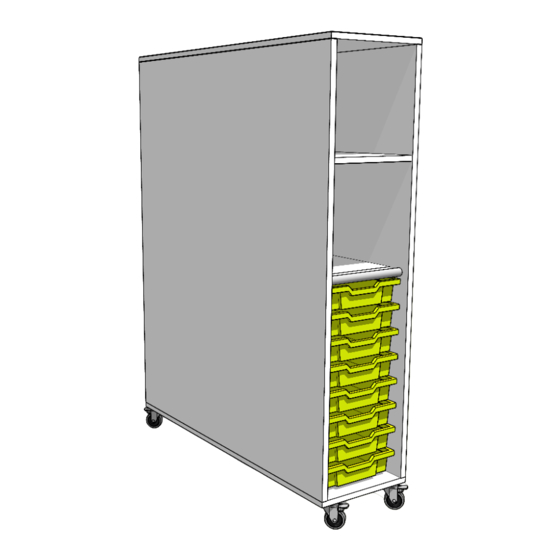
Turn the LearningWall onto the casters and
add the trays. Remove the protective film on
the side panels and the blue film on the
edging. Remember to consult the
LearningSurface
®
care pack to look after the
dry-wipe surface.
Advertisement

Related Manuals for Learniture LEARNING WALL


Summary of Contents for Learniture LEARNING WALL
- Page 1 Unlike traditional cam fixings, the fixings we use are designed not to be seen when the unit is assembled. To fit them, simply align the pair of fixings, and use an allen key in the adjacent hole to join twist the lever from one into the other. ...
- Page 2 ASSEMBLY INSTRUCTIONS LEARNING|WALL www.learniture.co.uk +44 (0) 1491 352152 LWL-INS R1 09/20...
Need help?
Do you have a question about the LEARNING WALL and is the answer not in the manual?
Questions and answers