
Subscribe to Our Youtube Channel
Related Manuals for Audio Design ESX VN1050-MA-4G


Summary of Contents for Audio Design ESX VN1050-MA-4G
- Page 1 VN1050-MA-4G SMART NAVICEIVER MOBILE INTERNET READY V I S I O N A N D R O I D S E R I E S ™...
-
Page 2: Important Notes
IMPORTANT NOTES This guide is an aid for the professional installation of the device. Please note the following notes before installation: • Always handle all parts of the device and the components of your vehicle with care. • Under all circumstances observe the regulations of the vehicle manufacturer and do not make any changes to the vehicle which could impair driving safety. -
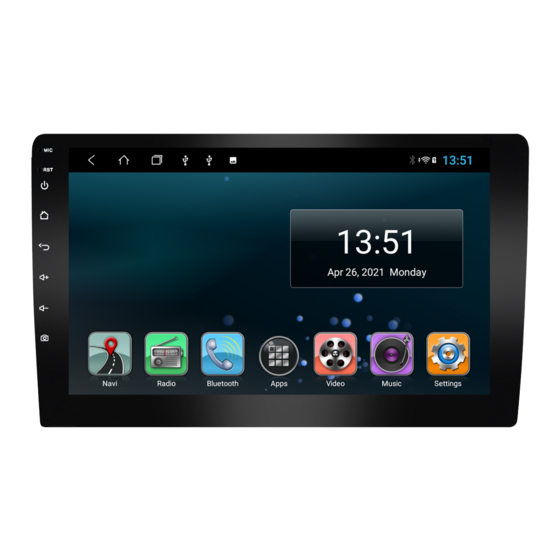
Page 3: Reset Button
MICRO SD SLOT FOR NAVIGATION SOFTWARE You can insert the MicroSD card of the navigation software here. Please only use the upper MicroSD card slot. The lower MicroSD card slot is only suitable for media. RESET BUTTON If the device stops responding to input, the system is overloaded or crashed. Then reboot the system by pressing the reset button (RST) on the front panel. -
Page 4: Scope Of Delivery
SCOPE OF DELIVERY ITEM FIGURE QUANTITY Main device Monitor ISO system cable set AV cable set 1 with all audio and video connections as well as connection for external microphone (20-pin connector) AV cable set 2 with video outputs 1 and 2, power supply for camera (10-pin connector) Camera / microphone cable set... - Page 5 SCOPE OF DELIVERY ITEM FIGURE QUANTITY USB ports (8-pin connector) 4G/LTE dongle (6-pin connector) GPS antenna WIFI antenna DAB antenna 4G/LTE antennas...
-
Page 6: Wiring Diagram
WIRING DIAGRAM WiFi antenna 4G/LTE antennas Inputs for AV cable sets 20-pin system socket (G and D can be assigned with fuse for later accessories) DAB antenna GPS antenna Radio antenna Connection assignment 1 CVBS-OUT1 2 CVBS-OUT2 3-4 NC 5 C-POW 6 NC 7 GND 8 NC 9 GND 10 NC... -
Page 7: Installation Hints
INSTALLATION HINTS Please note the following steps when installing the device: Original radio / navigation system If available, first remove the original radio / navigation device. Use suitable unlocking tools to pull the device out of the dashboard. Then pull the cable plug from the device and leave it accessible in the radio slot. -
Page 8: General Installation Instructions
Kleben Sie das Erdungsblatt der Verstärkereinheit auf den Metallteil auf der Frontsäule. GENERAL INSTALLATION INSTRUCTIONS Reinigen Sie die Windschutzscheibe mit auübersicht einem geigneten Reinigungstuch. enne sollte aus Sicherheitsgründen auf der Beifahrerseite GPS antenna rt werden. The GPS antenna must be glued horizontally to the front of the dash- Remove the film on board. -
Page 9: Assembling The Device
ASSEMBLING THE DEVICE Slide the monitor onto the bracket on the main unit and release the two retaining brackets on the side by sliding them outwards. Plug in the connector of the monitor to the main unit. IMPORTANT NOTE: If the monitor does not work after connecting it to the main device, the connector of the con- necting cable may not be properly engaged. - Page 10 SETUP THE 4G/LTE INTERNET CONNECTION First lay the two 4G/LTE antennas inside the dashboard towards the windshield, one antenna for the left and one for the right. Ideally, you should stick the antennas to the windshield to ensure optimal recep- tion.
- Page 11 SETUP THE 4G/LTE INTERNET CONNECTION Then turn on the device to test the 4G/LTE connection. After the device has started, enter After successful entry, the SIM card is your 4-digit PIN code of the SIM card unlocked. If the device is successfully here.
- Page 12 ESX Car Media Systems · Audio Design GmbH Am Breilingsweg 3 · D-76709 Kronau/Germany Tel. +49 7253 - 9465-0 · Fax +49 7253 - 946510 www.esxnavi.de - www.audiodesign.de © All rights reserved. Subject to technical changes and errors.
Need help?
Do you have a question about the ESX VN1050-MA-4G and is the answer not in the manual?
Questions and answers