Table of Contents
Advertisement
Quick Links
Device User Manual
Device :
Model number :
Product description
1. Working in 802.11 b/g/n 2.4GHz wireless network (no hub required).
2. Wi-Fi network configuration with EZ (Smart Config) and AP (access Point) mode.
3. Powered by 2xAAA battery for lasting 6 months depending on alarm frequency.
4. Real state (open/close) monitor in APP.
5. Notification with Open/Close, Tampered and Low battery (less than 10%).
6. Enable/disable notifications on Open/Close, tampered, low battery event in APP.
7. Indicate the battery level in APP.
8. Open/Close history record.
9. Share device in family.
10. Dual color LED status indicator.
11. Mounting with adhesive tape or screw.
12. Works with Google Home.
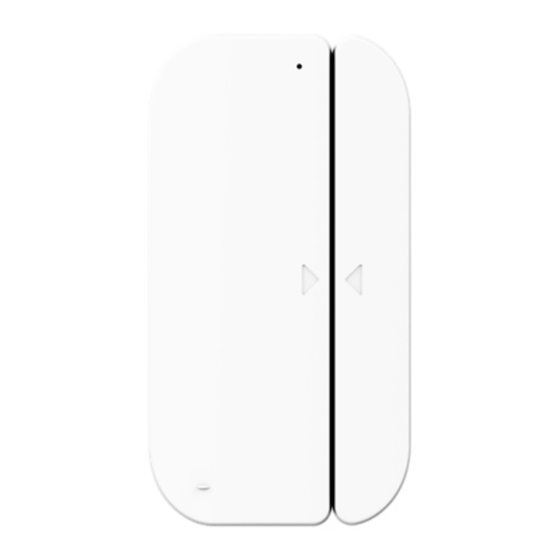
This main device components are showed as followed :
Device part
Door sensor
SD-19005
Magnet part
Advertisement
Table of Contents

Related Manuals for Raplink SD-19005

Summary of Contents for Raplink SD-19005
- Page 1 Device User Manual Device : Door sensor Model number : SD-19005 Product description 1. Working in 802.11 b/g/n 2.4GHz wireless network (no hub required). 2. Wi-Fi network configuration with EZ (Smart Config) and AP (access Point) mode. 3. Powered by 2xAAA battery for lasting 6 months depending on alarm frequency.
- Page 2 Relative humidity 8% ~ 80% Connection 1. Download RAPLINK App RAPLINK is available for both iOS and Android OS. Search the name 'RAPLINK' in App Store or Google Play to download the App. click here to download click here to download...
- Page 3 Step 1 : Open the RAPLINK App, click "+" or "Add Device". Then select "Home Appliance" and "Door/Window". Step 2 : Press button for 5 seconds to pair with the RAPLINK App. The LED indicator will flash rapidly. Tap the...
- Page 4 Step 3 : Select the WiFi under which device is working. Enter WiFi password and tap "Ok" to enter network connection process. Step 4 : Tap "Completed" to complete the connection process. Control device After successfully configuring the device, the motion sensor device will shown on the home page. Tap the icons to view.
Need help?
Do you have a question about the SD-19005 and is the answer not in the manual?
Questions and answers