
Related Manuals for TSS HUR 120

Summary of Contents for TSS HUR 120
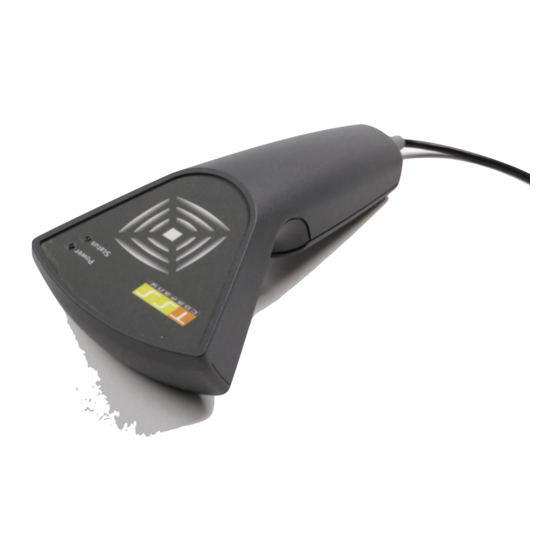
- Page 1 HUR 120 Handheld UHF RFID reader User Guide Ver. 1.1 07/2014 TSS COMPANY s.r.o., Pod Rovnicami 41, 84104 Bratislava, Slovakia web: www.tsscompany.eu email: info@tsscompany.eu...
- Page 2 No part of this manual may be reproduced in any form or by any means, electronic, mechanical, recording, or otherwise, without the prior written permission of TSS COMPANY. TSS COMPANY reserves the right to modify its product specifications without any further notice. For up to date information please visit www.tsscompany.eu.
-
Page 3: Functionality Test
PC or laptop through a USB interface. 2. Connecting the reader and installing the USB driver The HUR 120 reader can be connected to a PC or a notebook via a USB interface. When connecting the device for the first time, the user has to install the necessary device drivers to allow Windows to recognize the reader. -
Page 4: Technical Specifications
4. Technical specifications Frequency Band: 865 ÷ 868 MHz (ETSI EN 302 208 v. 1.4.1.) Number Of Channels: 4 (compliant to ETSI EN 302 208 v. 1.4.1.) RF Power Output – e.r.p.: max. 9 dBm Modulation: DSB-ASK Antenna Gain: 0 dBic Antenna Polarization: Integrated circular polarized antenna Air Interface Protocol:... - Page 5 5. TSSTagger The user interface of TSSTagger is split into five sections, or tabs: Inventory Tab: This is the main tab of the application used to connect and disconnect the reader and to start and stop the HID emulation. This tab also contains the inventory list where EPC numbers are stored.
- Page 6 5.2 Inventory Tab a. Connect reader: This button serves to connect and disconnect the reader. To ensure the reader will connect properly, the user should wait until Windows USB drivers have properly installed (this can be confirmed in the lower right corner of the screen in the Windows task bar notification area).
- Page 7 b. Clear inventory list: This button clears the inventory list. c. Inventory list: This is where read counts of tags and EPC numbers are listed, sorted by time stamp. The maximum number of tags to be displayed in the inventory list can be set in the “Settings Tab”.
- Page 8 5.3 Read/Write Tab a. Tag selection: These radio buttons allow the user to select between working with the first tag responding to the reader and the tag specified by the EPC number.
- Page 9 b. Memory Bank Selection: Read and Write operations take place in one of the four memory banks (RESERVED, EPC, TID, USER). This combo box selects the memory bank to be used. c. Read Section: This section is used to read data from one of the four memory banks of the tag. The read operation is specified by an address (a decimal number representing the word starting address) and length (a decimal number representing the word count to be read).
- Page 10 5.4 Kill/Lock Tab a. Tag selection: These radio buttons allow the user to select between working with the first tag responding to the reader and the tag specified by the EPC number.
- Page 11 b. Access Password: If the tag is password protected, it is necessary to check the Use Access password and enter the password into the access password field. c. Write Kill/Access Password: These fields are used to write the kill or access passwords. d.
- Page 12 5.5 EPC Tab a. Tag selection: These radio buttons allow the user to select between working with the first tag responding to the reader and the tag specified by the EPC number.
- Page 13 b. EPC Edit: After the “Read EPC” button is clicked, this field shows the tag’s EPC number. After editing, the new EPC number can be written to the tag by pressing the “Write EPC” button. The EPC number can be edited in the Write section as well, but the PC number is not automatically calculated.
- Page 14 5.6 Settings Tab a. Inventory: The inventory size defines the maximum number of EPC numbers listed in the inventory list. If the inventory size limit is reached, the oldest EPC numbers are discarded. This also happens if inventory size gets decreased.
- Page 15 b. Serial port selection: The default setting for serial port selection is Automatic, so the application tries to find the device connected to the computer. In case of any problems, the automatic COM port selection can be overridden, enabling the user to choose the device manually.
- Page 16 6. TSSUpdater 6.1 Installation Extract the contents of TSSUpdater.zip into the program directory. Double-click vcredist_x86.exe to begin the setup of Microsoft Visual C++ 2013 x86 Redistributable software package The setup program guides you through the installation. Wait until Microsoft Visual C++ 2013 x86 Redistributable software package has been successfully installed.
- Page 17 Click the Update firmware button. The firmware file selection dialog will appear. Select the desired firmware file and click Open. The Update firmware dialog will appear.
- Page 18 Click OK in Update firmware dialog. The firmware update process will start shortly. Wait until the “Firmware update Successful” message appears in the status bar.
- Page 19 6.3 Troubleshooting System Error This error can occur if one of the required DLLs is missing from the program directory, or when the Microsoft Visual C++ 2010 x86 Redistributable software package is not installed. Extract the contents of TSSUpdater.zip into the program directory and install the Microsoft Visual C++ 2010 x86 Redistributable software package.
- Page 20 Disposal of the product Do not dispose of the product in municipal or household waste. Please check your local regulations for proper disposal and/or recycling of electronic products.
Need help?
Do you have a question about the HUR 120 and is the answer not in the manual?
Questions and answers