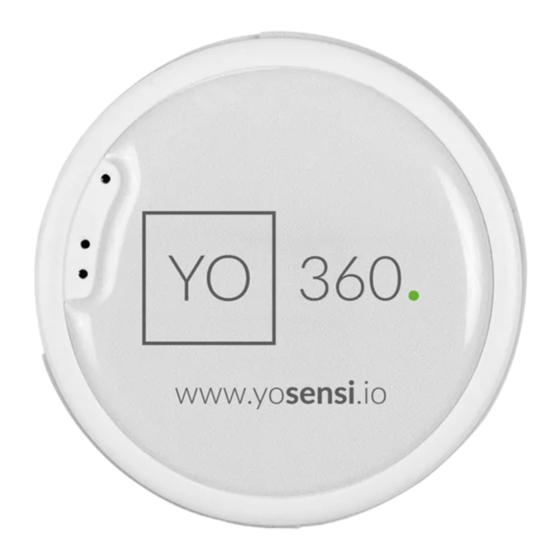
Advertisement
6. Statuses, colours and behaviour of the diode (if the device is properly
connected):
Device is working correctly (power and memory) - single GREEN flash
Device is working incorrectly (power and memory) - single RED flash
Connecting to LoRaWAN - flashing BLUE
LoRaWAN frame sent - single WHITE flash
Confirmation from server after receiving the frame - single WHITE flash
Frame failed to confirm within specified timeout - single RED flash
LoRaWAN Disconnected - flashing BLUE
Connecting to BLE - flashing BLUE
RGBW diode
Version 2 - November 2021
360
Quick Installation Guide
1. Unscrew the device: remove 4 screws from the enclosure.
4
1
Advertisement
Table of Contents

Summary of Contents for YOSensi YO 360
- Page 1 6. Statuses, colours and behaviour of the diode (if the device is properly connected): Quick Installation Guide Device is working correctly (power and memory) - single GREEN flash Device is working incorrectly (power and memory) - single RED flash 1. Unscrew the device: remove 4 screws from the enclosure. Connecting to LoRaWAN - flashing BLUE LoRaWAN frame sent - single WHITE flash Confirmation from server after receiving the frame - single WHITE flash...
- Page 2 2. Place CR2450 3 V battery in the device according to the polarity. 4. Match the PCB (marked components) to the enclosure according to the diagram. Place the PCB in the enclosure with the battery basket facing up. 3. Assemble the device. The order of the elements is important: 5.

Need help?
Do you have a question about the YO 360 and is the answer not in the manual?
Questions and answers