
Related Manuals for GPX TD3220


Summary of Contents for GPX TD3220
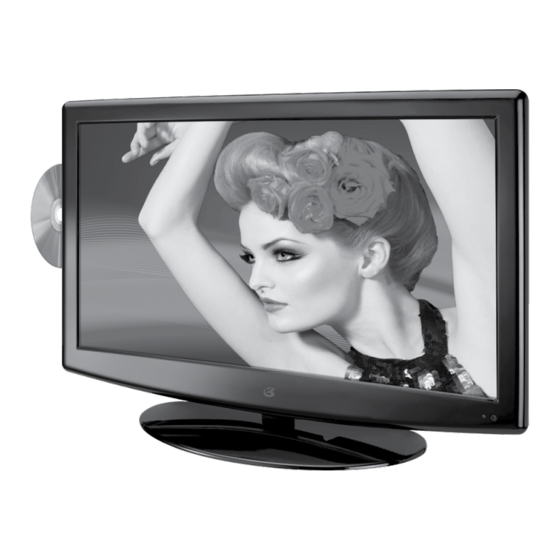
- Page 1 USER’S GUIDE V:1358-0910-10 TD3220 32” Class HDTV with DVD For the most up-to-date version of this User’s Guide, go to www.gpx.com...
-
Page 2: Warnings And Precautions
Warnings and Precautions • CAUTION: TO PREVENT ELECTRIC SHOCK, MATCH WIDE BLADE OF PLUG TO WIDE SLOT, FULLY INSERT. • WARNING: To reduce the risk of fire or electric shock, do not expose this apparatus to rain or moisture. • AveRTIssemeNT: Pour réduire le risque d’incendie ou de choc électrique, ne pas exposer cet appareil sous la pluie et l’humidité. -
Page 3: Important Safety Instructions
Important Safety Instructions Read these Instructions. Keep these Instructions. Heed all Warnings. Follow all instructions. Do not use this apparatus near water. Clean only with a dry cloth. Do not block any ventilation openings. Install in accordance with the manufacturer’s instructions. Do not install near any heat sources such as radiators, heat registers, stoves, or other apparatus (including amplifiers) that produce heat. -
Page 4: 32" Class Hdtv With Dvd
32” Class HDTV with DVD Features • 32” LCD display • ATSC/NTSC tuner • Electronic program guide • Aspect ratio: 16:9 • Resolution: 1366 X 768 HD ready • Viewing angle: 140 (H) x 160 (V) • Contrast: 4000:1 • Brightness: 450cd/m •... -
Page 5: Table Of Contents
Table of Contents 32” Class HDTV with DVD . . . . . . . . . . . . . . . . . . . . . . . . . . . . . . . . . . . . . . . . . . . . . . . . . . . . . . . . . . . . . . . . . . . . 4 Features Included Table of Contents . -
Page 6: Introduction
Introduction SD/MMC/ MS MEMORY CARD SLOT DISC DRIVE USB PORT REPEAT Press to repeat a title, chapter, REPEAT track, or entire disc. EJECT Press to eject a loaded disc from the DISC DRIVE. PLAY/PAUSE Press to play or pause the loaded disc. - Page 7 HDMI PC AUDIO VGA/PC IN Customer Support: 1-888-999-4215 VIDEO INPUT AUDIO IN AUDIO OUT TV ANTENNA VIDEO HDMI INPUTS 3.5mm PC AUDIO INPUT VGA/PC INPUT COMPONENT INPUTS RCA STEREO AUDIO INPUTS RCA STEREO AUDIO OUTPUTS AC IN AC POWER INPUT TV ANTENNA INPUT STEREO...
- Page 8 Introduction Press to eject a disc from the DISC DRIVE. NUMBER KEYPAD DISPLAY Press to view the on-screen display. 16:9/4:3/FAV LIST Press to adjust the aspect ratio. Press to access your favorites list on the television. VOLUME Press to adjust the volume. SOURCE Press to adjust the source.
-
Page 9: Setup
Setup Power AC power input: requires an AC power cable (included) Remote Power Remote control: requires 2, AAA-size, batteries (included) Connecting the Stand Requires stand, 1 machine screw, and 4 self- tapping screws (all included) 1. Insert the stand into the bottom of the television. -
Page 10: Television Setup
Television Setup Connecting a TV Antenna Requires a TV antenna (not included). 1. Connect a VHF, UHF, or HDTV antenna to the RF INPUT on the television. 2. Press the SOURCE button to switch to TV mode. 3. Press the MENU button to access the setup menu. -
Page 11: Television
Television Auto Scanning for Channels The Auto Channel Scan must be run before any channels can be viewed on the television. 1. Press the SOURCE button to switch to TV mode. 2. Press the MENU button to access the setup menu. 3. -
Page 12: Setting The Clock
Television Setting the Clock 1. Press the MENU button to access the setup menu. 2. Press the ARROW () buttons to highlight the SETUP icon. Press the ENTER button. 3. Press the ARROW () buttons to highlight CLOCK. Press the ENTER button. 4. -
Page 13: Dvd And Cd
DVD and CD Loading a DVD or CD 1. Gently insert a DVD or CD into the slot-load disc drive, with the label side of the DVD or CD facing the back of the television. Once a DVD or CD is loaded into the television, the TV will automatically switch to DVD mode. -
Page 14: Usb And Memory Card Reader
USB and Memory Card Reader Connecting a Memory Card 1. Load an SD, MS, or MMC memory card into the MEMORY CARD READER as shown in the image to the right. Using a Connected Memory Card 1. Follow the instructions for Connecting an SD or MMC card. -
Page 15: Connecting Other Devices
Connecting Other Devices Connecting a Set-Top Box • You will need: a set-top box, s-video and RCA stereo cables or composite and RCA stereo cables or component and RCA stereo cables or an HDMI cable. (not included) • Connect the set-top box’s audio and video outputs to the corresponding audio and video inputs on the television. -
Page 16: Company Information
Para transferir esta guía de usuario en inglés, español, o francés, visite la sección de la ayuda en www.gpx.com. Pour télécharger ce guide de l’utilisateur en anglais, espagnol, ou français, visitez la section de soutien chez www.gpx.com. Contact Information Phone: 1-888-999-4215 Email: prodinfo@gpx.com...
Need help?
Do you have a question about the TD3220 and is the answer not in the manual?
Questions and answers
Can I get a base mount for this TV