
Subscribe to Our Youtube Channel
Related Manuals for Bush BEUCL6082


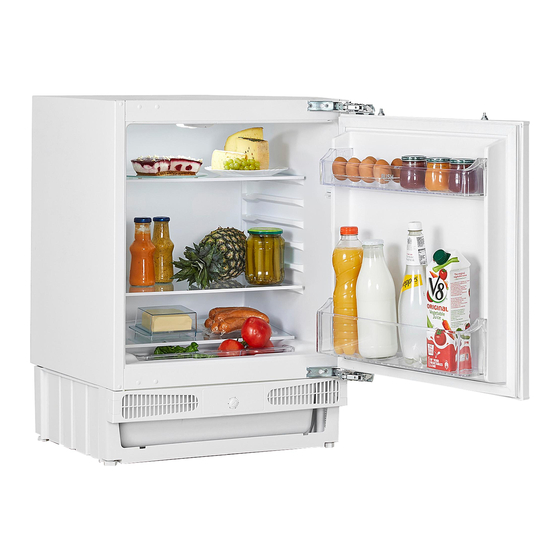
Summary of Contents for Bush BEUCL6082
- Page 2 Customer service manual Built Under Larder Contents Precautions Page 2 Door Page 4 Thermostat Setting Page 6 Replacement Lamp Page 7 Replacement Door Switch Page 8 Additional Support Page 9 Precautions: Always follow safety advice. Always switch off and unplug the appliance before attempting to remove any part. Always wear appropriate protective equipment when carrying out any work.
- Page 3 SAFETY PRECAUTIONS...
- Page 4 Applicable models REPLACEMENT PROCEDURE General Part name Door A- Changing The Door Swing Direction to Right Hand 1- Unscrew the two screws fixing the top hinges (Fig-1) and bottom hinges. (Fig-2) Remove the doors. (Fig-1) Figure 2 Figure 1 2. Remove the top hinge screw caps (big) on the left side (Fig-3) and insert them to the right side. (Fig-4) Figure 3 Figure 4 3.
- Page 5 Figure 7 Figure 8 Applicable models REPLACEMENT PROCEDURE General Part name Door B- Changing The Freezer Door Swing Direction 1- Unscrew the screw fixing the freezer door hinge (Fig-1) and remove the freezer door (Fig-2) Figure 1 Figure 2 2- Unscrew the screw fixing the freezer door holder 3- Screw the freezer door holder to the right side.
- Page 6 Applicable models REPLACEMENT PROCEDURE General Thermostat Part name Setting...
- Page 7 Applicable models REPLACEMENT PROCEDURE General Part name Replacement Lamp Unscrew the screws which are fixing the lamp cover and change lamp.
- Page 8 Applicable models REPLACEMENT PROCEDURE General Replacement the Door Part name Switch Stick a tape to protect the body plastic. Flex it with the Also flex the top-side of the switch and then displace help of a tool like a slotted screwdriver by pulling.
- Page 9 Applicable models ADDITIONAL SUPPORT General The following parts are available for the customer to undertake repairs at their own risk. Please carefully follow the guidance given in this manual including all safety measures. • Door Handles • Door Hinges • Trays •...
Need help?
Do you have a question about the BEUCL6082 and is the answer not in the manual?
Questions and answers