Advertisement
IMPORTANT NOTICE - READ CAREFULLY
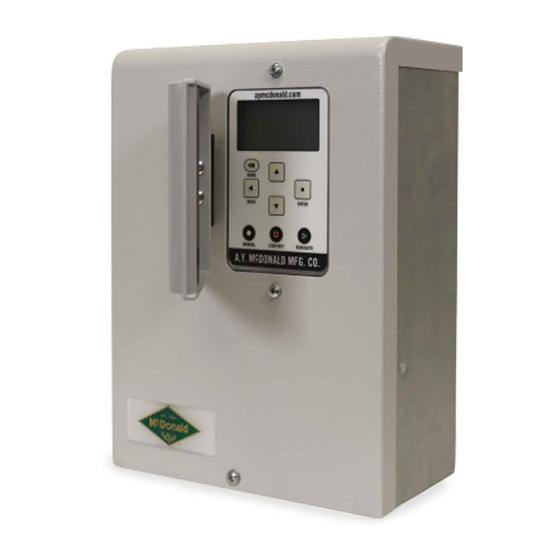
AutoDRIVE Keypad Replacement
Kit Contents
Keypad
3210-689
* Ensure power is disconnected from the unit and capacitors have been given adequate
time to discharge before servicing*
* Reference the sticker on the side of the drive for specifics on capacitor discharge time*
This instruction applies to the following AutoDRIVE model numbers:
Part number
6619-018
6619-019
6619-020
6619-021
6619-022
80 0 . 2 9 2 . 2 7 37 | s al e s @ ay m c do n a l d . c o m | a y m c d o n a l d . c o m
Model number
Keypad part number
SD1-2HP2PS
SD1-2HP2
SD3-2HP2
SD3-3HP2
SD3-5HP2
Step 1
Remove the three (3)
screws that attach
the front cover to
the unit.
Replacement Instructions
6619-030
Page 1 / 2-22
Advertisement
Table of Contents

Summary of Contents for MCDonald SD1-2HP2PS
- Page 1 * Ensure power is disconnected from the unit and capacitors have been given adequate time to discharge before servicing* * Reference the sticker on the side of the drive for specifics on capacitor discharge time* This instruction applies to the following AutoDRIVE model numbers: Part number Model number Keypad part number 6619-018 SD1-2HP2PS 6619-019 SD1-2HP2 6619-020 SD3-2HP2 6619-030 6619-021 SD3-3HP2...
- Page 2 IMPORTANT NOTICE - READ CAREFULLY AutoDRIVE Keypad Replacement Step 2 Step 3 Step 4 Remove the four (4) CAT5 cables Remove the four (4) screws that attach Turn the control board over and remove that connect the control board to the the control board to the inverter board.
- Page 3 IMPORTANT NOTICE - READ CAREFULLY AutoDRIVE Keypad Replacement Step 6 Remove the old keypad from the keypad panel and remove any adhesive left from the old keypad. Step 7 Peel the clear plastic adhesive scratch protector off the back of the keypad and then peel back the adhesive backing from the new keypad, feed the ribbon cable through the hole in the keypad panel and stick the new keypad to the keypad panel.
- Page 4 IMPORTANT NOTICE - READ CAREFULLY AutoDRIVE Keypad Replacement Step 9 Step 10 Step 11 Install the four (4) screws that attach the Install the four (4) screws holding the Re-connect the four (4) CAT5 cables that control board to the keypad panel. control board to the inverter board.
Need help?
Do you have a question about the SD1-2HP2PS and is the answer not in the manual?
Questions and answers