Advertisement
Quick Links
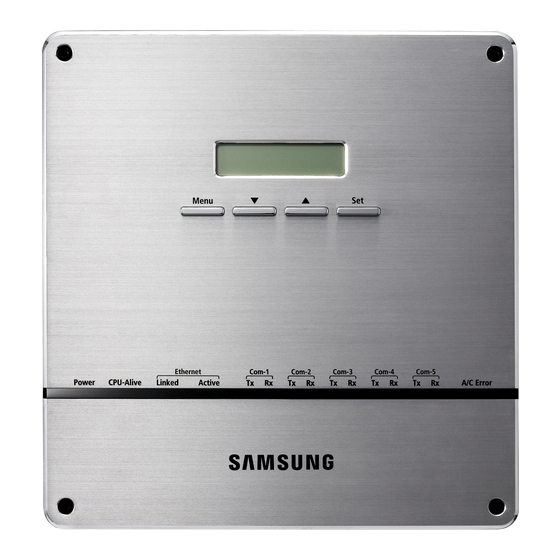
DMS 2.5 (MIM-D01AUN)
Quick Reference Guide
Important Notice
For full details of setup and configuration, please refer to the installation and user manuals found at www.samsunghvac.com.
Samsung HVAC maintains a policy of ongoing development, specifications are subject to change without notice.
© 2020 Samsung HVAC
SHA-DVMS-06262020
Advertisement

Related Manuals for Samsung DMS 2.5


Summary of Contents for Samsung DMS 2.5
- Page 1 Important Notice For full details of setup and configuration, please refer to the installation and user manuals found at www.samsunghvac.com. Samsung HVAC maintains a policy of ongoing development, specifications are subject to change without notice. © 2020 Samsung HVAC SHA-DVMS-06262020...
- Page 2 Reserved: Not used Maximum 16 systems per channel. • Maximum 80 systems Power: Power supply for DMS 2.5 12VDC, 3.0A (120VAC power adapter provided) • Maximum of 128 indoor units and mode Reset Button: Restarts DMS 2.5 control units (MCU’s) per channel Reserved: Only used for R&D...
-
Page 3: Communication Connection
Communication Connection DVM Chiller, DVM S HP/HR, DVM S Eco, CAC, and 2020 FJM models connect to R1/R2 When more than one system is connected to a single channel, it is recommended that each outdoor unit address is set manually. This setting is made on main unit of each system. - Page 4 Connection to a PC Only compatible with Internet Explorer 11 or newer Bottom of DMS 2.5 Connect with an ethernet cable (crossover cable may be required)
- Page 5 Setting the PC’s IP/Network Navigate to your PC’s “Control Panel” This can be typed into the search bar Select “Network and Sharing” Select “Properties” Select the blue icon to the right of “Connections” This may say “Local area connection” or “Ethernet”...
- Page 6 Setting The PC’s IP/Network Continued Select “Internet Protocol Version 4” Select “Use the following IP address” Enter the IP address, Subnet mask, and Default gateway Select “Properties” Note: Ensure the last 3 digits of the IP address entered are Select “OK” different than those displayed on the DMS2.5.
- Page 7 13. You may be directed to download Silverlight prior to being able to load the 11. Type the IP address found on the DMS 2.5 into the web browser.* DMS 2.5 web page 12. Select “More information” Then click “Go on to the webpage”...
- Page 8 • admin • ac0530 If this is the first time logging into the DMS 2.5 you will be directed to change the default password NOTE: User name and password are case sensitive. Do not use upper case letters when entering the factory login information.
- Page 9 Log In To DMS 2.5 Select “admin” and set the new password and The password must be at least 8 digits with at least name then select “Save” one number...
- Page 10 Log In To DMS 2.5 Once you have changed the password you will need to log out of the DMS 2.5 Repeat the steps from page 6, then enter the new user A message window will appear if the DMS 2.5 and name and password to log back into the DMS 2.5.
- Page 11 System Tracking If this is the first time logging into the DMS 2.5 a blue box will display “Tracking failed now” Scroll over “System Settings” Select “Tracking”...
- Page 12 System Tracking 3. Select “DVM Tracking” Enter the "Admin Password"...
- Page 13 All units must be powered and have successfully completed commissioning prior to tracking. The issue must be corrected prior to clicking “OK” • To exit tracking select “Cancel” R1/R2 from outdoor units must land on one of the DMS 2.5 channels. Use 16/2 stranded shielded wire.
- Page 14 System Tracking Select “OK” Select “Individual Initialization” • No initialization: No address configuration. • Individual initialization: Configured zones by main address (recommended) • Group initialization: Configured zones by RMC (group) address. Select “OK” System tracking is now complete Tracking can take several minutes...
- Page 15 After tracking has completed, ensure quantities found matches the actual amount of devices connected. Once tracking is complete all devices communicating with the DMS 2.5 will display under “Device”. The device addresses will be displayed under “Address”. If the system was commissioned using SNET Pro2, the device names will appear if programmed.
- Page 16 DMS 2.5 System Environment You must enter “System environment settings” to edit and save setting adjustments in the DMS 2.5 Scroll your curser over “System Settings” located in the upper tool bar Select “System environment” to access environment settings window.
- Page 17 Set the date and time. This will then display a window recommending to sync with your computer to ensure proper time/date in the DMS 2.5 NOTE: These settings can be made using the buttons on the front of the DMS 2.5.
- Page 18 DMS 2.5 System Environment Time sync with supported wired controllers Set “Error email” recipient. Please refer to the installation and user manuals for more details. Temperature unit of measurement setting for supported wired controllers...
- Page 19 DMS 2.5 System Environment Enable if using public IP address for remote accessing Set Contact pattern of the 2 dedicated digital inputs (DI1 and DI2). Please refer to the installation manual for specific pattern details. Security Certificate download. This can be saved to the assigned server...
- Page 20 DMS Network Definitions Static IP: Designated single IP set by user, that will not automatically get re-assigned. Manually changed by user. DHCP: A network server that automatically provides and assigns IP addresses, default gateways and other network parameters to client devices. User selected to set up the IP automatically. Default gateway: A node in a computer network using the internet protocol suite that serves as the forwarding host (router) to other networks when no other route specification matches the destination IP address of a packet.
Need help?
Do you have a question about the DMS 2.5 and is the answer not in the manual?
Questions and answers