Table of Contents
Advertisement
Quick Links
Advertisement
Table of Contents

Summary of Contents for Kettler KALOS KLEH150-0500
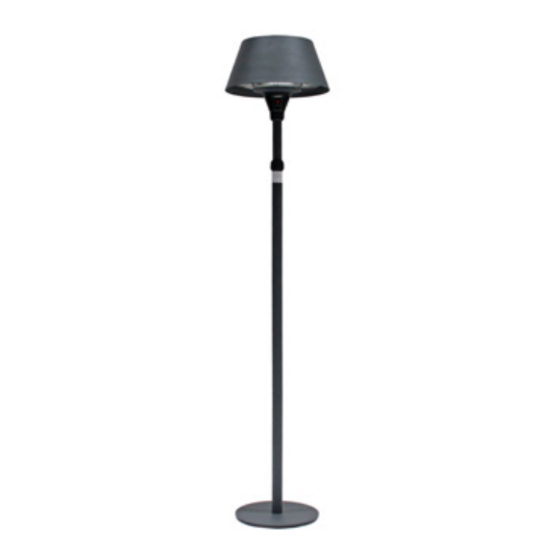
- Page 1 Assembly Instructions Headline Terrace Electric Heater Floor Standing KLEH150-0500 IMPORTANT PLEASE KEEP THIS BOOKLET FOR FUTURE REFERENCE. THIS IS IMPORTANT INFORMATION REGARDING THE USE AND CARE OF YOUR OUTDOOR HEATER. ASSEMBLY PERSONS TIME REQUIRED Oct 2021...
- Page 2 Do not use any other tools other than those recommended to build this product. Please do not use substitute parts. Use only additional or replacement parts supplied by Kettler. In the unlikely event that this product has missing or damaged parts, please visit our website...
-
Page 3: For Your Safety
For Your Safety Warning Caution • This heater is not equipped with a device • Some parts of this product can become DO NOT to control the room temperature. very hot and cause burns. Particular use this heater in small rooms when they attention must be given where children, are occupied by persons not capable of vulnerable people and animals are... - Page 4 For Your Safety 12. The unit must be placed with the DO NOT use this unit as a cloth drier or clearance of 25cm from side wall and towel drier. 50cm from ceiling. DO NOT use this unit as a sauna heater. 13.
-
Page 5: Installation
Installation 35. Avoid the use of an extension cord 37. This appliance is not intended for use by a because the extension cord may overheat person (including children) with reduced and cause a risk of fire. However, if you physical, sensory or mental capabilities, must use an extension cord, the cord shall or lack of experience and knowledge, be rated to 13A (Minimum conductor... - Page 6 Assembly • Step 1: • Step 2: Fix the Pull the bottom power tube cord onto the through the pole base by screwing. and base. • Step 3: Place the power cable throght middle tube, and Tighten up the tubes.
- Page 7 • Step 4: Place the power cable throght the top tube,and tighten up.
- Page 8 Assembly • Step 5: Connect the power cord plug to the socket in the heater head. • Step 6: Connect the heater head with the tube by screwing them together.
- Page 9 Assembly • Step 7: Fixed the power cord with the press clip in the base. • Step 8: Fix the heater on the floor. Bore three holes in the floor, fix the heater by three wedge bolts on the floor tightening the screws by spanner.
-
Page 10: Remote Control
Operating Instructions Connect the power cable to a 220-240V, 13 amp supply that is located in a safe, dry area. Press the button ,the heater will be ready mode. • Touch the touch switch once, the heater will be on 800W. •... -
Page 11: Troubleshooting
Operating Instructions Trouble Shooting Technical specification • Power supply 220-240V, 50-60Hz If the heater will not operate, please check the following before seeking repair of service: • Wattage max 2000W • Check if the power cord is plugged into an •... - Page 12 This warranty applies to domestic use only. It does not cover commercial use, mis-use or accidental damage. To validate your warranty, register at www.kettler.co.uk and quote www.kettler.co.uk the product code from the front of this booklet.


Need help?
Do you have a question about the KALOS KLEH150-0500 and is the answer not in the manual?
Questions and answers