
Summary of Contents for CREATIVE CONCEPTS Pucker Powder
- Page 1 3x Unit Assembly and Mounting Instructions Creative Concepts, Inc. 1500 Georgia Road Irondale, Alabama 35210 Phone: 205-838-0570 Fax: 205-838-0999 3x Instructions V1 August 1, 2012 Page 1 of 12...
- Page 2 All of us at Creative Concepts look forward to a long and prosperous business relationship with you. Please call our toll free line at 866-838-0570 with any questions or comments.
- Page 3 Index Part Identification Assembly Instructions Mounting Instructions 6 - 9 Candy Loading Instructions Cleaning Machine & Mechanism Troubleshooting Page 3 of 12...
-
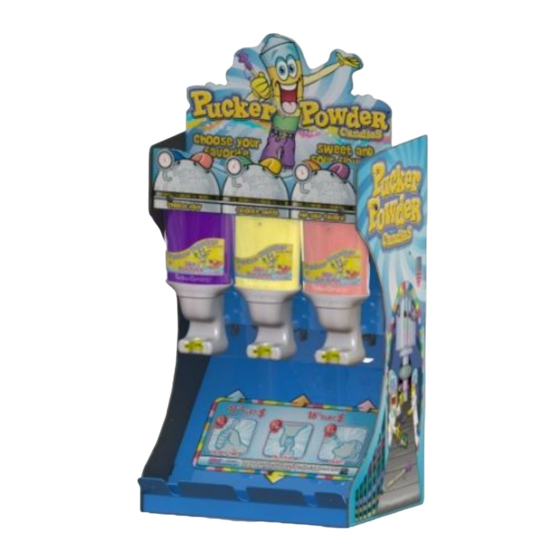
Page 4: Part Identification
Part Identification Main Sign Wall Bracket Leveling Brace Upper Frame Front Sign Side Panels Lower Frame Catch Bin & Perf Fun Mechanism Page 4 of 12... - Page 5 STEP 1, Join the 3x Units. NOTE: If using a single 3x unit, go to STEP 2. A. Wing Nut and Screw. B. Align the units and connect them together using Wing Nuts and Screws as shown. C. View of correctly positioned Wing Nut and Screw. 8-32 x ½...
- Page 6 The unit may be secured and used in almost any situation. The images below represent some of the more common scenarios. A package containing several items is included and may be used to mount the unit. Peg Board or Slat Wall Mount Counter Top Mount Shelf Mount Smooth Wall Mount...
- Page 7 METAL SHELVING OR WIRE RACKS CAUTION, Do not use “Tie Straps” for installing the unit to a wall or vertical surface. WOOD OR PORUS SURFACES Remove the metal catch tray to access the mounting holes in the unit. It may be necessary to pre- drill 1/8”...
- Page 8 USING THE MULTI-PURPOSE WALL BRACKET Slat Wall Position the top edge of the adapter bracket into one the grooves in the slat wall and tilt it downward to lock it into place as shown. Loosen the thumbscrews 6 complete turns. Peg Board Position the top edge of the adapter bracket...
-
Page 9: Mounting The Unit To The Wall
MOUNTING THE UNIT TO THE WALL Remove the rear bracket Remove the two screws and wing nuts holding the bracket in place. Remove the rear bracket. Mounting the 3x Unit Align the two large holes in the 3x Unit with the two thumbscrews. - Page 10 Adding Candy Remove the Fun Mech. Loosen the thumbscrew Remove the cap and foil seal from the bottle of candy. Insert the bottle into the Fun Mech and rotate them as shown. Align the bottle and Secure the Fun Mech by thumbscrew, and position tightening the thumbscrew .
- Page 11 Cleaning Machine & Mechanism Cleaning Machine – To keep your 3x Unit looking its best , clean the outside of the machine with a cloth dampened with warm water and mild soap once every two weeks recommended. Cleaning Fun Mechanism Option 1.
-
Page 12: Troubleshooting
Troubleshooting PROBLEM CAUSE REMEDY CANDY WILL NOT FLOW A.) CANDY CLOGGING A.) REMOVE MECHANISM MECHANISM AND SHAKE CANDY/BOTTLE A.) CANDY CLUMPING TO LOOSEN CLUMPING/CLOGGING B.) MECHANISM IN NEED B.) REFER TO CLEANING CLEANING INSTRUCTIONS PAGE 11. CANDY WILL NOT STOP MECHANISM IN NEED OF REFER TO CLEANING FLOWING...
Need help?
Do you have a question about the Pucker Powder and is the answer not in the manual?
Questions and answers