
Summary of Contents for Wittime WT4080
- Page 1 Digital Wall Clock OPERATING INSTRUCTION WT4080 Remove the protective film from the display before use.
- Page 2 Safety Read the following advice carefully and store these operating instructions in case you want to reread something later. If you give the item to someone else, give them these operating instructions as well. • This device may be used by children over 8 years of age and over, as well as by persons with reduced physical, sensory or mental abilities, or lack of experience and / or knowledge if they are supervised or...
-
Page 3: Unpacking And Checking
Unpacking and checking 1. Remove the device from the packaging, remove all protective films and keep the packaging materials out of the reach of children. 2. Dispose of the materials separately according to type. 3. Check that all the items that should be included in the delivery are present and whether the device displays any damage. - Page 4 • DST function • Low battery indicator Overview of the wall clock Operating elements and parts of the wall clock Operating buttons Button...
-
Page 5: Initial Setup
* Switch time and year display * Activate setting mode (DST, year, month, date , time and atomic signal) * Save changes to settings Button * Select time zone ( PST, MST, CST and EST) * Activate / Deactivate atomic signal reception Button * Select 12-/24- hour format... - Page 6 1. Open the battery compartment cover. 2. Insert 4 LR6 (AA) / 1.5 V batteries facing in the direction indicated on the bottom of the battery compartment. Make sure that the poles of the batteries are correct (+/-). 3. Put the battery compartment cover back in place and close it.
- Page 7 for the atomic time signal every 1 hour until the WWVB time is received. • The atomic time signal icon will flash while searching. The tower icon will be solid when it has connected. • After reception, this station will only search for the atomic signal after midnight.
-
Page 8: Set The Time Zone
Set the Time Zone Press button to select time zone PST, MST, CST and EST. Default is PST. Set your time zone with button. Set the Time Zone to your area for the hours to be correct. PST Pacific | MST Mountain | CST Certral | EST Eastern Setting the time and date manually 1. -
Page 9: Choosing The Location
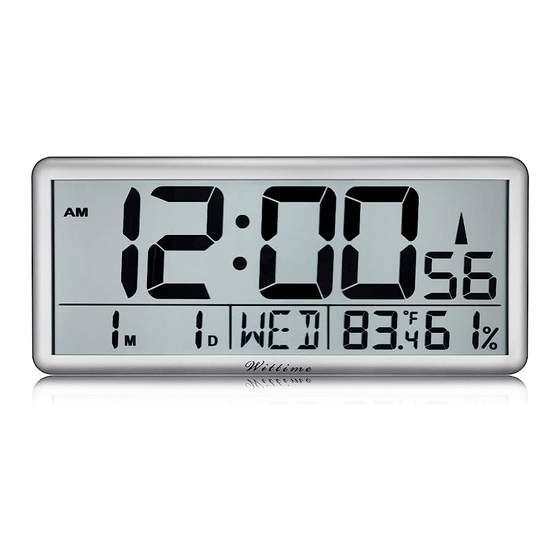
- Month - Day - Hours - Minutes - RCC ON/OFF (time signal reception ON/OFF) 8. Then press to store the changed setting. Choosing the location ATTENTION - Protect the device from dust, shocks, extreme temperatures and direct sunlight. - Protect the device from moisture. Only place the base unit in a dry, enclosed space. - Page 10 Display indicators Time function Temperature display...
-
Page 11: Humidity Display
Humidity display DST function The clock will adapt to summer time and winter time automatically if DST is set ON. • Summer time: the second Sunday of March at 1:59 59’ AM changes to 3:00 00’ AM • Winter time: the first Sunday of November at 1:59 59’ AM changes to 1:00 00’... -
Page 12: Low Battery Indicator
• Clean the battery and device contacts if necessary before inserting. • Dispose of the old batteries in an environmentally manner Technical Data Model: WT4080 Power supply: 4 x LR6 (AA) / 1.5 V Temperature measuring range: 14.2°F ~ 122°F Temperature accuracy: +/-0.4°F Resolution: 0.1°F... -
Page 13: Fcc Statement
FCC Statement This device complies with Part 15 of the FCC Rules. Operation is subject to the following two conditions: (1) This device may not cause harmful interference, and (2) This device must accept any interference received, including interference that may cause undesired operation WARNING: Changes or modifications to this unit not expressly approved by the party responsible for... - Page 14 no guarantee that interference will not occur in a particular installation. If this equipment does cause harmful interference to radio or television reception, which can be determined by turning the equipment off and on, the user is encouraged to try to correct the interference by one or more of the following measures: •...
Need help?
Do you have a question about the WT4080 and is the answer not in the manual?
Questions and answers
How do I change this clock from 24 hour clock to 12 hour clock
To change the Wittime WT4080 clock from 24-hour format to 12-hour format, press the button labeled to select the 12-/24-hour format. This button switches between the two time formats.
This answer is automatically generated