Advertisement
Quick Links
Introduction: Thank you for deciding to purchase a
be quiet! product. The following instructions will guide you
through the installation process. If you do encounter installation
problems, please don't hesitate to contact our customer
services by mailing service@bequiet.com. Please note that
be quiet! cannot accept liability for damage caused by compati-
bility problems.
Warranty:
• 3-year manufacturer guarantee for consumers (original
purchase from authorized be quiet! dealers only)
• Guarantee work can only be processed with a copy
included of the purchase receipt from an authorized
be quiet! dealer
• Manipulation and structural changes of any kind, includ-
ing any damage caused by external mechanical force,
will lead to a complete voiding of the guarantee
• Our General Warranty Conditions apply, which can
be viewed on bequiet.com
Listan GmbH . Wilhelm-Bergner-Straße 11c . 21509 Glinde
Germany. For further information please visit our website:
www.bequiet.com
Installation of Light Wings Single Pack | Installation des Light Wings Single Pack
Screw down the fan (1) using the fan screws (4).
Verschrauben Sie den Lüfter (1) mittels der Lüfterschrauben (4).
Combine the ARGB connector of the fan (1) with the 5V ARGB connector of the
motherboard. To do that switch off your system prior to installation.
Verbinden Sie den ARGB-Stecker des Lüfters (1) mit dem 5V ARGB Anschluss
des Mainboards. Schalten Sie hierzu vor der Installation Ihr System aus.
Installation of Light Wings Triple Pack | Installation des Light Wings Triple Pack
Screw down the fans (1) using the fan screws (4).
Verschrauben Sie die Lüfter (1) mittels der Lüfterschrauben (4).
The ARGB Hub (2) allows you to synchronize up to six 5V ARGB devices directly
through your motherboard. To do that switch off your system prior to installation.
Next combine the connector of the fan (1) with one of six LED headers.
Der ARGB-Hub (2) bietet Ihnen die Möglichkeit bis zu sechs 5V ARGB-Geräte
über das Mainboard zu synchronisieren. Schalten Sie hierzu vor der Installation
Ihr System aus. Verbinden Sie anschließend den Stecker des jeweiligen Lüfters
(1) mit einer der sechs LED-Buchsen.
Version: V1/21
Einleitung: Vielen Dank, dass Sie sich für ein be quiet!
Produkt entschieden haben. Diese Anleitung wird Ihnen beim
Installationsprozess behilflich sein. Sollten bei der Installation
Schwierigkeiten auftreten, kontaktieren Sie bitte unseren
Kundenservice unter service@bequiet.com. be quiet! kann
keinerlei Haftung für durch Kompatibilitätsprobleme bedingte
Schäden übernehmen.
Garantie:
• 3 Jahre Herstellergarantie für Endkonsumenten (nur Erst-
erwerb vom autorisierten be quiet! Händler), ab Datum des
Kaufbelegs
• Eine Garantieabwicklung ist nur in Verbindung mit einer
beigefügten Kopie des Kaufbeleges eines autorisierten
be quiet! Händlers möglich
• Manipulationen und bauliche Veränderungen jeglicher
Art, sowie Beschädigungen durch äußere mechanische
Einwirkungen führen zum totalen Garantieverlust
• Es gelten unsere allgemeinen Garantiebestimmungen, die
Sie unter www.bequiet.com im Internet abrufen können
Listan GmbH . Wilhelm-Bergner-Straße 11c . 21509 Glinde
Germany . Für weitere Unterstützung besuchen Sie unsere
Webseite: www.bequiet.com
SCOPE OF DELIVERY / LIEFERUMFANG
Part name
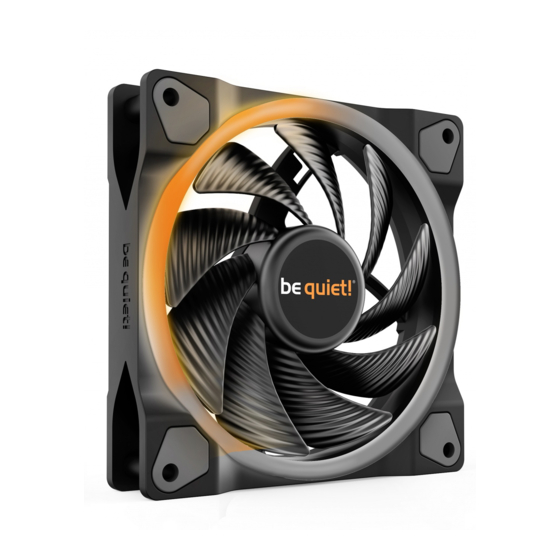
be quiet! Light Wings
fans
be quiet! Light Wings
Lüfter
2
ARGB Hub
ARGB-Hub
3
Double coated tissue tape
Doppelseitiges Klebeband
4
Fan screws
Lüfterschrauben
5
Fastening screws
for ARGB Hub
Befestigungsschrauben
für ARGB-Hub
6
ARGB cable
ARGB-Kabel
Quantity
1 / 3
0 / 1
0 / 1
4 / 12
0 / 4
0 / 1
bequiet.com
Advertisement

Summary of Contents for BE QUIET! Light Wings BL073
- Page 1 Introduction: Thank you for deciding to purchase a Einleitung: Vielen Dank, dass Sie sich für ein be quiet! SCOPE OF DELIVERY / LIEFERUMFANG be quiet! product. The following instructions will guide you Produkt entschieden haben. Diese Anleitung wird Ihnen beim Part name Quantity through the installation process.
- Page 2 Use the ARGB cable (6) to connect the RGB IN connector of the ARGB Hub (2) with the 5V ARGB connector of the motherboard. Nutzen Sie das ARGB-Kabel (6), um den RGB IN-Anschluss des ARGB-Hubs (2) mit dem 5V ARGB-Anschluss des Mainboards zu verbinden. Connect the SATA cable of the ARGB Hub (2) with a SATA header of your power supply.


Need help?
Do you have a question about the Light Wings BL073 and is the answer not in the manual?
Questions and answers