
Related Manuals for 3DP Workbench

Summary of Contents for 3DP Workbench
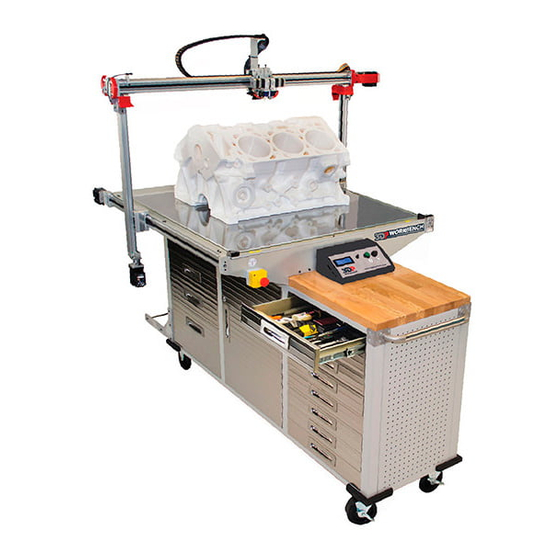
- Page 1 3D Platform Work Instruction WI 6100-0101 Moving and Folding the Gantry Provided to assist in moving the Workbench 3D printer through doorways and narrow areas.
- Page 2 4 mm Hex Wrench Small flat screwdriver Assistant for lifting and moving This work instruction will demonstrate how to fold and disconnect the gantry of your Workbench 3D printer to fit through doorways and narrow areas. WI XXXX-xxxxxx– 3DP Moving the Printer...
- Page 3 3DP Moving and Folding the Gantry Approved By: Date: <6/14/2016> Page 2 of 11 CAUTION: Extremely Heavy. Always team-lift when moving. Step 1: Prepare the printer. Navigate to Prepare > Auto Home on the Screen. WI XXXX-xxxxxx– 3DP Moving the Printer...
- Page 4 3DP Moving and Folding the Gantry Approved By: Date: <6/14/2016> Page 3 of 11 Step 2: Raise the Z-Axis to 250 mm. This will allow enough room to work comfortably underneath the extruder head. To do this, navigate to Prepare > Move Axis > 10 mm > Move Z > +250.0...
- Page 5 3DP Moving and Folding the Gantry Approved By: Date: <6/14/2016> Page 4 of 11 Step 3: Adjust Extruder head to 100 mm. This will allow the extruder head to clear the emergency stop. To do this, navigate to Prepare > Move Axis > 10 mm > Move X > +100.0...
- Page 6 3DP Moving and Folding the Gantry Approved By: Date: <6/14/2016> Page 5 of 11 Step 4: Power down and disconnect cables. Turn off the power and disconnect the unit from the main power source. With a narrow flat screwdriver disconnect the connectors from the back of the control box.
- Page 7 3DP Moving and Folding the Gantry Approved By: Date: <6/14/2016> Page 6 of 11 Step 5: Folding the Z axis. With the 4mm hex wrench remove the 8 bolts securing the Z axis to the bed rails. Always have an assistant hold the gantry upright while removing the bolts.
- Page 8 3DP Moving and Folding the Gantry Approved By: Date: <6/14/2016> Page 7 of 11 Step 6: Remove the filament guide rod. Disconnect the filament sensor wire and the Heated bed light. Loosen the filament guide rod holder so you can slide the rod out from the base unit.
- Page 9 3DP Moving and Folding the Gantry Approved By: Date: <6/14/2016> Page 8 of 11 Step 7: Insert lift rod. From the rear of the machine carefully insert the lift rod in the square hole. With an assistant guiding the rod push it through the machine and out the front hole.
- Page 10 3DP Moving and Folding the Gantry Approved By: Date: <6/14/2016> Page 9 of 11 Push the rod until the third hole is accessible from both ends of the printer. Insert the clevis pins to hold the rod in place. Push the handles on each end and position between the two (2) holes and secure with clevis pins.
- Page 11 3DP Moving and Folding the Gantry Approved By: Date: <6/14/2016> Page 10 of 11 Step 8: Lifting and moving. With an appropriate assistant or a few assistants lift the bed off the cart being careful of the wire bundles so they do not get caught. Carry unit as flat as possible until you reach a door way or similar obsticle and then rotate the unit, returning to horizontal as soon as practical.
- Page 12 3DP Moving and Folding the Gantry Approved By: Date: <6/14/2016> Page 11 of 11 Step 9: Returning the system to use. With the cart in place, return the unit to its original location on the cart. Align the back plate of the unit with the two edges of the handle bracket at the rear of the machine.
Need help?
Do you have a question about the Workbench and is the answer not in the manual?
Questions and answers