Table of Contents
Advertisement
Quick Links
Advertisement
Table of Contents

Subscribe to Our Youtube Channel
Related Manuals for HiFiMAN HM1000

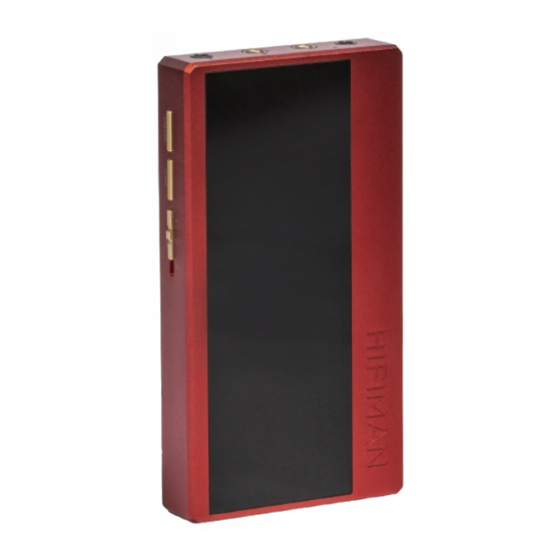
Summary of Contents for HiFiMAN HM1000
- Page 1 HM1000 User Guide...
- Page 2 Welcome Thank you for purchasing the HM1000 Portable DAC(Bluetooth & USB-C) Please read this quick guide before using the HM1000.
-
Page 3: Table Of Contents
Table of Contents Quick start Exterior Operation Interface 4.4mm wiring specification for balanced line output Specifications Supported music formats Safety Instructions Warranty & customer service... -
Page 4: Quick Start
Follow the instructions in the operation guide's DAC Setup to correctly install the driver. Connect the HM1000 to a computer using a USB-C cable. Press the Input button once to turn the light of the main panel green and always on. -
Page 5: Exterior
Exterior Power Button Output Volume+- Input Micro SD Gain Card slot (High/Low/ (Update Super low) Firmware Only) 3.5mm 4.4mm Single-ended USB – C power Balanced LineOut and Data Input 3.5mm Balance/ 4.4mm Charging Single-ended Balanced Switch LineOut... -
Page 6: Operation
Operation Power On / Power Off 1. Press 3 seconds to turn the HM1000 on or o . Volume+/- 1. Press volume+ to increase the volume. Increase the volume one level at a time. The maximum volume is 32. 2. Press volume- to decrease the volume. - Page 7 4.4mm Balanced line output / 3.5mm single-ended line output. When selected it will display a green light. 5. The HM1000 will remember the most recent output configuration was used when last powered and will resume the same output status.
- Page 8 Operation Input Selection 1. After powering on, the input defaults to Bluetooth mode. If the blue light is flashing it is in pairing mode, and will remain blue when connected. 2. When connecting via USB, press the input selection key one time. The input mode will switch to USB AUDIO mode.
- Page 9 Charge 1. Connect a charging cable from a power supply to the HM1000. The charging status light will be a steady red. The light will turn green when fully charged. 2. Press the charge button to switch to non charging mode.
-
Page 10: Interface
1. Connect a type-C USB data cable to a computer for data transmission. 2. Use a type-C USB power cable with a power supply to charge the HM1000. 3. Use a type-C to type C USB cable to connect to a mobile phone for USB DAC Features. -
Page 11: Mm Wiring Specification For
4.4mm Balanced Line Output Wiring Specifications 4.4mm balanced Plug schematic is as follows: 19.5mm L- R+ R- For 4.4mm Balanced to dual XLR connections, the balanced output should be as wired as follows: 19.5mm L- R+ R-... - Page 12 4.4mm Balanced Line Output Wiring Specifications 4.4mm balanced to single-ended RCA connections should be made as follows: L- R+ R-...
- Page 13 4.4mm Balanced Line Output Wiring Specifications 4.4mm balanced to dual mono 6.3mm connections should be made as follows: L- R+ R-...
- Page 14 4.4mm Balanced Line Output Wiring Specifications 4.4mm balanced to dual stereo 6.3mm connections should be made as follows: L- R+ R-...
- Page 15 4.4mm Balanced Line Output Wiring Specifications 4.4mm balanced to single-ended 3.5mm connections should be made as follows: L- R+ R-...
- Page 16 4.4mm Balanced Line Output Wiring Specifications Please note: Do not use an ungrounded connector as prolonged use may damage the HM1000.
-
Page 17: Dac
Type-A adapter when connecting to MAC.) Note: When connecting the HM1000 to products running iOS, first change the charging button to the no-charging mode, then connect the HM1000 to the device, and switch the input mode of HM1000 to USB AUDIO mode. - Page 18 Type-C Type-A Type-A Lightning...
- Page 19 Driver, and download the HM1000 driver. 2. Unzip the compressed package, select the driver and continue to install the driver. 3. Use a type-C USB data cable to connect the HM1000 to the computer. 4. Set the HM1000 to USB DAC mode.
-
Page 20: Specifications
Specifications Size ( LxWxH ) : 115mmx62mmx18mm Frequency Response: 20Hz-40kHz Battery Life : 9.5h Output Options : 3.5mm Single-ended, 3.5mm balanced, 4.4mm balanced,3.5mm Line output, 4.4mm Line out Bluetooth Version: Bluetooth 5.0 Codecs: LDAC, aptX-HD, aptX, AAC, SBC Sampling Rate: up to 24bit/384kHz... -
Page 21: Supported Music Formats
Supported Music Formats AIFF FLAC ALAC (aif-f) √ √ √ √ √ 16bit 44.1kHz √ √ √ √ √ 16bit 48kHz √ √ √ √ √ 16bit 88.2kHz √ √ √ √ × 16bit 96kHz √ √ √ × √ 16bit 176.4kHz √... -
Page 22: Safety Instructions
Safety Instructions Warning 1. Do not expose the player to water or other solvents. 2. Do not expose the player to humidity, dust, smoke and other harsh conditions. 3. A suitable operating temperature environment should be between -6℃ To 40℃. Storage should be at normal room temperature. - Page 23 Safety Instructions Disposal and Recycling The disposal of your player should be separated from household waste because the player contains electronic parts a and battery. When your player reaches the end of its life, please contact your local environmental depart- ment for disposal and recycling information or you could simply send it back to us.
- Page 24 FCC Warning This device complies with Part 15 of the FCC Rules. Operation is subject to the following two conditions: (1) This device may not cause harmful interference, and (2) this device must accept any interference received, including interference that may cause undesired operation.
- Page 25 FCC Warning - Increase the separation between the equipment and receiver. - Connect the equipment into an outlet on a circuit di erent from that to which the receiver is connected. - Consult the dealer or an experienced radio/TV technician for help. NOTE 2: Any changes or modifications to this unit not expressly approved by the party responsible for compliance could void the user's authority to operate...
-
Page 26: Warranty & Customer Service
Warranty & Customer Service HIFIMAN warrants this product to be free of defects in material or workmanship for a period of one year from the date of original retail purchase. If your product is found to be defective during the warranty period,... - Page 27 7. Damage caused by self-repair or if the unit has been disassembled or modified in any way. HIFIMAN greatly desires your satisfaction and will do everything reasonable to achieve that. If you have any questions or concerns with your product, simply contact...
- Page 28 Return shipping to HIFIMAN or authorized service facility will be at the owner’s expense. The warranty applies to the first purchaser and is not transferable. For further information, please contact your authorized HIFIMAN dealer or email us directly at customerservice @HIFIMAN.com.
- Page 29 Customer Service Tel: +1 201-443-4626 E-mail: customerservice@HIFIMAN.com Website: www.hifiman.com...
Need help?
Do you have a question about the HM1000 and is the answer not in the manual?
Questions and answers