Advertisement
Advertisement
Table of Contents

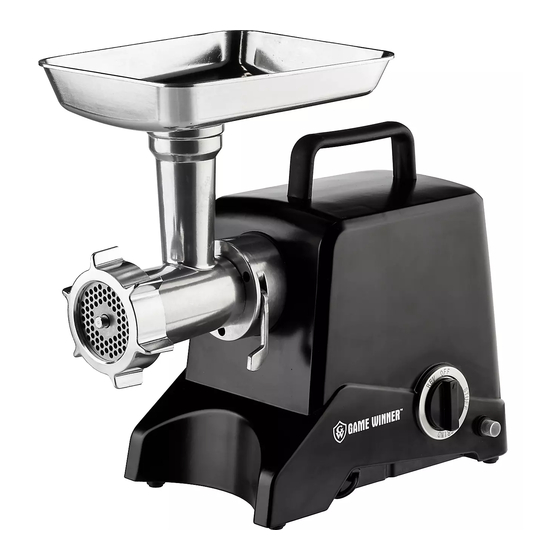
Summary of Contents for Game Winner 156595
- Page 1 Assembly Instructions & User’s Manual Game Winner #12 Meat Grinder 156595 Please keep this instruction manual for future reference Customer Service: (888) 922-2336 7:00 am to 12:00 am CST (daily) Live Chat at: www.academy.com Email: customerservice@academy.com (Made in China) Final – 05/18...
-
Page 2: Table Of Contents
Table of Contents Warnings……………………………………………………………….. Tools and Parts………………………………………………………… Assembly Instructions…………………………………………………. Operating Instructions ……………………………………………… Care and Maintenance……………………………………………...… Warranty Information………………………………………....Note: Before beginning assembly of product, make sure all parts are present. Compare parts with package content list and hardware contents. If any part is missing or damaged do not attempt to assemble the unit. -
Page 3: Tools And Parts
Warnings When using electrical appliances, basic safety precautions should always be followed including the following: 1.Read and follow all instructions before using the grinder. 2.To protect against risk of electrical shock do not submerse in water or other liquid. Use a moist cloth to clean the motor housing. - Page 4 Tools Required Cross Screwdriver Parts List Main Body Meat Pan Worm Gear Auger Grinder Knife Coarse Grinding Plate Fine Grinding Plate Stuffing Plate Grinder head Retaining Ring Meat Stomper Stuffing Tube Page 3 of 8...
-
Page 5: Assembly Instructions
Assembly Instructions Step 1: Insert the worm gear/auger into the grinder head, the geared end first. Place the grinder knife onto the auger stud. (The cutting edges should be facing out and flat against the grinder plate when properly installed.) Step 2: Attach the grinder head to the motor housing. -
Page 6: Operating Instructions
Assembly Instructions Step 3: Screw the retaining ring onto the grinder head until it is hand tight. Place the meat tray on the upright part of the grinder head. Now the grinder is ready for grinding. Grinding Cut the meat into 4” x ¾” strips. Make sure to remove all bones, gristle and sinew. - Page 7 Operation Instructions - Stuffing 2.Attach the grinder head to the motor housing. 3. Press down the locking handle to make sure that the grinder head is locked firmly. 4.Screw the retaining ring onto the grinder head until it is hand tight. 2.Place the meat tray on the upright part of the grinder head.
-
Page 8: Care And Maintenance
Care and Maintenance Tips ◆ Cord storage is under motor housing. ◆ If the grinder is locked, turn grinder off and press the reverse button. If this does not unlock the grinder, turn the unit off, unplug the electrical cord from the outlet and disassemble the grinder head and remove the obstruction. -
Page 9: Warranty Information
Warranty Information This product has been manufactured under the highest standards of quality and workmanship. We warrant to the original consumer purchaser that all aspects of this product will be free of defects in material and workmanship for one year from the date of purchase.
Need help?
Do you have a question about the 156595 and is the answer not in the manual?
Questions and answers
Do you sell replacement gears for the grinder