Table of Contents
Advertisement
Quick Links
C O M M E R C I A L I I S E R I E S
I N S TA L L AT I O N
•
O P E R AT I O N
•
M A I N T E N A N C E
•
W A R R A N T Y I N F O R M AT I O N
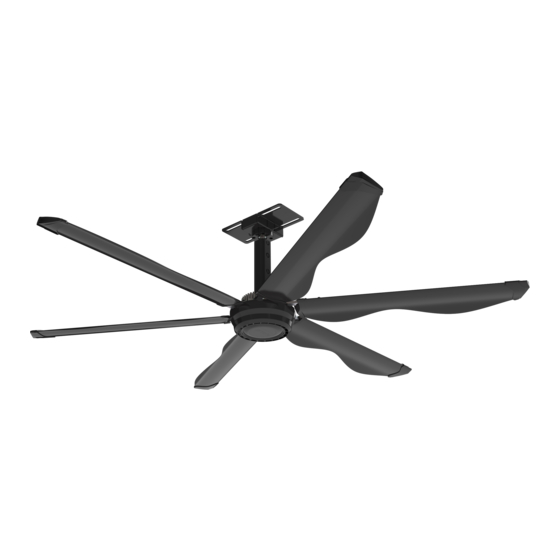
I N S T R U C T I O N M A N U A L
S K U 2 114 0 4 , 2 114 0 5 , 2 114 0 6 & 2 114 0 7
C A U T I O N
R E A D I N S T R U C T I O N S C A R E F U L L Y F O R S A F E
I N S T A L L A T I O N A N D F A N O P E R A T I O N .
Advertisement
Table of Contents

Summary of Contents for Mammoth COMMERCIAL II Series
- Page 1 C O M M E R C I A L I I S E R I E S I N S TA L L AT I O N • O P E R AT I O N • M A I N T E N A N C E •...
-
Page 2: Congratulations On Your Purchase
The Mammoth Fan you have purchased is a sophisticated electrical device and all care must be taken to ensure the fan is kept clean and regularly maintained. Any issues arising from misuse or neglect are not covered by the warranty. -
Page 3: Packing Specification
Control box body Fan blade connector Screw and fastener package Cardan joint Fan hub Cardan joint base Motor bottom cover Aluminium alloy bushing Blade components RJ45 Ethernet interface Coil of wire Extension tube Fan controller Mammoth Fans COMMERCIAL II SERIES... -
Page 4: Wire-Cutter
PARTS LIST 5. Required installation tools ADJUSTABLE WRENCH SOCKET WRENCH LASER DISTANCE MEASURE LEVEL ALLEN KEYS MULTIMETER WIRE-CUTTER SCREW GLUE Exclusively distributed by Beacon Lighting... -
Page 5: Installation Requirement
1. Roof installation requirement The Mammoth Fan must be installed in a location where the blades have enough space between the fan and the nearest objects or walls. (Refer to the below diagram for detailed spacing requirement). Secure the hanging bracket to the ceiling joist or structure with provided bolts and nuts. -
Page 6: Fan Installation
Distinguish the input and output, make sure the ground wire is in place and wire to local 14. WIRING 8. WIRING Make the appropriate electrical connection to the fan body, wiring standards. ensure neat and tight connections are completed. Mammoth Fans COMMERCIAL II SERIES... - Page 7 LCD DISPLAY STATUS CONFIRMATION 15. DEBUGGING Each Mammoth Fan is tested prior to leaving the factory. If there seems to be a problem double check all electrical connections, and contact the Mammoth support team. After the controller is powered on, when the switch points to ON, the machine is powered on, and the LCD displays: given rotating 16.
- Page 8 2. Please confirm the wirings have been connected correctly, then turn the main knob to “ON”. Now it’s powered on. Please ensure the power to your Mammoth Fan is isolated before completing any cleaning and maintenance work. Also ensure you follow all local regulations in regards to safe working at heights. Periodic cleaning of your ceiling fan 3.
-
Page 9: Troubleshooting
Under Input power lack phase Confirmation of main circuit wiring Equipment damage due to improper use is not covered by the warranty. Mammoth Fans will not be responsible for personal E.Lu pressure in injuries and equipment damages for failure to comply with the contents of this manual. - Page 10 V/F curve setting, modify F04.00 appropriate (VF curve setting) and modify the custom V/F curve related parameters (F04.10~F04.19) Abnormal output current due to Check the main loop to remove input phase input missing phase Mammoth Fans COMMERCIAL II SERIES...
- Page 11 Change of speed tracking parameter (F07.25~F07.28) tracking parameters Note: this fault is detected when the bus voltage exceeds the overvoltage point. Three phase input overvoltage point is 820 V, single-phase input overvoltage point is 400 V. Mammoth Fans COMMERCIAL II SERIES...
-
Page 12: Warranty
9am and 5pm (AEST) Monday to Friday. NAME ___________________________________________________________________________________________________ Please make sure you have all the Mammoth Fan details filled out at the end of the manual before making the call. ADDRESS ________________________________________________________________________________________________ Every Mammoth Fan is thoroughly inspected and tested before being released for sale. In addition to any warranty rights or... - Page 13 C O M M E R C I A L I I S E R I E S...

Need help?
Do you have a question about the COMMERCIAL II Series and is the answer not in the manual?
Questions and answers