Advertisement
Advertisement
Table of Contents

Related Manuals for Dual ILLUMINITE SBP8A


Summary of Contents for Dual ILLUMINITE SBP8A
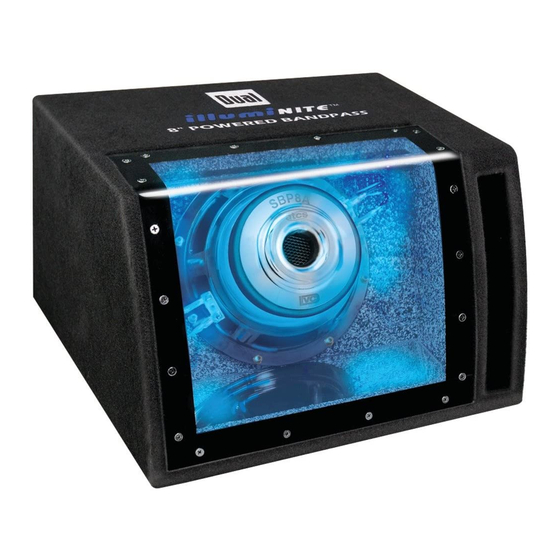
- Page 1 SBP8A INSTALLATION/OWNER'S MANUAL 8" Bandpass Enclosure with Built-in Amplifier...
-
Page 2: Getting Started
Please read entire manual before installation. Due to the technical nature of amplifiers, it is highly recommended that your Dual SBP8A is installed by a professional installer or an authorized dealer. -
Page 3: Safety First
The following instructions are designed to ensure safety during installation and use of the SBP8A. Failure to heed these instructions can result in injury or damage The following installation instructions are intended to be used as a basic guideline. If you feel unsure about installing this speaker system yourself, Dual recommends acquiring the services of a professional car audio installation center. -
Page 4: Connection Descriptions
SBP8A INSTALLATION Connection Descriptions NOTE Be sure to follow specific instructions included with your amplifier installation kit (not included with this amplifier). The information below should be used a general guideline only. Power Wire (BAT+) • Disconnect negative battery terminal before proceeding. Consult a qualified technician for instructions if you are unsure. • Plan wire routing before cutting any wires to length. Begin by routing the power BAT+ wire from the battery to the amplifier location. Use a grommet when running wires through the firewall or metal openings. -
Page 5: Connections And Controls
Crossover Frequency Phase Control Input Level Control High Level Inputs SBP8A INSTALLATION Connections and Controls Power Connections Fuse Low Level Inputs LED Indicator... - Page 6 SBP8A INSTALLATION Typical Wire Routing Main Power Connections Connect BAT+, GND and REM wires accordingly. A suitable fuse MUST be installed on the BAT+ lead within 18" of the battery for protection of the vehicle’s electrical system. Fuse Rating When replacing the fuse, make sure new fuse is the correct type and amperage.
- Page 7 Setup and Adjustment of Controls Input Signal Connections Low Level (RCA) High Level Input (Speaker Wire) Crossover Frequency Control Phase Control Input Level Control LED Indicator SBP8A INSTALLATION Low level (RCA) input signal is preferred for best performance. Typical trunk-mount installations require a 17-20 foot RCA cable. Most trucks and behind-seat applications require a 6-12 foot RCA cable.
-
Page 8: Troubleshooting
SBP8A INSTALLATION Troubleshooting Problem Unit will not turn on BAT+ wire not connected or incorrect voltage (no power LED indicator) REM wire not connected or incorrect voltage GND wire not connected Fuse(s) blown Unit has power - LED is Volume turned all the way down blue (but no sound) Speaker defective or damaged Input signal not connected Unit blows fuse(s) Incorrect fuse rating BAT+ wire touching chassis ground... -
Page 9: Limited One Year Warranty
Dual Electronics Corp. agrees, at our option, during the warranty period, to repair any defect in material or workmanship or to furnish an... - Page 10 Please keep your original sales receipt and be prepared to For Your Records provide this receipt in the event you require service, as your original receipt is considered the best proof of purchase and indicates the date you purchased your Dual product. Dealer Name Dealer Phone Purchase Date Register your product online at www.dualav.com...
-
Page 11: Specifications
SBP8A INSTALLATION Specifications Maximum Output Power 160 watts Continuous Output Power 80 watts Frequency Response 20-200Hz S/N Ratio @ 1 watt 72dB Input Impedance Low level (RCA): 10k ohms High level (speaker): 2K ohms Input Sensitivity (RCA) 50mV – 3V Crossover Frequency 70–200Hz Crossover Slope 6dB/octave Phase 0–180 degrees Fuse 7.5 amp ATO Dimensions 15.35” x 9.22” x 15.35” (WxHxD) Design and specifications subject to change without notice. - Page 12 Dual Electronics Corp. Toll Free: 1-866-382-5476 www.dualav.com ©2009 Dual Electronics Corp. All rights reserved. NSA0609-V01 Printed in China...
Need help?
Do you have a question about the ILLUMINITE SBP8A and is the answer not in the manual?
Questions and answers