Advertisement
Quick Links
Video • Data • Power
HubWayLD8DS Series
Active UTP Transceiver Hub
with Integral Camera Power
Models Include:
HubWayLD8DS
- UL Listed eight (8) Channel Active UTP Transceiver Hub with Integral Camera Power
HubWayLD82DS
- UL Listed eight (8) Channel Active UTP Transceiver Hub with Integral Camera Power
- Includes eight (8) UL Listed Accessory HubWayAv Video Balun/Combiners
HubWayLD83DS
- UL Listed eight (8) Channel Active UTP Transceiver Hub with Integral Camera Power
- Includes eight (8) UL Listed Accessory HubWayDv Video Balun/Combiners
Installation Guide
Rev. 071508
Installing Company: _______________ Service Rep. Name: __________________________________
Address: _____________________________________________ Phone #: __________________
Z1409
More than just power.
TM
Advertisement

Summary of Contents for HUBWAY HubWayLD8DS Series
- Page 1 Video • Data • Power HubWayLD8DS Series Active UTP Transceiver Hub with Integral Camera Power Models Include: HubWayLD8DS - UL Listed eight (8) Channel Active UTP Transceiver Hub with Integral Camera Power HubWayLD82DS - UL Listed eight (8) Channel Active UTP Transceiver Hub with Integral Camera Power...
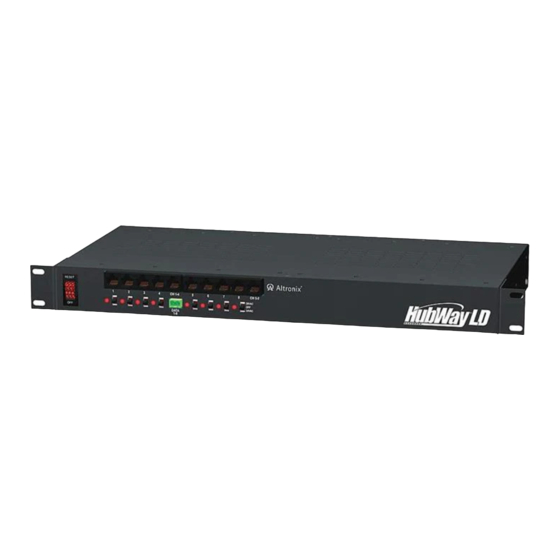
- Page 2 Overview: Altronix HubWayLD8DS Passive UTP Transceiver Hub w/Integral Camera Power transmits UTP video, RS422/ RS485 data and power over a single CAT-5 or higher structured cable. Unit provides 8 camera channels in a space saving 1U EIA 19” rack mount chassis which may be rack, wall or shelf mounted. Video transmission range is up to 3000 ft.
-
Page 3: Installation Instructions
Installation Instructions: 1. Set the input voltage selector switch located on the left side of the HubWayLD8DS unit for 115VAC or 230VAC operation (Fig. 1k, pg. 4). 2. Attach mounting brackets to the HubWayLD unit for rack or wall mount installation (Figs. 6-7, pg. 8). Affix rubber pads to the HubWayLD unit for shelf installation (Fig. - Page 4 + -- - 4 - HubWayLD8DS Installation Guide...
- Page 5 HubWayAv, HubWayAv2, HubWayDv, and HubWayDvi Video Balun/Combiners: Altronix Input Voltage Model from Power Number HubWay Unit Output Voltage to Camera Camera Type HubWayAv *24VAC/28VAC *24VAC/28VAC *24VAC/28VAC Green HubWayAv2 *24VAC/28VAC *24VAC/28VAC *24VAC/28VAC HubWayDv *24VAC/28VAC 12VDC 12VDC cameras HubWayDvi *24VAC/28VAC 12VDC electronically isolated 12VDC cameras without isolation *Based on camera load and structured cable length.
- Page 6 - 6 - HubWayLD8DS Installation Guide...
- Page 7 The lightning flash with arrowhead symbol within an equilateral triangle is intended to alert the user to the presence of an insulated DANGEROUS VOLTAGE within the product’s enclosure that may be of sufficient magnitude to constitute an electric shock. The exclamation point within an equilateral triangle is intended to alert the user to the presence of impor- tant operating and maintenance (servicing) instructions in the literature accompanying the appliance.
- Page 8 Mounting Options: Rack Mount Installation Remove factory installed screws from both sides of the rack chassis (Fig. 6a). Install mounting brackets (A) on the left and right side of rack chassis using the two (2) flat head screws (B) (included) (Fig. 6b). Place unit into desired EIA 19”...
Need help?
Do you have a question about the HubWayLD8DS Series and is the answer not in the manual?
Questions and answers