Table of Contents
Advertisement
Quick Links
Instructions
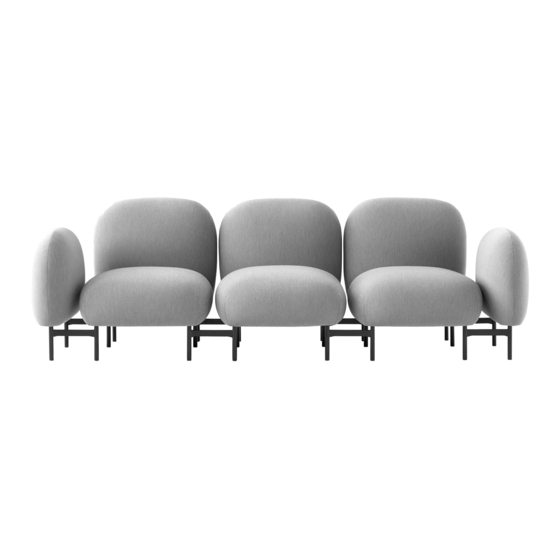
Isole
NN1A–NN1G
Nendo & Luca Nichetto
2017
Congratulations on choosing this original Isole modular
system designed by Nendo and Luca Nichetto. We hope you
will enjoy using this product and follow these instructions
to ensurecorrect assembly. If you have any questions or
comments, please do not hesitate to contact us by mail on:
info@andtradition.com
Advertisement
Table of Contents

Related Manuals for &Tradition Isole NN1A-NN1G


Summary of Contents for &Tradition Isole NN1A-NN1G
- Page 1 Instructions Isole NN1A–NN1G Nendo & Luca Nichetto 2017 Congratulations on choosing this original Isole modular system designed by Nendo and Luca Nichetto. We hope you will enjoy using this product and follow these instructions to ensurecorrect assembly. If you have any questions or comments, please do not hesitate to contact us by mail on: info@andtradition.com...
- Page 2 Please read these instructions carefully and retain them for future reference to ensure that the table is used correctly. For your own safety, please study each step of this instruction manual. &Tradition is not responsible for any faults or damages caused by not following these instructions correctly.
- Page 3 Tables Seats Step 1 Step 4 Back & armrest Make sure that all parts listed are supplied and accounted for. See part list next to overview image on the previous page. Please note that there Once the legs are fastened to the seat, locate the corresponding back or are two different bolt length and that they have different placements.
- Page 4 Floor mount - optional Step 1 Choose a leg for the floor mount. Using a flat screwdriver, or a similar tool, carefully remove the existing glider from the bottom of the leg. Step 2 Remove the set screw from the floor mount and place it on the leg. Step 3 Place the Isole module in its destined location and, using a pencil, mark the base of the floor mount.
Need help?
Do you have a question about the Isole NN1A-NN1G and is the answer not in the manual?
Questions and answers