Table of Contents
Advertisement
Quick Links
Advertisement
Table of Contents

Summary of Contents for Assa Abloy SMARTair Mini Updater
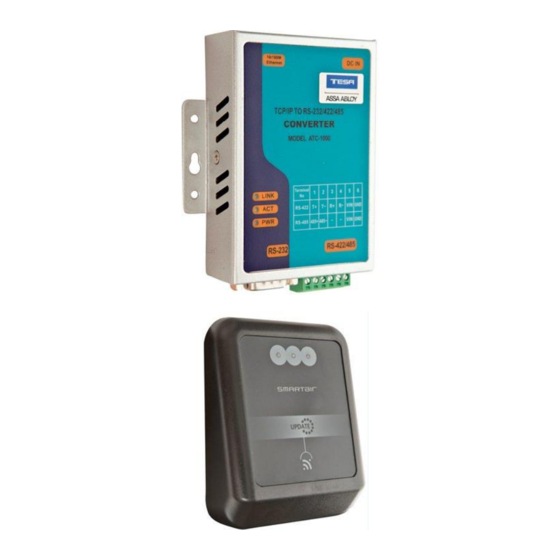
- Page 1 SMARTair Mini Updater...
-
Page 2: Table Of Contents
Reset without changing the IP address ......................- 13 - Reset everything to default including the IP address ..................- 14 - History– Modifications Version Modification Concept Not for distribution V1.0 SMARTair Mini Updater manual 12/04/2016 - 2 - Concept... -
Page 3: General
1 General The Mini Updater has an direct connection to the TS1000 SMARTair database. This means that if the connection is lost, the mini updater will no longer function until the connection is established again. As the Mini Updater cannot open a door, no configuration is necessary in the TS1000 software and no special license is needed. -
Page 4: Configuring The Tcp/Ip - Rs232 Adaptor Via Web Browser
There are two ways we can configure the TCP/IP – RS232 adaptor. 2.2 Configuring the TCP/IP – RS232 Adaptor via web browser Open your web browser and type http://192.168.2.1 and click enter. The User Log-in screen appears. Default ID: admin Default Password: system The setup screen will then appear. -
Page 5: Configuring The Tcp/Ip - Rs232 Adaptor Via The Vcom Program
Now we will adapt the default IP address to the new IP address given to you by the IT service of the client. We will go back to the main screen, we must click on Administrator settings to do this. In the main screen we will type in the new IP address, subnet Mask and gateway and click the Update button. - Page 6 The program will scan the network and will find the TCP/IP – RS232 adaptor. After the scan, the TCP/IP – RS232 adaptor will be listed in the VCOM program. We can now Configure the TCP/IP – RS232 adaptor by selecting the TCP/IP – RS232 adaptor and by clicking on the Configure Button.
- Page 7 Scroll down to the UART section and change the Baudrate to 115200 and uncheck the Silent option if needed. 12/04/2016 - 7 - Concept...
-
Page 8: Now We Can Setup The Virtual Comport For The Mini Updater
Scroll completely down and click OK. The TCP/IP – RS232 adaptor is now setup correctly in the network. Now we must setup the virtual comport via the VCOM program. See point 2.3.2 2.3.2 Now we can setup the virtual comport for the mini updater. We click on COM Mapping and then we click on the ADD button. - Page 9 In the VCOM program we will now see the COM Port in the COMM Mapping menu. The TCP/IP – RS232 adaptor is now setup completely. Now we can proceed installing the Mini Updater software and the link to the TS1000 database. 12/04/2016 - 9 - Concept...
-
Page 10: Setting Up The Mini Updater Software
4 Setting up the Mini Updater software The Mini Updater uses an small software called UpdaterBox. This software can be downloaded from the Tesa website and must be exactly the same version as the TS1000 version! Unzip this software to an folder inside the default TS1000 folder and give the folder an clear and unique Name. For ex. - Page 11 You can now start the UpdateBox1.exe file If everything is configured correctly, the UpdaterBox is running and displaying the correct Name of the Updater. 12/04/2016 - 11 - Concept...
-
Page 12: Setting Up Windows To Start Up The Updaterbox After Boot
5 Setting up Windows to start up the UpdaterBox after boot. The VCOM software and the UpdaterBox software must be running at all times. If not, the Mini Updater will not work! The VCOM software is by default configured to startup when Windows starts. No further action must be taken for the VCOM program. -
Page 13: Good To Know
6 Good to know The Mini Updater reader must be fast flashing red. This means that the Mini Updater is operational and connected to the database. If the Mini Updater is slowly flashing red, the “Silent” option in the TCP/IP – RS232 configuration is still selected. Please uncheck this option. -
Page 14: Reset Everything To Default Including The Ip Address
7.3 Reset everything to default including the IP address This can only be done by an hardware reset. Therefore we need to disconnect the TCP/IP – RS232 adaptor and open the adaptor by loosening the 2 screws on each side of the adaptor.
Need help?
Do you have a question about the SMARTair Mini Updater and is the answer not in the manual?
Questions and answers