Table of Contents
Advertisement
Quick Links
Advertisement
Table of Contents

Summary of Contents for SecurityMan PANBASE
- Page 1 SecurityMan ® Remote Control Pan Base for Camera User's Manual PANBASE...
- Page 3 SecurityMan will repair or replace the product. This warranty is exclusive and is limited to PANBASE. This warranty shall not apply to products that have been subjected to abuse, misuse, abnormal electrical or environmen- tal conditions, or any condition other than what can be considered normal use.
-
Page 4: Table Of Contents
Contents Introduction ....... . . 7 Features........7 Package Includes . - Page 5 Important-Safety Precautions To prevent fire or shock hazard, do not expose this product to rain or moisture. Do not use near a bathtub, wash bowl, kitchen sink, or laundry tub, in a wet basement, or near a swimming pool. • To avoid electrical shock, do not open this product. •...
- Page 6 Important Information 1) Keep away from strong sunlight or sunshine to prevent power-off from increased temperature of inner mechanical components. 2) Insure sufficient power supply from local electrical sys- tem. 3) Do not use several controls with neighboring frequency closely at the same time. Close frequencies might cause slight interference.
-
Page 7: Introduction
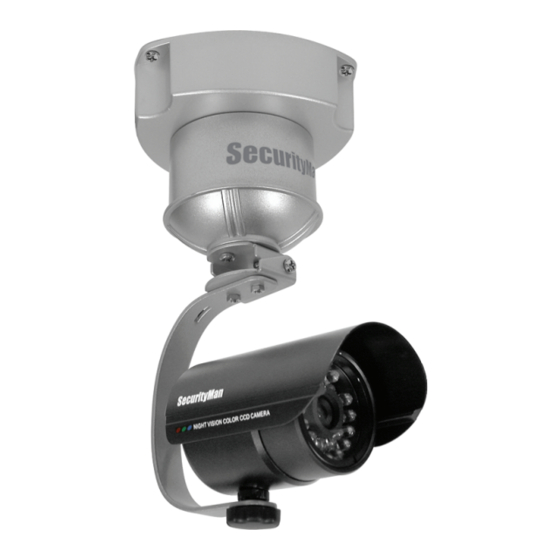
Introduction Thank you for purchasing the Remote Control Pan Base. This SecurityMan PANBASE allows you to rotate your wired/wireless video camera left, right with a 370° viewing range and remotely position a camera to any desired angle with the remote control. -
Page 8: Hardware Basics
Hardware Basics Pan Base Adjustable Camera Mount Rotating Base 12V DC Plug to Camera Antenna 15V DC Plug to Power Adapter Remote Control Antenna ON/OFF Button Rotation Button Clockwise/ Counter-clockwise LED Indicator SecurityMan... -
Page 9: Install The Camera To The Pan Base
Install the camera to the Pan Base 1) Take the Pan Base out from the package. 2) Position the adjustable camera mount to a 90˚ degree angle. 3) Get the mount- ing bracket and screws out from the package. - Page 10 4) Screw the mounting bracket to the adjustable camera mount. 5) Adjust the bracket to vertical position. 6) Mount your wired/wireless camera to the bracket.
- Page 11 7) Adjust the cam- era angle accord- ingly. 8) The Pan Base is now ready to mount on the ceil- ing or horizontal position. Note: User can mount the Pan Base upside-down on the ceiling or on a flat surface.
-
Page 12: Install Or Replace The Remote Control's Battery
Install or replace the remote control’s battery 1) Open the cover from the back of the remote control. 2) Place one 12V 23A battery to the slot and close the cover. Note: Battery life is 1-4 month is depending on the usage. If the battery level is low, the remote controller will not be so effective. -
Page 13: Troubleshooting
2) Press the left button (ON/OFF button) again and the Pan Base will stop. 3) While rotating, press the right button (Rotation button) at any time to change the rotating direction. 4) If you want to turn on or turn off the Pan Base, press the left button (ON/OFF button) twice respectively. - Page 14 Specifications Remote Control: RF Output Power 0dBm RF Transmitter Frequency 433.92MHz Battery 12V DC 23A battery Transmitter Current 20mA Maintain Current 40nA Dimension 95mm x 48mm x 28mm Weight Pan Base RF Receiver Sensible -80dBm(excel) RF Receiver frequency 433.92MHz Auto/Remote scanning angle 370˚...
- Page 16 www.securitymaninc.com...
Need help?
Do you have a question about the PANBASE and is the answer not in the manual?
Questions and answers