Table of Contents
Advertisement
Quick Links
General
Our products are designed to comply with the
recommended codes and practice, and is to be
installed and serviced by competent persons in
accordance with the relevant regulations.
Contents
The Smart PIR is supplied with required batteries,
mounting bracket and mount pack.
First Use
Find the screw on the bottom of the PIR.
Undo the screw and open the front part of the casing.
• Insert the batteries, with the correct polarity.
• Once the batteries are inserted, the detectors will start its
self-test procedure for 30 seconds.
• After self detection has completed, complete configuration.
Installation
Fix the bracket on the wall, with screws and attach the detector to the bracket. Adjust the bracket to
change thedetection distance and angle. It is recommended to mount the detector 2m from the ground.
Avoid mounting the detector close to windows, AC units, heater(s), refrigerator(s), oven(s), sunshine,
and places where there are severe changes in temperature, or where the air stream flows frequently.
If two detectors are installed in the same detection area, adjust the location to avoid interference,
and false alarms.
PIR detectors are more sensitive to horizontal movements, than vertical.
ECSPPET includes Pet immunity up to ≤ 25kgs
Smart Security PIR's
ECSPPIR
ECSPPET
Top view
Products bearing this mark
are compatible with the Clicksmart+ APP
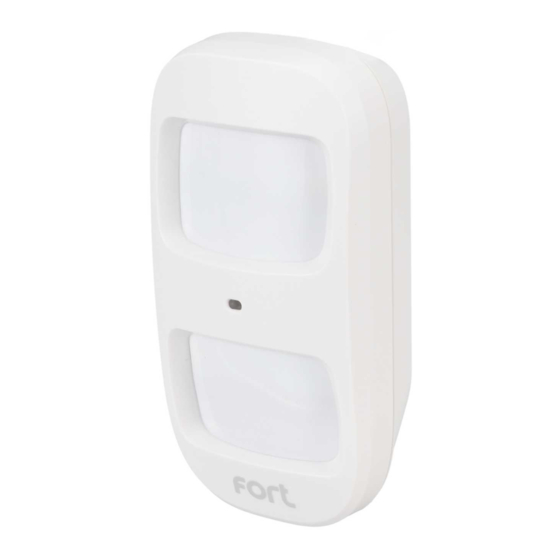
1. Detection window
2. LED indicator
3. Bracket
Side view
Advertisement
Table of Contents

Subscribe to Our Youtube Channel
Summary of Contents for Fort ECSPPIR
- Page 1 Smart Security PIR’s ECSPPIR Products bearing this mark ECSPPET are compatible with the Clicksmart+ APP General Our products are designed to comply with the recommended codes and practice, and is to be installed and serviced by competent persons in accordance with the relevant regulations.
- Page 2 Mode Setting Testing Mode Once the self-testing is complete, long press the test button. The sensor switches to testing mode, and scans once every 10 seconds. After 3 minutes, the LED blinks twice, and the sensor switches to working mode. Working mode / Stand-by mode In working mode, if the sensor is triggered more than twice within 3 minutes, it will switch to standy mode to save power.
Need help?
Do you have a question about the ECSPPIR and is the answer not in the manual?
Questions and answers