
Related Manuals for Milano Ballam BCTWH008

Summary of Contents for Milano Ballam BCTWH008
- Page 1 Wall Mounted WC fixings INFORMATION GUIDE Contents Safety Information Page ‑ 2 Installation Page ‑ 2 Safety Equipment Page ‑ 5 Aftercare Page ‑ 6 Your Guarantee Page ‑ 6 Recycling and Disposal Page ‑ 6 Contact Us Page ‑ 6 DOC/IM/054/017...
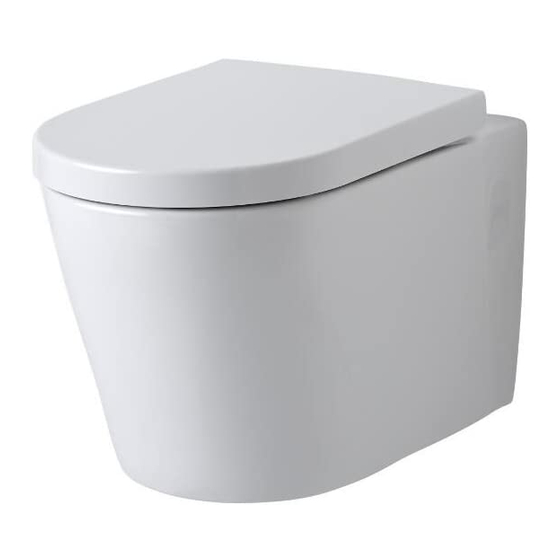
- Page 2 Safety Information Please read carefully... Check that all required componants have been provided. Do not attempt to install a toilet if you notice any cracks or damage to the glaze. Contact the supplier. We recommend that installation and fixing is performed by a qualified installer. Be careful when handling the toilet as it can contain sharp edges were appropriate PPE.
- Page 3 Check that all componants are included and are undamaged. Screw the chrome locking bolts onto the threaded bars protruding from the wall, please make sure that the concave groove is facing outwards and that it will line up with the hole in your WC.
- Page 4 Next offer the toilet up to the fixing bolts, and tighten the Grub screws to secure the WC to the wall (1), please make sure that the protruding flush pipe and pan connector make contact and fit securely over the WC.
- Page 5 Safety Equipment Please read carefully... Please ensure that you wear appropriate Safety equipment while installing a toilet. Toilets can be heavy and have sharp edges in areas where you might try to pick them up . We advise that a second person is present to assist with lifting the toilet when required.
- Page 6 Aftercare Periodically check the fixings for signs of wear and tear e.g. If the toilet starts to pull away from the wallframe. If you notice any signs of wearing, please contact the manufacturer. Your Guarantee • To find the specific guarantee for your product please refer to the website. •...
Need help?
Do you have a question about the Ballam BCTWH008 and is the answer not in the manual?
Questions and answers