Table of Contents
Advertisement
Quick Links
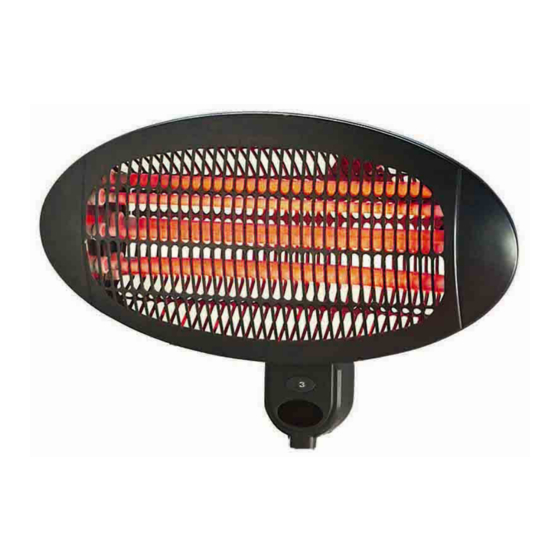
Electric Outdoor Wall Heater
Assembly Instructions - Please keep for future reference
Please retain for future reference
Dimensions
Width - 50 cm
Depth - 16 cm
Height - 36 cm
Important -
Please read this instructions fully before starting assembly
If you need help or have damaged or missing parts, call the Customer Helpline: 03456 400800.
Please visit the website www.argos.co.uk for more information.
Produced in China. Sainsbury's Supermarkets Ltd. 33 Holborn, London EC1N 2HT.
Sainsbury's (NI) Ltd, Forestside Shopping Centre, Upper Galwally, Belfast, United Kingdom, BT8 6FX.
Argos Limited, 489-499 Avebury Boulevard, Milton Keynes MK9 2NW.
Argos (N.I.) Ltd, Forestside Shopping Centre, Upper Galwally, Belfast, United Kingdom, BT8 6FX.
Argos Distributors (Ireland) Limited, Unit 7, Ashbourne Retail Park, Ballybin Road, Ashbourne,
County Meath, Ireland
950/7463
Issue 1 - 10/09/21
Advertisement
Table of Contents

Related Manuals for Argos Sainsbury's 950/7463


Summary of Contents for Argos Sainsbury's 950/7463
- Page 1 Sainsbury’s (NI) Ltd, Forestside Shopping Centre, Upper Galwally, Belfast, United Kingdom, BT8 6FX. Argos Limited, 489-499 Avebury Boulevard, Milton Keynes MK9 2NW. Argos (N.I.) Ltd, Forestside Shopping Centre, Upper Galwally, Belfast, United Kingdom, BT8 6FX. Argos Distributors (Ireland) Limited, Unit 7, Ashbourne Retail Park, Ballybin Road, Ashbourne,...
-
Page 2: Parts Description
Parts Description Please check you have all the panels listed below 1. Heating Element Assembly 2. Body 3. Pull Switch 4. ST4*35mm x 4 5. Position Indication Plate 6. Wall plugs x 4... -
Page 3: Warning Symbols
Warning Symbols WARNING: In order to avoid overheating, do not cover the heater. Do not cover Warnings ■ This electrical appliance complies with technical safety and electromagnetic compatibility standards. ■ Never touch your heater when in operation (risk of burns). ■ Never touch the heater with a wet hands. ■ Never rotate the heater during operation. To change the angle of the heater, we waiting at least 15 minutes after the heater has been turned off to allow the heater to cool down. ■ Never place anything on the heaters safety guard (e.g. Towel) as this could lead to the heater overheating or a fire. ■ Never use your appliance to dry washing. ■ Although the heating element has stopped glowing, it may still be hot and potentially dangerous. Check that the selection indicator (5) is in position off before taking any action. ■ Switch off your appliance: - After use - In the event of malfunction... - Page 4 Warnings ■ The warranty will be void in the event of damage arising from improper use. ■ Do not use this heater in the immediate surrounding of a bath, a shower or a swimming pool. ■ This movable appliance is designed for use in gardens, and can be used indoor and outdoor. The warranty will not apply to appliances used for professional usage. Although the heater may be used outdoors, the main plug must only be connected to the supply indoors. ■ The heater is provided with an anti-tilt switch will switch off the heater if it is overturned, and will switch it on again automatically when it is restored to its upright position.
-
Page 5: Before Using
Before Using Before using the appliance at the first time, ensure that your mains voltage corresponds to voltage indicated on the appliance. It is a class I appliance and must be earthed. Safety CAUTION: Before fitting or removing the appliance, ensure that the heater's power line supplying the heater is disconnected. Check that the power line is connected to a 30A differential circuit breaker. -
Page 6: Appliance Location
Appliance location Step 1 Please pay attention during installation: the distance between the top of the product and ceiling should be more than 0.5m, the distance between the side of the product and corner should be more than 0.5m, the distance between the bottom of the product and floor should be more than... -
Page 7: Fitting Instructions
Fitting Instructions WARNING! Before installing your appliance, you must disconnect the electrical supply at the circuit breaker. Step 1 Punch corresponding holes on the wall which are the same as the back of the product wall-mounted holes.( As shown on the right) Step 2 Use the diameter 8 drill to punch holes on the... - Page 8 Fitting Instructions Step 3 Put the 4 plastic expansion screws into the holes of the wall one by one, make the plastic expansion screws’ outside diameter and the wall are flush. ( As shown on the right) IMPORTANT- please ensure wall type is strong enough Step 4 Fasten the four ST4*35mm screws into...
- Page 9 Fitting Instructions Step 5 To wall mount the heater present the back of the heater to the wall and insert the screw heads into the corresponding holes on the back of the heater. Move the product to the left to secure the screw heads into the keyhole slots.
-
Page 10: Operation
Operation The appliance is switched on by means of the pull switch . The slight vibration noticeable when the appliance is switched on will stop after a few seconds. Specification Power rate:2000W Cable length:1.5m Position 0: Stop Position 1: 650W (normal power) Position 2: 1300W (intermediate power) Position 3: 2000W (full power) The product complies with the applicable UK directives... -
Page 11: Maintenance
Sainsbury’s (NI) Ltd, Forestside Shopping Centre, Upper Galwally, Belfast, United Kingdom, BT8 6FX. Argos Limited, 489-499 Avebury Boulevard, Milton Keynes MK9 2NW. Argos (N.I.) Ltd, Forestside Shopping Centre, Upper Galwally, Belfast, United Kingdom, BT8 6FX. Argos Distributors (Ireland) Limited, Unit 7, Ashbourne Retail Park, Ballybin Road, Ashbourne,...
Need help?
Do you have a question about the Sainsbury's 950/7463 and is the answer not in the manual?
Questions and answers