Table of Contents
Advertisement
Quick Links
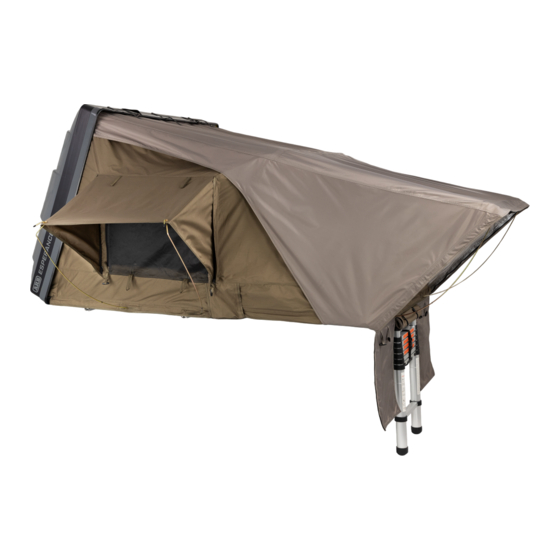
ARB Esperance
Tent
Congratulations on purchasing your
ARB TOURING ROOFTOP TENT - the quick and easy way to enjoy camping.
Included in this leaflet is all the information that you require to obtain the maximum enjoyment and benefit from
your rooftop tent. Given proper care your rooftop tent will give you many years of trouble-free camping.
BR 2021 – Rev 1
Advertisement
Table of Contents

Subscribe to Our Youtube Channel
Summary of Contents for ARB Touring Esperance
- Page 1 Tent Congratulations on purchasing your ARB TOURING ROOFTOP TENT - the quick and easy way to enjoy camping. Included in this leaflet is all the information that you require to obtain the maximum enjoyment and benefit from your rooftop tent. Given proper care your rooftop tent will give you many years of trouble-free camping.
- Page 2 Main Accessories Before commencing installation of the Esperance tent, please make sure it contains the following accessories. One Hard shell tent with the ladder •...
- Page 3 Installation (applicable to separated vertical bars) The ARB Esperance tent can only be mounted in “Off the side” configuration, this allows the tent to fold out from the side of the vehicle, the entry point of the tent will be the RHS of the vehicle (looking from rear). If fitting to an ARB Baserack, please refer to the fitting instructions included with the Base rack mounts.
- Page 4 OPENING THE HARD SHELL 1. Unlock the 3 fastening straps as picture below; 2. With one hand, push up the hard shell. The gas struts will assist in opening the shell. You may need to provide some assistance lifting to get the struts to commence opening.
- Page 5 Operation of Ladder CAUTION: FAILURE TO PROPERLY SECURE THE LADDER COULD CAUSE SERIOUS INJURY. CAREFULLY READ THE INSTRUCTIONS BELOW BEFORE ATTEMPTING TO USE THE LADDER. 1. When opening the ladder, extend all rungs and ensure each rung is locked from the bottom to the top. 2.
- Page 6 ERECTING THE CANOPY 1. The entry canopy should be erected using the two spring steel rods included with your tent. 2. Climb half-way up the ladder, take one rod, and gently insert the straight end (no hook) into one of the holes located to the left or right of the ladder attachment point.
- Page 7 Lighting Attach included cables and pass cable through hinge cover flap on side of tent to outside of tent and then to a suitable 10amp 12V power plug. Make sure to remove cable and place into pocket before closing the shell or hinge to reduce pinching or cutting the cable. Before closing the tent remove cable and store.
- Page 8 Warranty Terms and Conditions The ARB Touring Rooftop Tent comes with a 3-year (36 month) warranty, effective from the date of purchase. The warranty covers all aspects of workmanship, finish and fabric.


Need help?
Do you have a question about the Esperance and is the answer not in the manual?
Questions and answers