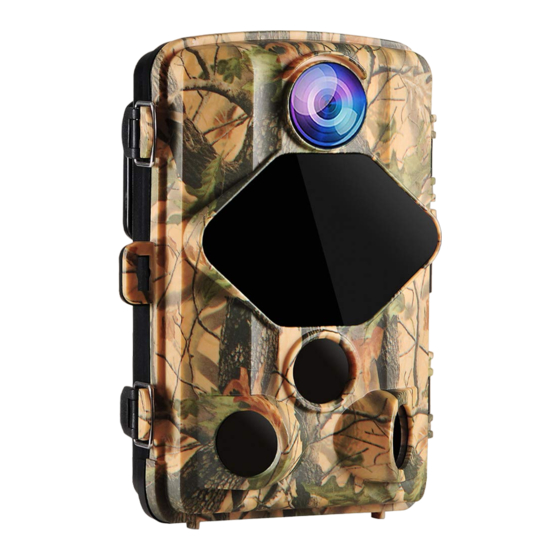
Summary of Contents for Wansview T01
- Page 1 1080P HD Trail and Hunt camera User Manual Please go to wansview website: http://www.wansview.com for the latest instructions. EN Version Updated on 10 October 2018...
- Page 2 English Introduction Thank you for choosing this camera. The camera is specially used to record ac�vi�es of wild animals. For your easier use of it, the user manual contains full specifica�ons of opera�on. Please read carefully the manual before using, and keep it at a safe place for your future reference The compila�on of the user manual refers to the latest informa�on.
-
Page 3: What's In The Box
In case of one of the followings with the memory card, the recorded data may be damaged: - Improper use of the memory card; - Disconnect power supply or take the memory card out during recording,dele�ng (forma�ng) or reading; What's in the Box .1X Trail Camera .1X Connector .1X Moun�ng Belt... - Page 5 . The LCD display screen only lights on in the SETUP mode, or when changing menu se�ngs or viewing exis�ng photos in ON mode. . Using the opera�ng bu�ons, menu se�ngs can be changed in the test mode or exis�ng photos can be played back.
-
Page 6: Insert Memory Card
. Insert 8 fully ba�eries as shown in the below figure. Ensure correct posi�on as marked for each ba�ery in the ba�ery compartment when inser�ng ba�eries. . Close the ba�ery compartment again with the protec�ve cover. Note: -Instead of type LR6(AA) ba�eries, rechargeable ba�eries with the same specifica�on(with 2000mAh or higher) may be used. -
Page 7: Using The Camera
Note: Rechargeable ba�eries cannot be recharged in the camera with an external power supply. Remove any exis�ng ba�eries from the ba�ery compartment when the camera powered with an external power supply. INSTALL THE CAMEAR WITH A STRAP Use the included securing strap to a�ach the camera to a tree or other object. - Page 8 Opera�ng bu�ons Set the mode switch to SETUP and the camera and monitor are switched on,opera�ng bu�ons can be ac�vated and se�ngs can be changed. in recording mode: Func�ons of opera�ng bu�ons When the camera is in recording mode as shown in the picture.
- Page 9 . Audio Recording: ON, OFF Select ON, the video taken will have audio when played back. . Shot lag: 30 seconds, op�onal from 5 seconds to 60 minutes Select the shortest period for the camera to wait before it reacts to the successive triggering of the main sensor a�er an animal has first been detected.
- Page 10 . Time & Date Set the �me and date according to current �me. Press Le�/Right key to choose the number and change the value by pressing Up/Down key. Confirm the changes with OK key. Time format: 12/24 hr Date format: dd/mm/yyyy, yyyy/mm/dd, mm/dd/yyyy .
- Page 11 . Reset Se�ngs: All se�ngs will be deleted if select “Yes”. .Version: Check trail camera’s model name and firmware bu�on to start the replay mode, please refer to 4. Func�ons of opera�ng By pressing bu�ons in replay mode for more opera�ons. By pressing bu�on to change to manual recording mode for video recording, press SHOT bu�on to start and end video recording.
-
Page 12: Aligning The Camera
. Ac�vate slide show -This func�on can be used to playback the photos stored on the memory card automa�cally. Each photo is shown for about 2 seconds. To stop the slide show and keep the current image permanently on the screen, press the OK bu�on. . - Page 13 Align the camera as follows: Fasten the camera to a tree or similar object at a height of 1-2 meters and align the camera in the desired direc�on. Then move slowly from one side of the target area to the other side. While doing this, monitor the mo�on display.
- Page 14 English -Please note that pictures taken in night exposures are black and white. When recording video for a long �me, the low voltage may have great influence on the stability of the camera. So in case of the low voltage, it is be�er not to record in the evening. Note: When using the camera at night, the electric current would increase because of the working of infrared lamps.

Need help?
Do you have a question about the T01 and is the answer not in the manual?
Questions and answers