Advertisement
PIVO HOME
Technical Manual
WARNING:
Do not use the device
Made by: Motoppar Indústria e Comércio de Automatizadores Ltda
without referring to this
Av. Dr. Labieno da Costa Machado, 3526 - Distrito Industrial - Garça - SP - CEP 17406-200 - Brasil
manual first.
CNPJ: 52.605.821/0001-55
www.ppa.com.br | +55 14 3407 1000
P09834 - 11/2021
Rev. 0
Advertisement
Table of Contents

Summary of Contents for PPA PIVO HOME
- Page 1 Made by: Motoppar Indústria e Comércio de Automatizadores Ltda without referring to this Av. Dr. Labieno da Costa Machado, 3526 - Distrito Industrial - Garça - SP - CEP 17406-200 - Brasil manual first. CNPJ: 52.605.821/0001-55 www.ppa.com.br | +55 14 3407 1000 P09834 - 11/2021 Rev. 0...
-
Page 2: Table Of Contents
CONTENTS IMPORTANT SAFETY INSTRUCTIONS Recommendation: When istalling the operator, the PPA’s specialist installer must comply with all the instructions present on both this technical manual and the user manual. IMPORTANT SAFETY INSTRUCTIONS ..................3 By using the user manual, the installer TECHNICAL FEATURES ........................ -
Page 3: Technical Features
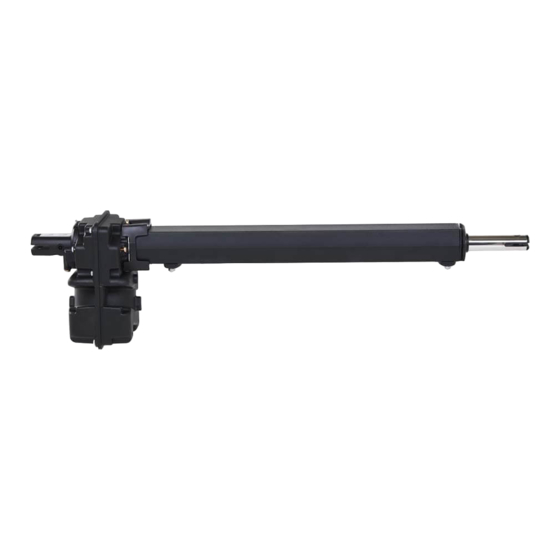
BASIC TOOLS NEEDED FOR TECHNICAL FEATURES INSTALLATION PIVO HOME PIVO HOME PIVO HOME Tools needed: PIVO HOME CUSTOM CUSTOM JETFLEX JETFLEX TYPE OF GATE Swing Swing Swing Swing OPERATOR MOTOR Single-phase Single-phase JetFlex JetFlex POWER SUPPLY 127V/220V 127V/220V 127V/220V 127V/220V... -
Page 4: Precautions With The Gate Before The Installation
PRECAUTIONS WITH THE GATE BEFORE - The cable used for the wiring must comply with the NBR NM 247-3 THE INSTALLATION standards (Brazil); - The mains cable (of an internal use product) must be a 3 x (Tri- rated) 0.75 mm² / 500 V flexible cable, according to the NBR NM Before proceeding with the product’s installation, some procedures must be taken: 247-5 standards (Brazil);... - Page 5 Step 3: Weld the fastening base according to the instructions / pictures below. In order to figure out which leaf of the gate is the left one and which is the right one, place yourself inside the house, facing the gate. Thus, the leaf to your right is the right one and the laf to your left is the left one.
- Page 6 Step 4: Connect the gear motor to the actuator, according to the instructions / pictures below. Step 5: Fit the gear motor to the fastening base, tighten the M10 x 45 screw and fix it by means of a M10 hex nut (provided), according to the picture below. FASTENING BASE SPIRIT LEVEL M10 X 45 SCREW...
- Page 7 ‘3 x 6’ screws (fixed on the reeds) and connect it board manual available to download Montagem: Carenagem: to the control board. on www.ppa.com.br and perform all Engrenagem: connections and settings accordingly. STOPPER LIMIT SWITCH...
-
Page 8: Troubleshooting
TROUBLESHOOTING The table below contains useful information on some PROBLEMS — SYMPTOMS, PROBABLE CAUSES AND POSSIBLE SOLUTIONS which might affect your operator. Before intervening on the system (maintenance, cleaning), always disconnect the product from the mains power supply. SYMPTOMS PROBABLE CAUSE(S) ACTION(S) A) Ensure that the power cable is correctly inserted in the power...
Need help?
Do you have a question about the PIVO HOME and is the answer not in the manual?
Questions and answers