Table of Contents
Advertisement
Advertisement
Table of Contents

Related Manuals for Hotpoint HDT67V9H2CX/UK


Summary of Contents for Hotpoint HDT67V9H2CX/UK
- Page 1 HDT67V9H2CX/UK HDT67V9H2CX/UK HDT67V9H2CX/UK...
- Page 2 ENGLISH Health and Safety guide Quick guide Installation guide...
-
Page 3: Safety Instructions
be vigilant when cooking foods rich in fat, oil or when adding alcoholic beverages - risk of fire. Use SAFETY INSTRUCTIONS oven gloves to remove pans and accessories. At the end of cooking, open the door with caution, IMPORTANT TO BE READ AND OBSERVED allowing hot air or steam to escape gradually Before using the appliance, read these safety before accessing the cavity - risk of burns. -
Page 4: Cleaning And Maintenance
WARNING: In order to prevent the appliance from tipping, the retention chain provided must be installed. Refer to the instructions for installation. and with the Waste Electrical and Electronic Equipment regulations ELECTRICAL WARNINGS 2013 (as amended). The rating plate is on the front edge of the oven (visible when the door is open). -
Page 5: Product Description
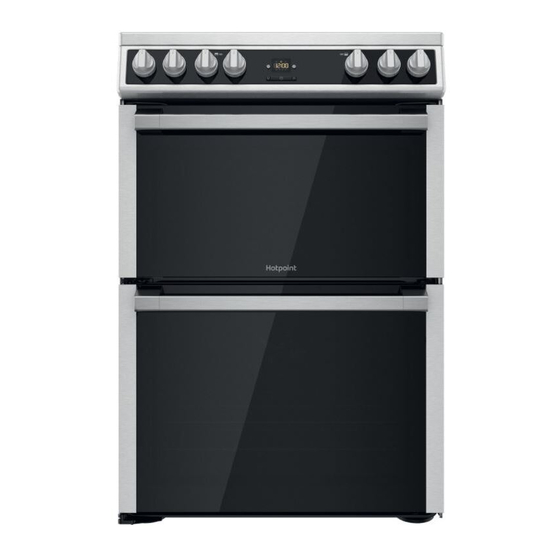
PRODUCT DESCRIPTION 1. Glass ceramic hob 2. Control panel 3. Runners for accessories (the level is indicated on the wall of the cooking compartment) Removable Inner Door Glass 5. Main oven door CONTROL PANEL TOP OVEN/GRILL MAIN OVEN PILOT LIGHT PILOT LIGHT LEFT LEFT... -
Page 6: Installation Tips
INSTALLATION TIPS This appliance must be earthed. Positioning Positioning Positioning Mains Connection Important: this unit may be installed and used only in Your cooker should have been checked to ensure that permanently ventilated rooms according to the the voltage corresponds with your supply voltage, British Standards Codes Of Practice: B.S. - Page 7 FIRST TIME USE DAILY USE MAIN OVEN TOP OVEN To heat the oven turn the knob clockwise, selecting the The top oven should be used to cook small require temperature between 80°C (176°F) and 250°C quantities of food.The oven is designed so that the grill (482°F) as recommended in the temperature chart.
-
Page 8: Using The Glass Ceramic Hob
USING THE GLASS CERAMIC HOB The glue applied on the gaskets leaves traces of Setting Normal or Fast Plate grease on the glass. Before using the appliance, we recommend you remove these with a special non- abrasive cleaning product. During the first few hours Cooking vegetables, fish of use there may be a smell of rubber which will disappear very quickly. - Page 9 FUNCTIONS & DAILY USE SELECT A FUNCTION To select a function, turn the selection knob to the symbol for the function you require. TOP OVEN MAIN OVEN - FAN COOKING This control switches on the main oven. Fan Cooking - Turn CONVENTIONAL the control clockwise and select any temperature between For cooking any kind of dish on one shelf only.
- Page 10 Clock icon Lower cavity button Upper cavity button Duration icon (Upper cavity) Delay icon (Lower cavity) Delay icon (Upper cavity) Duration icon (Lower cavity) Upper arrow Clock Button Lower arrow Setting the Delay of Cooking Mode Setting the Delay of Cooking Mode Setting the Delay of Cooking Mode 1.
- Page 11 COOKING TABLE MAIN OVEN FUNCTION PREHEAT TEMPERATURE DURATION LEVEL (L-number) AND RECIPE (°C) (Min) ACCESSORIES Leavened cakes / Sponge FORCED 160-170 30-50 cakes Leavened cakes / Sponge FORCED 160-170 30-50 2 /4 cakes Filled cake FORCED (cheese cake, strudel, 160-180 50-70 fruit pie) Filled cake...
- Page 12 FORCED Fish fillets / Steaks 180-200 20-30 FORCED Roast potatoes 190-220 40-80 FORCED Vegetable gratin 180-200 20-30 Stuffed vegetables FORCED (tomatoes, courgettes, 190-220 40-80 aubergines) Complete meal: (Cook3) Fruit tart FORCED 180-190 40-100 Lasagna Roast Complete meal (Cook4) Fruit tart Lasagna FORCED 180-190...
- Page 13 CLEANING AND MAINTENANCE Cleaning the glass door with 2 panels TOP OVEN DOORS ..1 1 1 1 Open the door to ° Removing the retaining Removing the retaining bar depress carefully the clips on both sides of the bar. Pull the trim up gently until the retainer is released.
- Page 14 CLEANING AND MAINTENANCE TURN OFF THE MAIN SWITCH AND ENSURE THE COOKER IS COLD BEFORE CLEANING. BEFORE SWITCHING ON AGAIN, ENSURE THAT ALL CONTROLS ARE IN THE OFF POSITION. Do not use steam cleaning Carry out the required Do not use wire wool, abrasive equipment.
-
Page 15: Troubleshooting
Please refer to the enclosed warranty leaflet for more information on the warranty. A complete product specification, including the energy efficiency ratings for this oven, can be read and downloaded from our website www.hotpoint.co.uk... - Page 16 Min. 650 mm Min. 420 mm min. 10 mm min. 10 mm min. 10 mm...
- Page 18 Your new cooker comes with 4 chrome shelf supports packed in the main oven along with the shelves. There are 2 shelf supports for the top oven and 2 for the bottom oven. See Fig. 1. Fig. 1 Top Oven Shelf Supports Main Oven Shelf Supports Fitting - Step 1 The top of the shelf supports engage in slots in the side walls of the oven as in Fig.
- Page 19 Fitting - Step 2 Once engaged at the top, then push the bottom rods into the lower slots in the oven side walls. Now allow the shelf supports to lower slightly and engage. See Fig. 3. Fig. 3 This process should be repeated and all 4 shelf supports fitted in the top and main ovens. Fitting - Step 3 The shelves can now be fitted into the shelf supports at the required heights.
- Page 20 Whirlpool EMEA S.p.A. 09/2021 - W11513504 W11513504 XEROX FABRIANO Via Carlo Pisacane n.1 20016 Pero (MI), Italy VAT number: IT00693740425 www.hotpoint.co.uk...
Need help?
Do you have a question about the HDT67V9H2CX/UK and is the answer not in the manual?
Questions and answers
Why is right back plate no 1 to 4 both ways other knobs 1 to 6
The right back plate on the Hotpoint HDT67V9H2CX/UK is a ceramic cooking zone with a power rating of 1200 W and a diameter of 140 mm. It is used for cooking food by heating cookware placed on it.
Knobs labeled 1 to 6 provide a wider range of power settings compared to knobs labeled 1 to 4, allowing for more precise temperature control. If a knob only has settings from 1 to 4, it may offer fewer levels of heat adjustment, which could be due to the design or power limits of that specific cooking zone.
This answer is automatically generated