Table of Contents
Advertisement
INSTRUCTIONS
1. Read this user manual.
2. Keep these operating instructions.
3. Heed all warnings.
4. Follow all instructions.
5. Do not use this apparatus near water.
6. Only clean with a dry cloth.
7. Do not block any ventilation openings. Only operate the device in accordance with the
manufacturer's instructions.
8. Do not place the device near any heat sources such as radiators, heaters, stoves, or other
devices (including amplifiers) that generate heat.
9. Make sure that the power cord is not pinched, especially at power outlets and where it
emerges from the device.
10. Use only accessories specified by the manufacturer.
11. Only to be used in combination with the stand, tripod, bracket or table specified by the
manufacturer or sold with the device. If a caster is used, use caution when moving the cart /
equipment combination to avoid injury from tipping over.
12. Pull
out the power plug during lightning storms or when unused for long periods.
13. Leave all maintenance work to qualified service personnel. Service is required when the
device has been damaged in any way, e.g. For example, if the power cord or plug has been
damaged, liquid has been spilled or objects have fallen into the apparatus, the apparatus has
been exposed to rain or moisture, does not operate normally, or has been dropped.
AVX17
User Manual
Version 1.3
SAFETY
Advertisement
Table of Contents

Subscribe to Our Youtube Channel
Related Manuals for IOTAVX AVX17

Summary of Contents for IOTAVX AVX17
- Page 1 AVX17 INSTRUCTIONS User Manual Version 1.3 SAFETY 1. Read this user manual. 2. Keep these operating instructions. 3. Heed all warnings. 4. Follow all instructions. 5. Do not use this apparatus near water. 6. Only clean with a dry cloth.
- Page 2 14. Information on the power supply can be found in the manufacturer's operating instructions. Note that different operating voltages may require the use of different power cables and / or mounting plugs. 15. Do not install the device in an unventilated rack. 16.
- Page 3 2. Copy the downloaded file onto a USB stick. The USB stick has to be formatted to FAT32. The file must not be renamed. 3. Check that the main power switch on the back of the AVX17 is off. 4. Insert the USB stick into the USB port on the back.
-
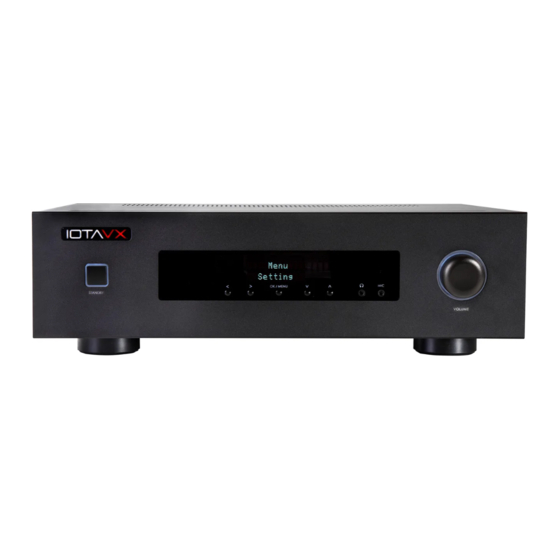
Page 4: Product Description
Product description Front side Standby button Button for switching the device on and off and displaying the operating status. VFD display Shows the selected source, volume and menu. Back button For navigation in the menu. Next button For navigation in the menu. Menu button For calling up and exiting the menu. -
Page 5: Rear Side
Rear side Analog XLR audio outputs For analog connection to an external power amplifier. SW1-4: Subwoofer 1-4 R: Right front speaker Rs: Right surround speaker Rbs: Right surround back speaker Rtf: Right top front speaker Rtr: Right top rear speaker Rtm/Rw: Right top middle speaker / Right front wide speaker C: Center speaker Ltm/Lw: Left top middle speaker / Left front wide speaker... - Page 6 Analog audio inputs For analog connection of source devices to the AVX17. Zone 2 outputs For connecting an external power amplifier via Zone 2. Digital audio inputs For digital connection of source devices to the AVX17. USB audio input For the transmission of audio via USB from a source device (e.g. PC).
-
Page 7: Remote Control
Remote Control Power Turns the device on and off. Mute Mutes the device. Input selection HD1-6: HDMI 1-6 ARC: HDMI ARC OP1-2: Optical inputs 1-2 USB: USB audio input CO1-2: Coaxial inputs 1-2 AN1-3: Analog inputs 1-3 Bluetooth adapter (optional) Menu Calling up the menu. -
Page 8: Basic Operations
Switching on the device: Press the POWER button to switch on the AVX17. As soon as the power LED lights up white, the device is ready for use. Press the POWER button again to put the AVX17 into standby mode. As soon as the power LED lights up red, the device is in standby mode. - Page 9 ● Dolby Upmix The source signal is converted into 3D sound using the Dolby Upmix algorithm. Equalizers are active if desired. The distance and volume settings of the individual channels are active. ● DTS Neural: X The source signal is converted into 3D sound by the DTS Neural: X algorithm. Equalizers are active if desired.
- Page 10 Speaker setup Here you can configure your speaker setup. The following options are available: ● Speaker layout - Enter your speaker configuration here. ● Center speaker - Here you specify whether you are using a center speaker. ● Top speaker type - Here you specify whether you are using top speakers or ceiling speakers. ●...
- Page 11 ■ Enhanced: Video is output in 4K. ● Information disp: Here you can make the following settings for the VFD display of the AVX17 and for the on-screen display (OSD) on your: ○ picture display deviceDisplay DIM: Here you can dim the VFD display of the AVX17 in 10 steps.
-
Page 12: Dear Customer
Dear customer, If you have technical difficulties setting up or using your new product, please contact our customer service. Customer service e-mail address: kontakt@hifipilot.de We wish you many years of pure audiovisual enjoyment with your new IOTAVX equipment...
Need help?
Do you have a question about the AVX17 and is the answer not in the manual?
Questions and answers