Advertisement
Quick Links
Rev. 2, 10-2-2011
Fancy Foam Models, LLC
635 Laramie Cir. Maize, Ks. 67101
www.fancyfoam.com
Assembly Instructions for the following models:
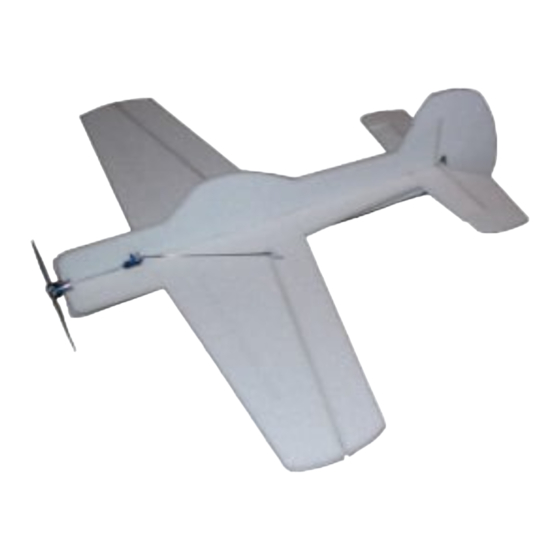
32" Yak-55 Airfoil
32" Edge 540 Airfoil
33" Fenix V2 Airfoil
34" Freestyle Airfoil
34" MX2 Airfoil
Recommended Electronics and motors:
Motor: Turnigy 2730-1500 or any equivalent motor
Speed control: Castle Creations Thunderbird 9 or
equal.
Battery: 300 to 500, 2 or 3 cell, 20C rated or
equivalent.
Receiver: 4 channel.
Servos: (2) HXT 500 for the tail and (1) HXT 900 for
the ailerons.
Disclaimer: Fancy Foam Models has done
everything we can to caution and inform the end
user regarding the use of Lithium polymer battery
technology. We are in no way responsible for any
damage that may be caused by these batteries.
Please read, understand and follow all instructions
for the charger and batteries. Failure to use this
battery technology properly can result in the risk of
fire. If you are not comfortable with this
technology, return the batteries packs and kit to us
for a refund. By building the kit and using the
batteries, you accept full responsibility for the
safety of these batteries.
Recommended building methods and glues:
Much of the construction of this model is done by
laying the parts on a flat table. It is strongly
recommended that you put wax paper down on the
surface first so any excess glue doesn't soak through
the foam and glue the parts to the table. For all
assembly, use "Welders" contact adhesive. The hinges
are also done with Welders, see our video on the web
site. Hot glue can be used to attach the servos and
control horns.
Painting:
It is easiest to paint the parts before assembly. Card
stock can be used to make templates for stripes,
checkers, ect... Epp does is not affected much by
solvents so Krylon, Testors and airbrush paints can be
used.
Horizontal parts assembly:
Start by gluing the wing halves together. Next, note the
marks on the wing tips and using a strait edge cut a slot
1/8" deep and 30" long centered, top and bottom of the
wing. Cut two 30" long pieces of 1.5mm carbon rod
and press it into the slots. Sight along the leading edge
of the wing and adjust the wing so it is strait. Wick
thin CA along the top spar slot. When dry flip it over
and glue the bottom spar.
1
Advertisement

Related Manuals for Fancy Foam Models Air3dEPP006

Summary of Contents for Fancy Foam Models Air3dEPP006
- Page 1 Start by gluing the wing halves together. Next, note the marks on the wing tips and using a strait edge cut a slot Disclaimer: Fancy Foam Models has done 1/8” deep and 30” long centered, top and bottom of the everything we can to caution and inform the end wing.
- Page 2 Glue together the horizontal pieces; nose, wing, rear fuselage and horizontal tail. Note: The wing spar goes on the bottom and the aileron and elevator hinges go Cut a 6” long piece of carbon pushrod. Cut a v-slot in on top. the bottom of the elevator just behind the hinge bevel and glue in the 6”...
- Page 3 Glue the lower vertical fuselage pieces to the Install the gear legs through the vertical fuselage and horizontal assembly making sure it is square. into the bottom of the nose but not through the nose. When you have the axles parallel and even glue the gear legs in place.
- Page 4 Thank You, tubing. If you get some CA on the servo or control horn Mike & Niki Bailey this is ok and moving the controls will allow the z- Fancy Foam Models bend to break loose.