Subscribe to Our Youtube Channel
Summary of Contents for Bauhn AWDPF-0222
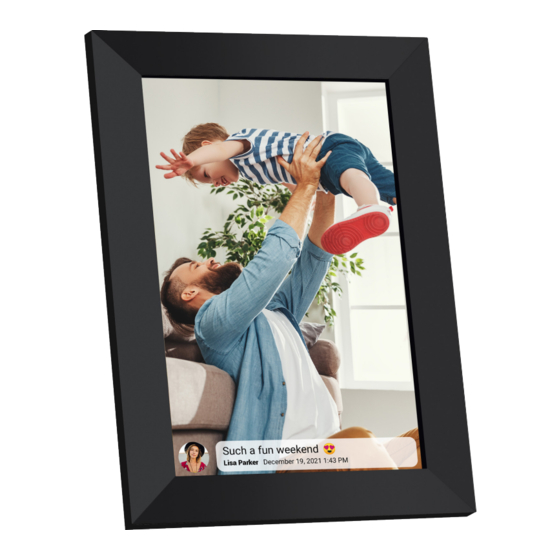
- Page 1 10.1" WiFi Digital Photo Frame MODEL: AWDPF-0222 User Manual AFTER SALES SUPPORT tempo.org/support 1300 002 534 MODEL: AWDPF-0222 PRODUCT CODE: 708522 02/2022...
-
Page 2: Welcome
Welcome Congratulations on your purchase! This manual tells you all you need to know about using your new BAUHN product. ® Please take special note of any important safety and usage information presented with the symbol. All products brought to you by BAUHN are manufactured to the highest standards of performance and safety and, ®... -
Page 3: Table Of Contents
Contents Welcome Unpack and Prepare Product Overview Operation Troubleshooting Specifications Compliance and Responsible Disposal Warranty Information Repair and Refurbished Goods or Parts Notice... -
Page 4: Unpack And Prepare
Unpack and Prepare What's in the box Before setting up your new product, check you have everything: A. Photo Frame B. Power Adaptor C. Desktop Stand D. Wall Mount Screw E. General Safety Warnings Warranty Certificate G. User Manual 4 | UNPACK AND PREPARE... -
Page 5: Product Overview
Product Overview 3. MICRO SD slot : insert a Micro SD card to import photos to the photo frame. 4. DC IN : connect the supplied power adaptor into the DC IN port and the other end of a power socket to power the photo frame. -
Page 6: Operation
Operation For Android For iOS Frameo App Search for the Frameo app in the app store to download, or scan the QR code (right) for installation. First Time Setup Select language. Connect to your photo frame (you must have mobile internet/ Wi-Fi connection). - Page 7 Navigating the Photo Frame Add friend - select to generate a code in which your friend can use to send photos to your photo frame. Settings - open settings menu. Power - open power menu where you can power off, restart or enter sleep mode. Hide photo - hide current photo.
- Page 8 Video playback • Tap the icon to start video playback. Tap the icon to pause. • Tap the icon to open the volume slider. Use the slider to adjust the volume level. • Tap the icon to mute the sound. Tap the icon to unmute.
- Page 9 Manage Photos Here, you can view how many photos have been uploaded onto the photo frame and the amount of storage they use. You can also see the amount of storage left on the photo frame. • Show/hide photos - tap on the photos to hide. The hidden photos will not be deleted from the photo frame and can be shown again.
- Page 10 Slideshow • Timer : set duration of photo to be displayed on the screen before transitioning to the next photo. • Show caption : set captions on/off. Your friends/family can create captions when sending you photos. • Fill frame : set how the photo is displayed on the frame. Default is set to make the whole photo fit onto the frame. You can also set to make the photo fit inside the frame, adding blurred pixels on the sides or top/bottom.
- Page 11 Notifications • Show notifications : enable/disable notifications during slideshow. • Notification volume : adjust notification volume level. • Storage space : enable/disable low storage notification. • Backup : enable/disable notification if automatic backup has failed. • Network connection : enable/disable network connection regarding network connection status. •...
-
Page 12: Troubleshooting
Troubleshooting To keep the warranty valid, never try to repair the system yourself. If you encounter problems when using this unit, check the following points before requesting service. Problem Solution Check that the photo frame is connected to the Frameo app with the generated code. Cannot send photos Check that you are connected to a Wi-Fi network. -
Page 13: Specifications
Specifications Adaptor Input: AC 100-240V, 50/60Hz Power Adaptor Adaptor Output: 5VDC, 2A Operating System Android 6 Screen Size 10.1 inch Display 1280 x 800 IPS panel Aspect Ratio 16:9 For Technical Support: Internal Storage 16GB 1300 002 534 External Storage Micro SD/USB supports up to 32G tempo.org/support Wi-Fi... -
Page 14: Compliance And Responsible Disposal
Compliance and Responsible Disposal Packaging Compliance The packaging of your product has been This product complies with the Australian Safety selected from environmentally friendly Standard AS/NZS 62368.1 to ensure the safety of the materials and can usually be recycled. Please ensure product. -
Page 15: Warranty Information
Warranty Information The product is guaranteed to be free from defects in workmanship and parts for a period of 12 months from the date of purchase. Defects that occur within this warranty period, under normal use and care, will be repaired, replaced or refunded at our discretion, solely at our option with no charge for parts and labour. -
Page 16: Repair And Refurbished Goods Or Parts Notice
Repair and Refurbished Goods or Parts Notice Unfortunately, sometimes faulty products are manufactured, which need to be returned to the supplier for repair. Please be aware that if your product is capable of retaining user-generated data (such as files stored on a computer hard drive, telephone numbers stored on a mobile telephone, songs stored on a portable media player, games saved on a games console or files stored on a USB memory stick) during the process of repair, some or all of your stored data may be lost. - Page 17 Notes...
- Page 18 Notes...
- Page 19 Notes...
- Page 20 Online support Visit bauhn.com.au for the latest User Manual for information on the updated features. Warranty returns tempo.org/support Should you for any reason need to return this product for a warranty claim, make sure to include all accessories with the product.

Need help?
Do you have a question about the AWDPF-0222 and is the answer not in the manual?
Questions and answers