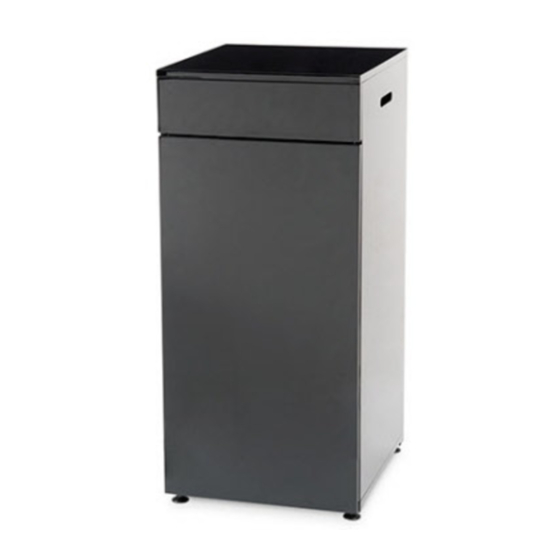
Table of Contents
Advertisement
Quick Links
Advertisement
Table of Contents

Summary of Contents for JBJ CNT-10B
- Page 1 WWW.JBJLIGHTING.COM...
-
Page 2: Table Of Contents
TABLE OF CONTENTS Parts Step 1 Mounting Hinges Step 2 Right Side Panel to Back Side Panel Step 3 Front Support Panel & Left Side Panel Step 4 Bottom Panel to Stand Step 5 Top Panel to Cabinet Step 6 Shelf to Cabinet Step 7 Door to Left Panel Step 8 Mount Cabinet Fee Warranty... -
Page 4: Parts
IDENTIFICATION PARTS EXPLODED VIEW & Name LEFT SIDE PANEL BACK PANEL W/ CHILLER VENT RIGHT SIDE PANEL FRONT SUPPORT BRACE BOTTOM PANEL TOP PANEL DOOR SHELF FEET... - Page 5 HARDWARE I NCLUDED DOOR HINGE CAMLOCKS CAMLOCKS SCREWS 1/2” HINGE SCREWS 1” CABINET FEET SCREWS PLASTIC CABINET FEET...
-
Page 6: Step 1 Mounting Hinges
STEP 1 Mounting Hinges 16—1/2” Screws Mount Hinges on the Door STEP 2 Right Side Panel to Back Panel Insert 2 CamLock Screws to Right Side Panel Insert 2 Camlock to Back Panel Attach Right Side Panel to Back Panel ... -
Page 7: Step 3 Front Support Panel & Left Side Panel
STEP 3 Front Brace to Right Side Panel Insert Camlock Screws to Right Side Panel Insert Camlock to Back Panel Attach Front Brace to Right Side Panel Secure by tightening Camlocks STEP 4 Left Side Panel To Back Panel & Brace ... -
Page 8: Step 4 Bottom Panel To Stand
STEP 5 Bottom Panel To Cabinet Stand Insert Camlock Screws to Bottom Panel Insert Camlocks to Right, Left & Back Panels Attach Bottom Panel Secure Bottom Panel to Cabinet by tightening Cam- locks... -
Page 9: Step 5 Top Panel To Cabinet
STEP 6 Top Panel To Cabinet Stand Insert Camlock Screws to Top Panel Insert Camlocks to Right, Left & Back Panels Attach Top Panel Secure Top Panel to Cabinet by tightening Camlocks... -
Page 10: Step 6 Shelf To Cabinet
STEP 7 Shelf Placement 4—Shelf Holders Insert 4 Shelf Holders to Predrilled holes on Left Side Panel (#1) and Center Support Panel Insert Shelf... -
Page 11: Step 7 Door To Left Panel
STEP 8 Door to Left Side Panel 8—1/2” Screws Mount Left Door to Hinge from Left Side Panel Mount Right Door to Hinge from Right Side Panel... -
Page 12: Step 8 Mount Cabinet Fee
STEP 8 Mounting Cabinet Feet Align the Cabinet Foot to mounting holes on the Bottom Panel and mount. -
Page 16: Warranty
Transworld Aquatic Enterprises, Inc 3730 W. Century Blvd #3 Inglewood, CA 90303 Phone: (877) 374-9981 Rev. 102214 JBJAQUARIUMS.COM...
Need help?
Do you have a question about the CNT-10B and is the answer not in the manual?
Questions and answers