Advertisement
ALLEN&HEATH
An RIAA pre-amplifier compensates for the characteristics of vinyl reproduction by attenuating the high
and boosting the low frequencies, according to the standard slope specified by the Recording Industry of
America.
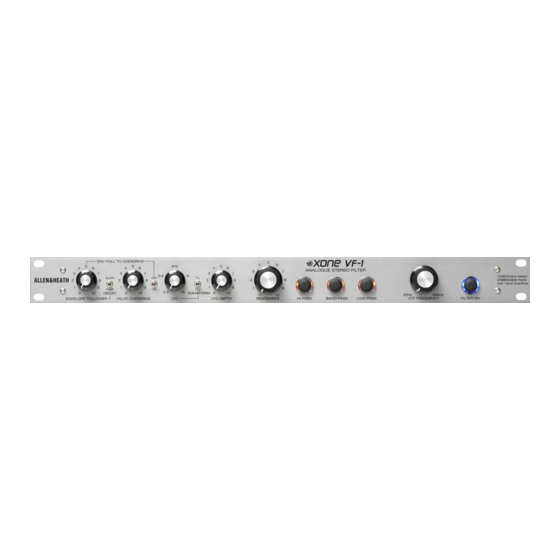
The XONE VF-1 is available with a factory-fitted RIAA preamp option to allow a high quality magnetic
cartridge turntable to be used as an input to the unit. This option is only available on units fitted with
an issue 4 (or later) main PCB. The issue number is printed on the PCB, and can be checked by
looking through the ventilation slots on top of the unit, without the need to remove the cover.
Retro-fitment of the RIAA option is possible – this involves removing the unit's cover. Due to the mains
voltages present within the unit, this is not considered a task for the end user. These instructions are
provided for reference – any work on the internal parts of the unit should be carried out by
technically competent personnel.
For information on how to use the XONE VF-1 please refer to User Guide AP5917. Should further
assistance be required, please contact Allen & Heath Technical Support (details on our web site
www.allen-heath.com).
Before Starting
Read these fitting instructions carefully before starting. For trouble free installation and operation heed all
the precautions noted. The unit must be fully unplugged and removed from its rack, plinth or other
furniture before carrying out the work. Normal workshop tools are required, including a Torx (starhead)
T10 screwdriver. Provide a suitably large, well lit work surface such as a service workshop bench. To
avoid damage to the cosmetics of the unit ensure that the work surface is clean and clear of obstructions.
Allow enough time to carry out the work properly and test the results.
Required Components
R16
R15
C4
R20
R19
C6
FH1
FH1
IMPORTANT
to the equipment not approved by Allen & Heath
could void the compliance of the equipment.
Whilst we believe the information in these
instructions to be reliable we do not assume
responsibility for inaccuracies. We also reserve
the right to make changes in the interest of
further product development.
Copyright© 2004 Allen & Heath Limited. All rights
reserved.
Fitting Instructions
Step 1: Preparation
Ensure the console is powered off. Disconnect the mains power lead and all connected cables. Remove
the console from its rack or other furniture and place on the work surface.
XONE VF-1 RIAA Option Fitting Instructions
Fitting Instructions for the XONE VF-1 RIAA Option
FEMALE
CN1
1
R2
1
C2
R18
C1
R1
R5
R9
C9
C7
R7
R3
U1
R14
C14
C12
R12
R11
C11
C13
R13
C8
R8
R4
R6
R10
C10
U2
: Any changes or modifications
www.allen-heath.com
RIAA Option
The following parts are required:
003-360 x1 RIAA Option circuit assembly
AB3704 x1 Brass pillar, M3x12
This work should be carried out only by
qualified technical personnel authorised by
Allen & Heath.
Disconnect the mains power cord before
opening the unit.
Take care not to damage the panels or
internal assemblies during fitting.
loose parts or dirt from entering the unit as
this may cause equipment failure.
Prevent
1
Advertisement
Table of Contents

Summary of Contents for ALLEN & HEATH XONE VF-1
- Page 1 Recording Industry of America. The XONE VF-1 is available with a factory-fitted RIAA preamp option to allow a high quality magnetic cartridge turntable to be used as an input to the unit. This option is only available on units fitted with an issue 4 (or later) main PCB.
- Page 2 With the cover refitted, connect to the mains supply. Power on and check for correct operation. Note that the turntable ground wire should be connected to the chassis ground screw on the VF-1 to prevent hum. CHASSIS GROUND SCREW XONE VF-1 RIAA Option Fitting Instructions...


Need help?
Do you have a question about the XONE VF-1 and is the answer not in the manual?
Questions and answers